There are some desserts that just feel like a warm hug. You know the ones – the recipes that have been passed down, tweaked just a little bit, and have become a go-to for absolutely any occasion. For me, that recipe is this Peanut Butter pie. It’s not just a dessert; it’s a memory maker. I can still remember the first time my grandma made it for me. The kitchen was filled with the most incredible, sweet, nutty aroma, and I remember peeking into the oven, mesmerized by the bubbling goodness. It was love at first bite. Seriously, if you’ve ever found yourself craving something incredibly rich, satisfying, and ridiculously easy to whip up, this peanut butter pie is your answer. It’s way simpler than you think, and honestly, it’s the dessert that gets me rave reviews every single time, even from the pickiest eaters. It’s kind of like a decadent no-bake cheesecake but with that irresistible peanut butter flavor you just can’t get enough of. Forget those complicated layered cakes; this is the weeknight winner that tastes like it came from a fancy bakery.
What is peanut butter pie?
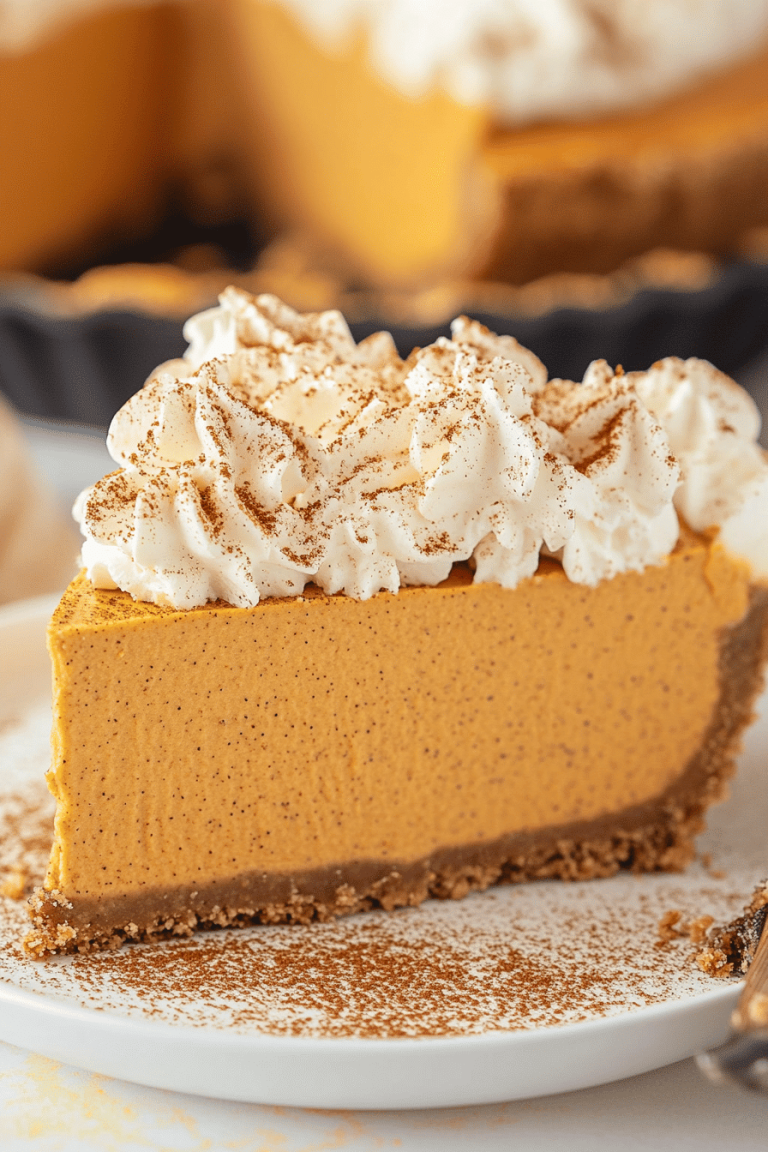
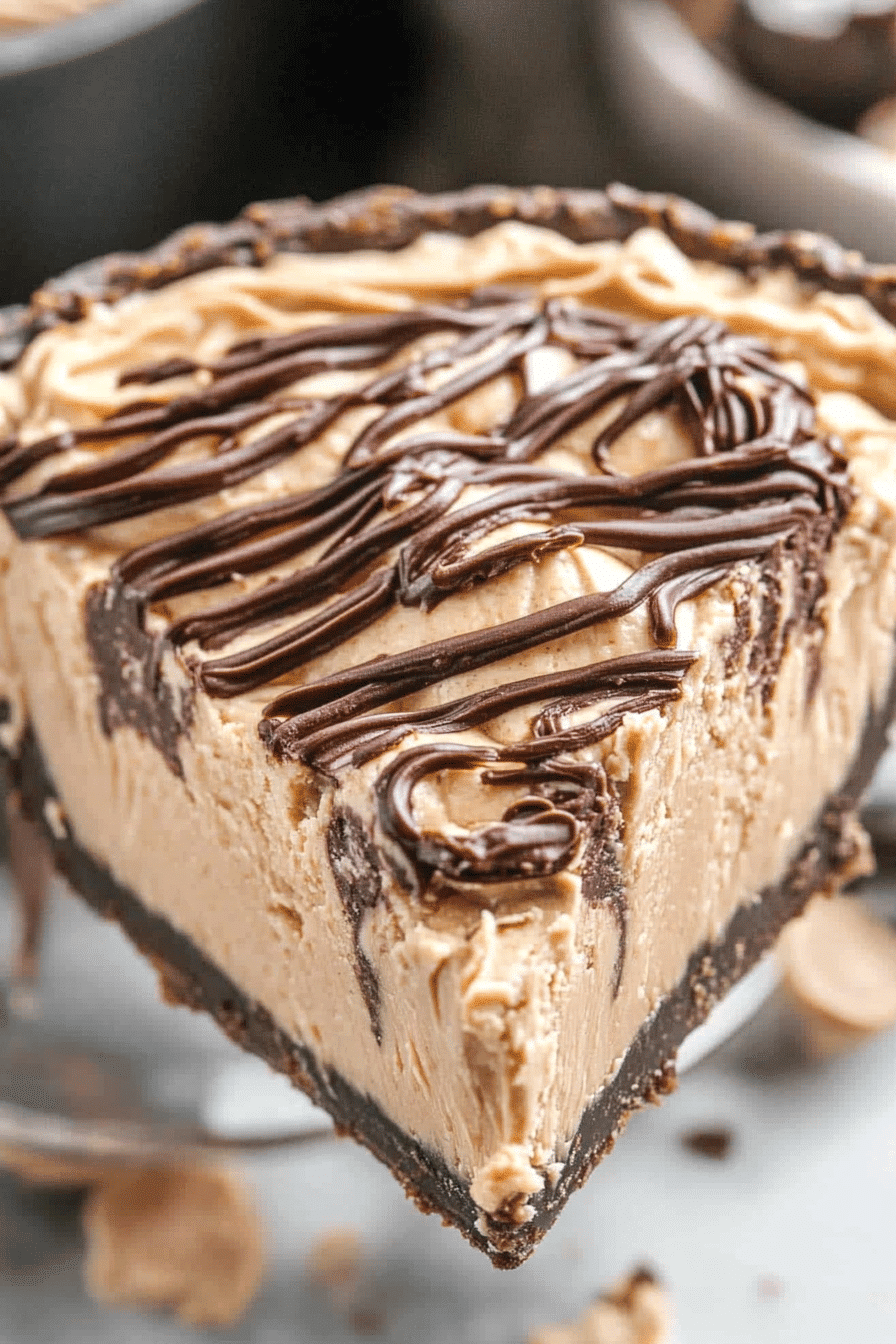
So, what exactly makes this Peanut Butter pie so special? Think of it as a heavenly cloud of creamy, dreamy peanut butter filling nestled inside a perfectly crisp crust, all topped off with a luscious drizzle. It’s essentially a no-bake dream come true. The “pie” part comes from the traditional crust, but the filling is where the magic really happens. It’s a whipped mixture that’s incredibly light and airy, yet intensely flavored with real peanut butter. It’s not overly sweet, which I love, letting the nutty goodness really shine through. The origin of this kind of pie is a bit fuzzy, but the concept is pure comfort food genius. It’s the kind of dessert that bridges the gap between a simple snack and a show-stopping finale to any meal. It’s the best of all worlds – the ease of a no-bake treat with the indulgence of a rich dessert. It’s truly meant to be savored, one spoonful at a time.
Why you’ll love this recipe?
What are some of the best reasons to make peanut butter pie?flavor is just out of this world. It’s that perfect balance of sweet and salty that peanut butter lovers dream about. It tastes intensely of peanut butter, but it’s smooth and creamy, not gritty or overwhelming. Then there’s the simplicity. This recipe is a lifesaver on busy nights or when unexpected guests pop over. You don’t even need to turn on the oven for the filling! It comes together so quickly, and the most time-consuming part is letting it chill to perfection. And speaking of chilling, this dessert is surprisingly cost-efficient. The ingredients are pantry staples for most of us, and you don’t need anything fancy or expensive to make it taste like a millionversatility. While it’s phenomenal just as is, you can totally customize it. Add some chocolate chips, a different kind of crust, or even some crunchy peanuts on top. It’s also perfect for virtually any occasion – think backyard BBQs, holiday gatherings, or just a Tuesday night when you need a little pick-me-up. It’s a no-fail crowd-pleaser that feels both comforting and a little bit fancy. If you enjoyed my classic chocolate chip cookies, you’re going to adore this pie for its similar ease and guaranteed deliciousness.
How to Make Peanut Butter Pie
Quick Overview
The beauty of this Peanut Butter pie lies in its straightforward approach. We start with a simple, no-bake crust – often a graham cracker or cookie crust, which gives a lovely textural contrast. Then, we whip up an incredibly decadent, yet surprisingly light, peanut butter filling that requires no baking whatsoever. It’s all about creaming together the right ingredients to achieve that smooth, melt-in-your-mouth consistency. Finally, it’s chilled until perfectly set, often finished with a simple glaze or whipped cream. This method ensures maximum flavor with minimal fuss, making it perfect for anyone, even if you’re new to baking (or just don’t feel like turning on the oven!).
Ingredients
For the Crust:
You have a few options here, but my go-to is always a graham cracker crust. It’s classic and provides the perfect crumbly base. You’ll need about 1 ½ cups of graham cracker crumbs (that’s usually about 10-12 full graham crackers pulsed in a food processor or rubbed between your hands), 2 tablespoons of granulated sugar, and about 6 tablespoons of melted unsalted butter. If you’re feeling adventurous, chocolate cookie crumbs (like Oreos, filling removed) or even a crushed shortbread cookie works beautifully too. Just make sure you have enough crumbs to press firmly into your pie plate!
For the Filling:
This is where the star of the show comes in! You’ll need 1 cup of creamy peanut butter (the regular kind, not the natural kind that separates, unless you’re okay with a slightly different texture – I stick to Jif or Skippy for guaranteed smoothness). Then, we’ll add one 8-ounce package of cream cheese, softened to room temperature so it whips up smoothly without lumps. We also need about 1 cup of powdered sugar, sifted to avoid any grittiness. For that airy texture, we’ll incorporate about 1 cup of heavy whipping cream, whipped to stiff peaks. A teaspoon of vanilla extract is a must for that subtle depth of flavor, and a pinch of salt can help balance the sweetness if your peanut butter is on the sweeter side.
For the Glaze (Optional, but highly recommended!):
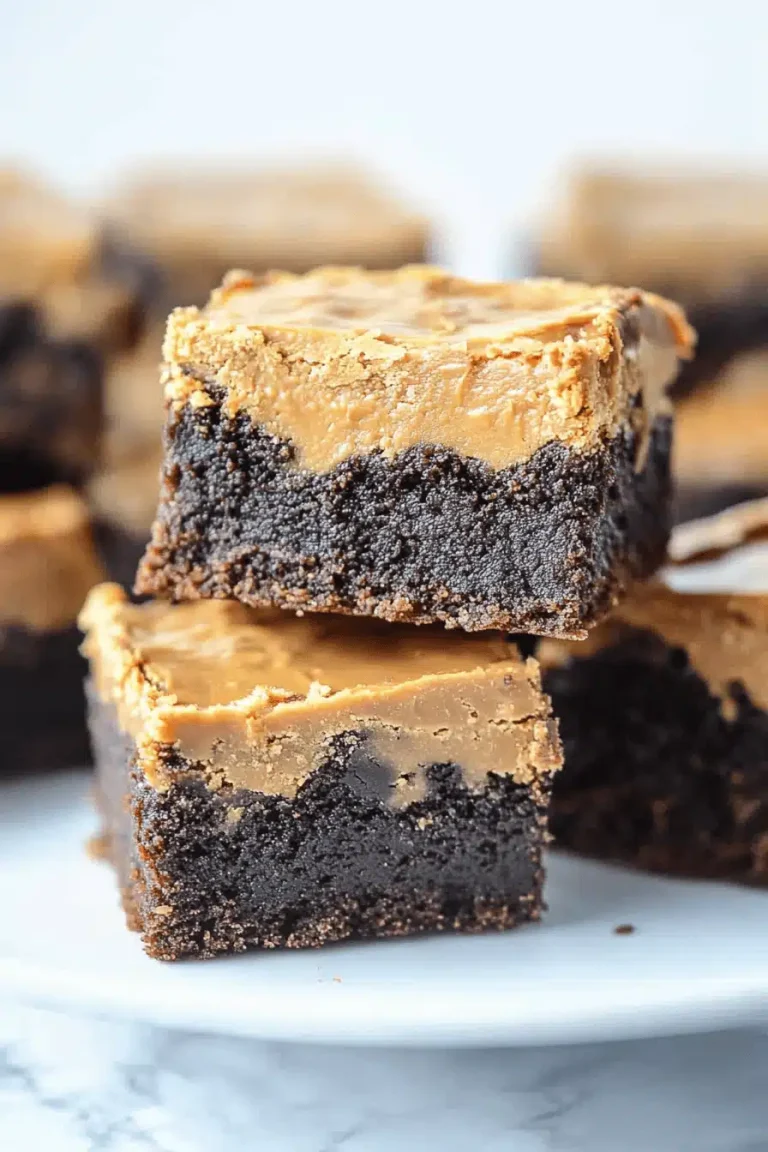
This really takes it over the top. It’s super simple: ½ cup of semi-sweet chocolate chips and 2 tablespoons of creamy peanut butter. You can also add a tablespoon of butter or a splash of milk for a thinner consistency if you prefer. Alternatively, a dollop of whipped cream and a sprinkle of chopped peanuts or chocolate shavings makes for a gorgeous finish!
Step-by-Step Instructions
Step 1: Preheat & Prep Pan
First things first, grab your 9-inch pie plate. If you’re making a pre-baked crust (which I sometimes do if I have the time, for extra crispness), preheat your oven to 350°F (175°C). If you’re going the no-bake crust route, you don’t need to preheat. For the crust, in a medium bowl, combine your graham cracker crumbs, granulated sugar, and melted butter. Stir until all the crumbs are moistened, like wet sand. Then, press this mixture firmly and evenly into the bottom and up the sides of your pie plate. I like to use the bottom of a glass or a measuring cup to get a nice, compact layer. If you pre-baked it, pop it in the oven for about 8-10 minutes until lightly golden, then let it cool completely before adding the filling. If it’s a no-bake crust, just pop it in the freezer for about 10-15 minutes while you make the filling – this helps it set up firm.
Step 2: Mix Dry Ingredients
While your crust is chilling or cooling, let’s get to the stars of the show: the filling ingredients! In a large mixing bowl, or the bowl of your stand mixer if you have one, add the softened cream cheese and the sifted powdered sugar. The reason we sift the powdered sugar is crucial – it prevents any pesky lumps from forming in your beautifully smooth filling. Beat these together on medium speed until they are light, fluffy, and completely combined. You want it to look smooth and creamy, like a thick frosting. Scrape down the sides of the bowl a few times to make sure everything is incorporated.
Step 3: Mix Wet Ingredients
Now, it’s time to bring in that glorious peanut butter! Add the creamy peanut butter to the cream cheese and powdered sugar mixture. Also, add your vanilla extract and a pinch of salt. Beat again on medium speed until everything is wonderfully combined and smooth. It will be quite thick at this stage, which is exactly what we want. Taste it here if you like – it’s already pretty darn delicious! Make sure there are no streaks of cream cheese or peanut butter left; it should be a uniform, luscious color and texture.
Step 4: Combine
This is where we create that signature airy lightness. In a separate, clean bowl, whip your heavy cream until stiff peaks form. This means when you lift the whisk or beater, the cream holds its shape and doesn’t flop over. Gently fold about one-third of the whipped cream into the peanut butter mixture. This helps to lighten it up. Then, carefully fold in the remaining whipped cream until just combined. Be gentle! You don’t want to deflate all that lovely air you just whipped in. You’re looking for a smooth, homogenous, and light mixture. It should look like a fluffy mousse. Overmixing here can make the filling dense, so take your time and fold with care.
Step 5: Prepare Filling
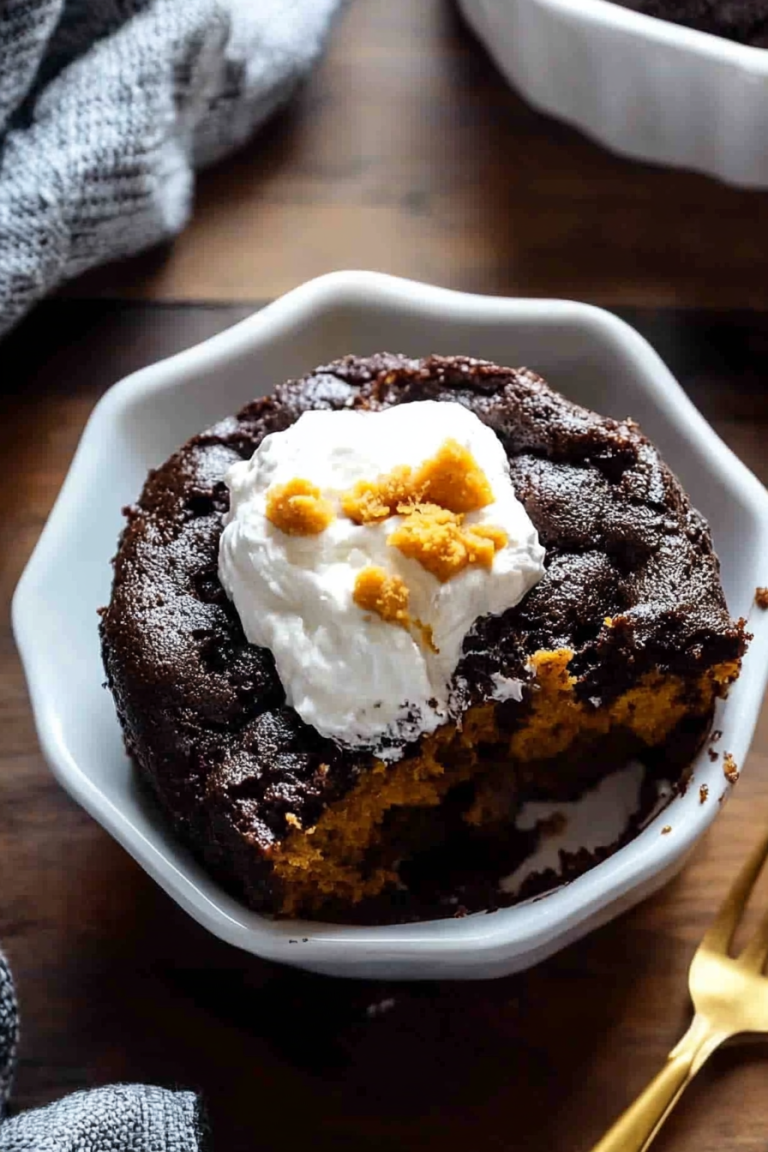
Actually, step 5 is technically already done in the steps above! The “Prepare Filling” here refers to the actual mixing and combining of all those delicious ingredients. The result should be a light, airy, and incredibly smooth peanut butter filling. It’s ready to be spooned into our prepared crust. If you’re adding any mix-ins like chocolate chips or chopped peanuts *into* the filling, this is the stage to gently fold them in. My kids love it when I fold in some mini chocolate chips, and it adds a fun little surprise with every bite.
Step 6: Layer & Swirl
Now for the fun part: getting that filling into the crust! Gently spoon the peanut butter filling into your chilled (or cooled, if baked) pie crust. Spread it out evenly using an offset spatula or the back of a spoon, smoothing the top. If you decided to go with a glaze, you can actually drizzle some melted chocolate or peanut butter over the top at this stage and use a toothpick to swirl it in for a marbled effect. Or, you can save all the topping for after it’s set. I usually wait until it’s firm to add the final touches, as it makes for a cleaner presentation.
Step 7: Bake
This is the magic step where you actually DON’T bake the filling! For the no-bake version, once the filling is in the crust, cover the pie loosely with plastic wrap and place it in the refrigerator. Let it chill for at least 4-6 hours, or preferably overnight, until it’s completely firm and set. This chilling time is crucial for the pie to hold its shape when sliced. If you opted for a baked crust, the filling still goes in the fridge to set, no oven required for the filling itself!
Step 8: Cool & Glaze
Since this is a no-bake pie, the “cooling” is really the chilling process. Once the pie has set beautifully in the fridge, it’s time for the optional, but highly recommended, glaze. Gently melt the chocolate chips and peanut butter together in a microwave-safe bowl in 30-second intervals, stirring in between, until smooth. Alternatively, you can do this in a small saucepan over low heat. Once smooth, drizzle it all over the chilled pie. You can let it drip naturally down the sides, or use a spatula to spread it a bit. If you’re using whipped cream and toppings, wait until the chocolate glaze has set slightly, or even just before serving. The key is to have the pie nice and cold so the glaze sets up nicely.
Step 9: Slice & Serve
This is the moment of truth! Once the pie is firm and any glaze has set, it’s ready to be sliced. The best way to get clean slices is to use a sharp knife that has been dipped in hot water and then wiped dry. This helps the knife glide through the creamy filling and crust. Serve chilled. I love serving this peanut butter pie with a tall glass of milk, a cup of coffee, or even a scoop of vanilla ice cream for an extra decadent treat. My family devours it, and I’m sure yours will too!
What to Serve It With
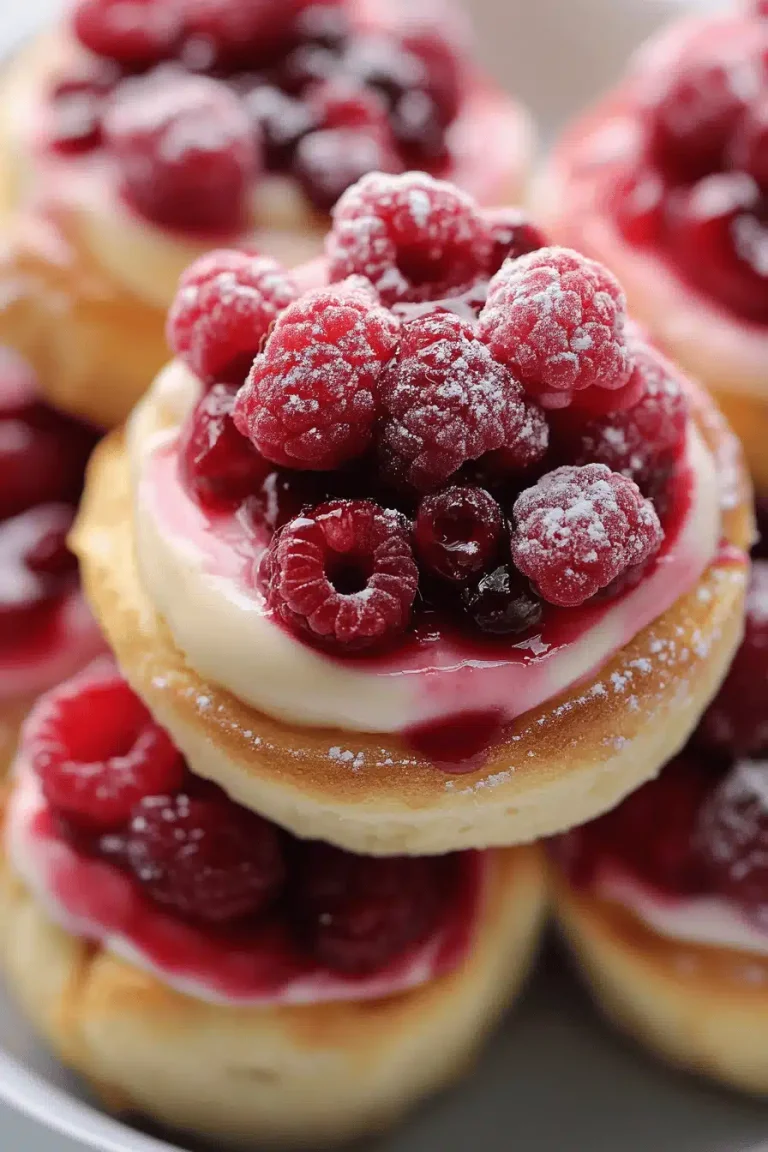
This peanut butter pie is so versatile, it fits into any meal or occasion. For Breakfast, it might sound decadent, but a small, thin slice paired with a strong black coffee is surprisingly delightful. The richness cuts through the bitterness of the coffee beautifully. For Brunch, serve it as a sweet ending. A small, perfectly cut wedge on a pretty plate, perhaps with a few fresh berries on the side for a pop of color and freshness, looks stunning. A mimosa or a light sparkling wine complements it wonderfully. As a formal Dessert, it’s a guaranteed winner. Serve it chilled, perhaps with a light dusting of cocoa powder or a dollop of homemade whipped cream. It’s also fantastic with a tiny scoop of raspberry sorbet for a contrast in flavors. And for those Cozy Snacks, this pie is your best friend. Cut a generous slice, curl up on the couch with a mug of hot chocolate or a cold glass of milk, and just enjoy. My kids always ask for seconds, and it’s the perfect sweet ending to a family movie night. I’ve also tried serving it with a drizzle of caramel sauce, and it’s heavenly – pure peanut butter caramel bliss!
Top Tips for Perfecting Your Peanut Butter Pie
I’ve made this peanut butter pie more times than I can count, and I’ve picked up a few tricks along the way that I think will really help you achieve pie perfection. For the crust, the key is to get it nicely compacted. Whether you use a graham cracker, cookie, or even a pretzel crust, pressing it firmly into the pan is essential. If you’re using graham crackers, make sure they’re finely ground – no big chunks! For the filling, using room temperature cream cheese is non-negotiable. Cold cream cheese will lead to lumps, and nobody wants a lumpy peanut butter pie. And when you’re folding in the whipped cream, go slow and be gentle. You want to keep that airiness! If you overmix, the filling will become dense and heavy. I learned this the hard way early on! For swirl customization, if you decide to add a chocolate or peanut butter drizzle on top, don’t let it get too hot or it will just melt into the filling. Let it cool slightly, and work quickly for those pretty swirls. Ingredient swaps can be fun! If you don’t have heavy cream, you *can* sometimes get away with using half-and-half, but it won’t be as light and fluffy – the texture will be denser. For baking, although this is mostly a no-bake recipe for the filling, if you bake your crust, keep an eye on it. It browns quickly! And for the glaze, if it gets too thick, add a tiny bit more peanut butter or a splash of milk to thin it out. A glaze that’s too thick will be hard to drizzle.
Storing and Reheating Tips
This peanut butter pie is best enjoyed fresh, but thankfully, it stores pretty well. For Room Temperature storage, I honestly don’t recommend it for more than a few hours, especially if it’s warm in your kitchen. The cream cheese and whipped cream can spoil. It’s best to keep it chilled. For Refrigerator Storage, this is your best bet. Store the pie covered tightly with plastic wrap or foil in the refrigerator. It will stay delicious for about 3-4 days. Make sure the plastic wrap isn’t touching the glaze if you’ve added it, or it might stick. I like to use a pie carrier if I have one, as it protects the toppings. For Freezer Instructions, you can freeze this pie, though the texture might change slightly upon thawing. It’s best to freeze it *before* adding the final glaze or toppings. Wrap the chilled pie very tightly in a double layer of plastic wrap, then a layer of foil. It should last up to 1-2 months. To thaw, transfer the frozen pie to the refrigerator for several hours, ideally overnight, before adding any toppings. For Glaze Timing Advice, if you’re freezing, add the glaze *after* thawing. If you’re just storing in the fridge, I usually add the glaze a few hours before serving or the day before, allowing it to set nicely.
Frequently Asked Questions
Final Thoughts
Honestly, this peanut butter pie recipe is one of those culinary treasures that I just had to share. It’s proof that you don’t need to be a pastry chef to create something truly spectacular in your own kitchen. It’s the perfect blend of ease, incredible flavor, and that comforting, nostalgic taste that just makes you happy. It’s the dessert I turn to when I want to impress without the stress, and it always, always delivers. If you’re a peanut butter enthusiast, or even if you just appreciate a well-made, creamy dessert, you absolutely have to give this a try. It’s a recipe that will become a staple in your repertoire, just like it has in mine. I can’t wait to hear about all your delicious creations and any fun twists you put on it! Happy baking (or in this case, happy no-baking)!

Peanut Butter Cup Pie
Ingredients
Pie Crust
- 2.5 cup milk chocolate chips
- 0.0167 tbsp vegetable oil
Peanut Butter Filling
- 1.33 cup powdered sugar
- 1 cup graham cracker crumbs
- 1.25 cup crunchy peanut butter
- 0.5 cup salted sweet cream butter
Instructions
Preparation Steps
- Line the bottom circle of a 9-inch fluted tart pan with a circle of parchment paper. Lightly spray the parchment circle with nonstick spray. Set it aside.
- Using a medium-size heat-safe mixing bowl, combine the chocolate chips and vegetable oil. Heat the chips and oil for 45 - 55 seconds. Stir until the chocolate chips are completely melted and smooth.
- Spoon 0.5 of the melted chocolate into the prepared tart pan. Using a large spoon or offset spatula, evenly spread the chocolate over the bottom of the tart pan and up the sides of the pan. Chill the coated tart pan in the refrigerator while preparing the peanut butter filling.
- Using a large mixing bowl, whisk together the powdered sugar and graham cracker crumbs. Set it aside.
- Using a medium-size heat-safe mixing bowl, add the crunchy peanut butter and the butter. Heat in the microwave for 45 seconds. Remove the bowl and stir to thoroughly combine.
- Pour the peanut butter mixture over the powdered sugar and graham cracker crumbs. Stir until the mixture is completely incorporated.
- Remove the chocolate-coated tart pan from the refrigerator. Using either a silicone spatula or an offset spatula, spread the peanut butter mixture into the bottom of the coated tart pan. Be sure the peanut butter mixture is smooth and even.
- Spoon the remaining melted chocolate mixture on top of the peanut butter layer. Use the spoon or an offset spatula to evenly smooth the chocolate all the way to the sides.
- Once the remaining chocolate has been spread, gently tap the tart pan to ensure the chocolate settles. Chill in the refrigerator for 4 hours to overnight.
- When you are ready to serve, remove the tart pan from the refrigerator. To remove the peanut butter cup from the tart pan, center the pan over a small mixing bowl and apply slight pressure to the edge of the tart pan to encourage the sides to come away. Have a serving platter or 10-inch cake circle ready to place the peanut butter cup pie on.
- Gently flip the pie upside down to remove the removable tart pan bottom, and carefully peel off the parchment circle. Place the serving plate or cake circle over the bottom of the pie and flip the pie back over.
- Slice into wedges and serve.