There are certain smells that just instantly transport you back in time, aren’t there? For me, the warm, rich aroma of chocolate being coaxed into something truly magical is one of them. It’s the scent of my mom’s kitchen on a chilly afternoon, the sound of her humming a familiar tune, and the promise of a treat that felt like a secret handshake among our family. Moms fudge. It’s not just candy; it’s a memory, a feeling, a comforting embrace in every single bite. This isn’t your fancy, overly complicated confectionery. This is the real deal, the kind of fudge that’s so divinely smooth and deeply chocolatey, it makes you want to close your eyes and savor every lick. Honestly, it’s the perfect answer when you’re hit with that late-night craving but the thought of preheating an oven and waiting for cookies to bake feels like too much. It’s a lifesaver for busy holidays, a showstopper at potlucks, and, best of all, it’s surprisingly easy. Forget those grainy, disappointing attempts at fudge; this recipe is pure chocolate bliss, and I’m so excited to share it with you!
What is Moms Fudge?
So, what exactly *is* Moms Fudge, you ask? Think of it as the ultimate, no-fuss chocolate indulgence. It’s a rich, creamy, intensely chocolatey confection that melts in your mouth. The name itself speaks volumes, right? It’s named after my mom, who perfected this recipe over years of patient tinkering and taste-testing (mostly by us kids, let’s be honest!). It’s essentially a stovetop fudge, meaning you don’t need a candy thermometer or any fancy equipment. It’s a simple, honest recipe that relies on good quality chocolate and a few pantry staples to create something truly spectacular. It’s got that perfect balance – it’s decadent without being overwhelmingly sweet, and it sets up beautifully without becoming hard or brittle. It’s the kind of treat that makes people ask, “Wow, where did you get this?” and then gasp when you tell them you made it yourself!
Why you’ll love this recipe?
Oh, where do I even begin with why this Moms Fudge is going to become your new best friend in the kitchen? First off, the flavor is absolutely out of this world. We’re talking deep, dark, pure chocolate goodness that’s just so satisfying. It’s not just sweet; it has this wonderful richness that lingers on your palate. And the texture! It’s impossibly smooth and creamy, dissolving on your tongue like a dream. What I really love, though, is just how ridiculously easy this is. You can whip up a batch in under 30 minutes (plus chilling time, of course!), which is incredible for something that tastes so luxurious. It’s also incredibly budget-friendly. The ingredients are pretty standard, and you don’t need anything exotic or expensive to achieve this level of deliciousness. Plus, it’s so versatile. While the classic chocolate version is divine, you can easily add nuts, swirls of caramel, or even a hint of peppermint. Compared to other candies that require precise temperature control, like caramels or brittle, this fudge is incredibly forgiving. It’s honestly my go-to when I need a quick, impressive dessert or a thoughtful edible gift. It’s the perfect way to show someone you care, without breaking the bank or spending hours in the kitchen.
How do I make my moms fudge?
Quick Overview
Making this Moms Fudge is a breeze. You’ll melt some butter and chocolate together, stir in condensed milk and some flavorings, and then let it chill. That’s it! The magic happens in the combination of simple ingredients and a little bit of patience while it sets. It’s so straightforward, even if you’re new to making candy, you’ll feel like a pro in no time. The stovetop method means minimal fuss and maximum flavor, and the cooling process does all the hard work for you. It’s truly one of the most rewarding “quick fixes” for a sweet craving you’ll ever find.
Ingredients
For the Main Batter:
1/2 cup (1 stick) unsalted butter: Using good quality butter really makes a difference here. Make sure it’s softened so it melts smoothly.
1 teaspoon pure vanilla extract: Don’t skimp on the vanilla; it really enhances the chocolate flavor.
1 10-ounce package semi-sweet chocolate chips: I prefer semi-sweet for a balanced flavor, but you can totally use dark chocolate chips if you like it richer!
1 14-ounce can sweetened condensed milk: This is the secret to the creamy texture. Make sure it’s sweetened condensed milk, not evaporated milk!
1/4 teaspoon salt: Just a pinch to balance the sweetness and bring out the chocolate notes.
Optional additions: Chopped nuts (walnuts, pecans), mini marshmallows, or even a dash of espresso powder for an extra kick.
Step-by-Step Instructions
Step 1: Preheat & Prep Pan
First things first, grab an 8×8 inch baking pan. Line it with parchment paper or aluminum foil, leaving a little overhang on the sides. This makes it super easy to lift the fudge out once it’s set. You don’t need to grease it if you’re using parchment. Set that aside. There’s no oven needed for this part!
Step 2: Melt the Butter and Chocolate
In a medium saucepan over low heat, melt the butter. Once it’s mostly melted, add in the semi-sweet chocolate chips. Stir constantly until both are completely melted and smooth. Keep the heat low – you don’t want to scorch the chocolate! It should look like a glossy, rich chocolate sauce.
Step 3: Stir in Condensed Milk and Flavorings
Once the chocolate and butter are smooth, pour in the entire can of sweetened condensed milk. Add the vanilla extract and the pinch of salt. Stir everything together gently but thoroughly. Keep stirring until it’s all well combined and has a beautiful, uniform color. If you’re adding any optional flavor boosters like espresso powder, now’s the time to stir them in.
Step 4: Cook Briefly
Continue to cook this mixture over low heat, stirring constantly, for about 5-7 minutes. You’re not looking for it to boil vigorously, just to thicken up slightly. You’ll notice it starts to pull away from the sides of the pan a bit when it’s ready. It should look glossy and even richer.
Step 5: Add Optional Mix-ins
If you’re adding nuts or anything else, stir them in now. Make sure they’re evenly distributed throughout the chocolate mixture. This is where you can really customize your Moms Fudge!
Step 6: Pour into Prepared Pan
Carefully pour the warm fudge mixture into your prepared baking pan. Use a spatula to spread it evenly into all the corners. It should be smooth and luxurious looking.
Step 7: Chill Until Firm
Now for the hardest part: waiting! Cover the pan loosely with plastic wrap or foil and place it in the refrigerator. Let it chill for at least 2-3 hours, or until it’s completely firm to the touch. The colder and firmer it gets, the easier it will be to cut.
Step 8: Slice and Serve
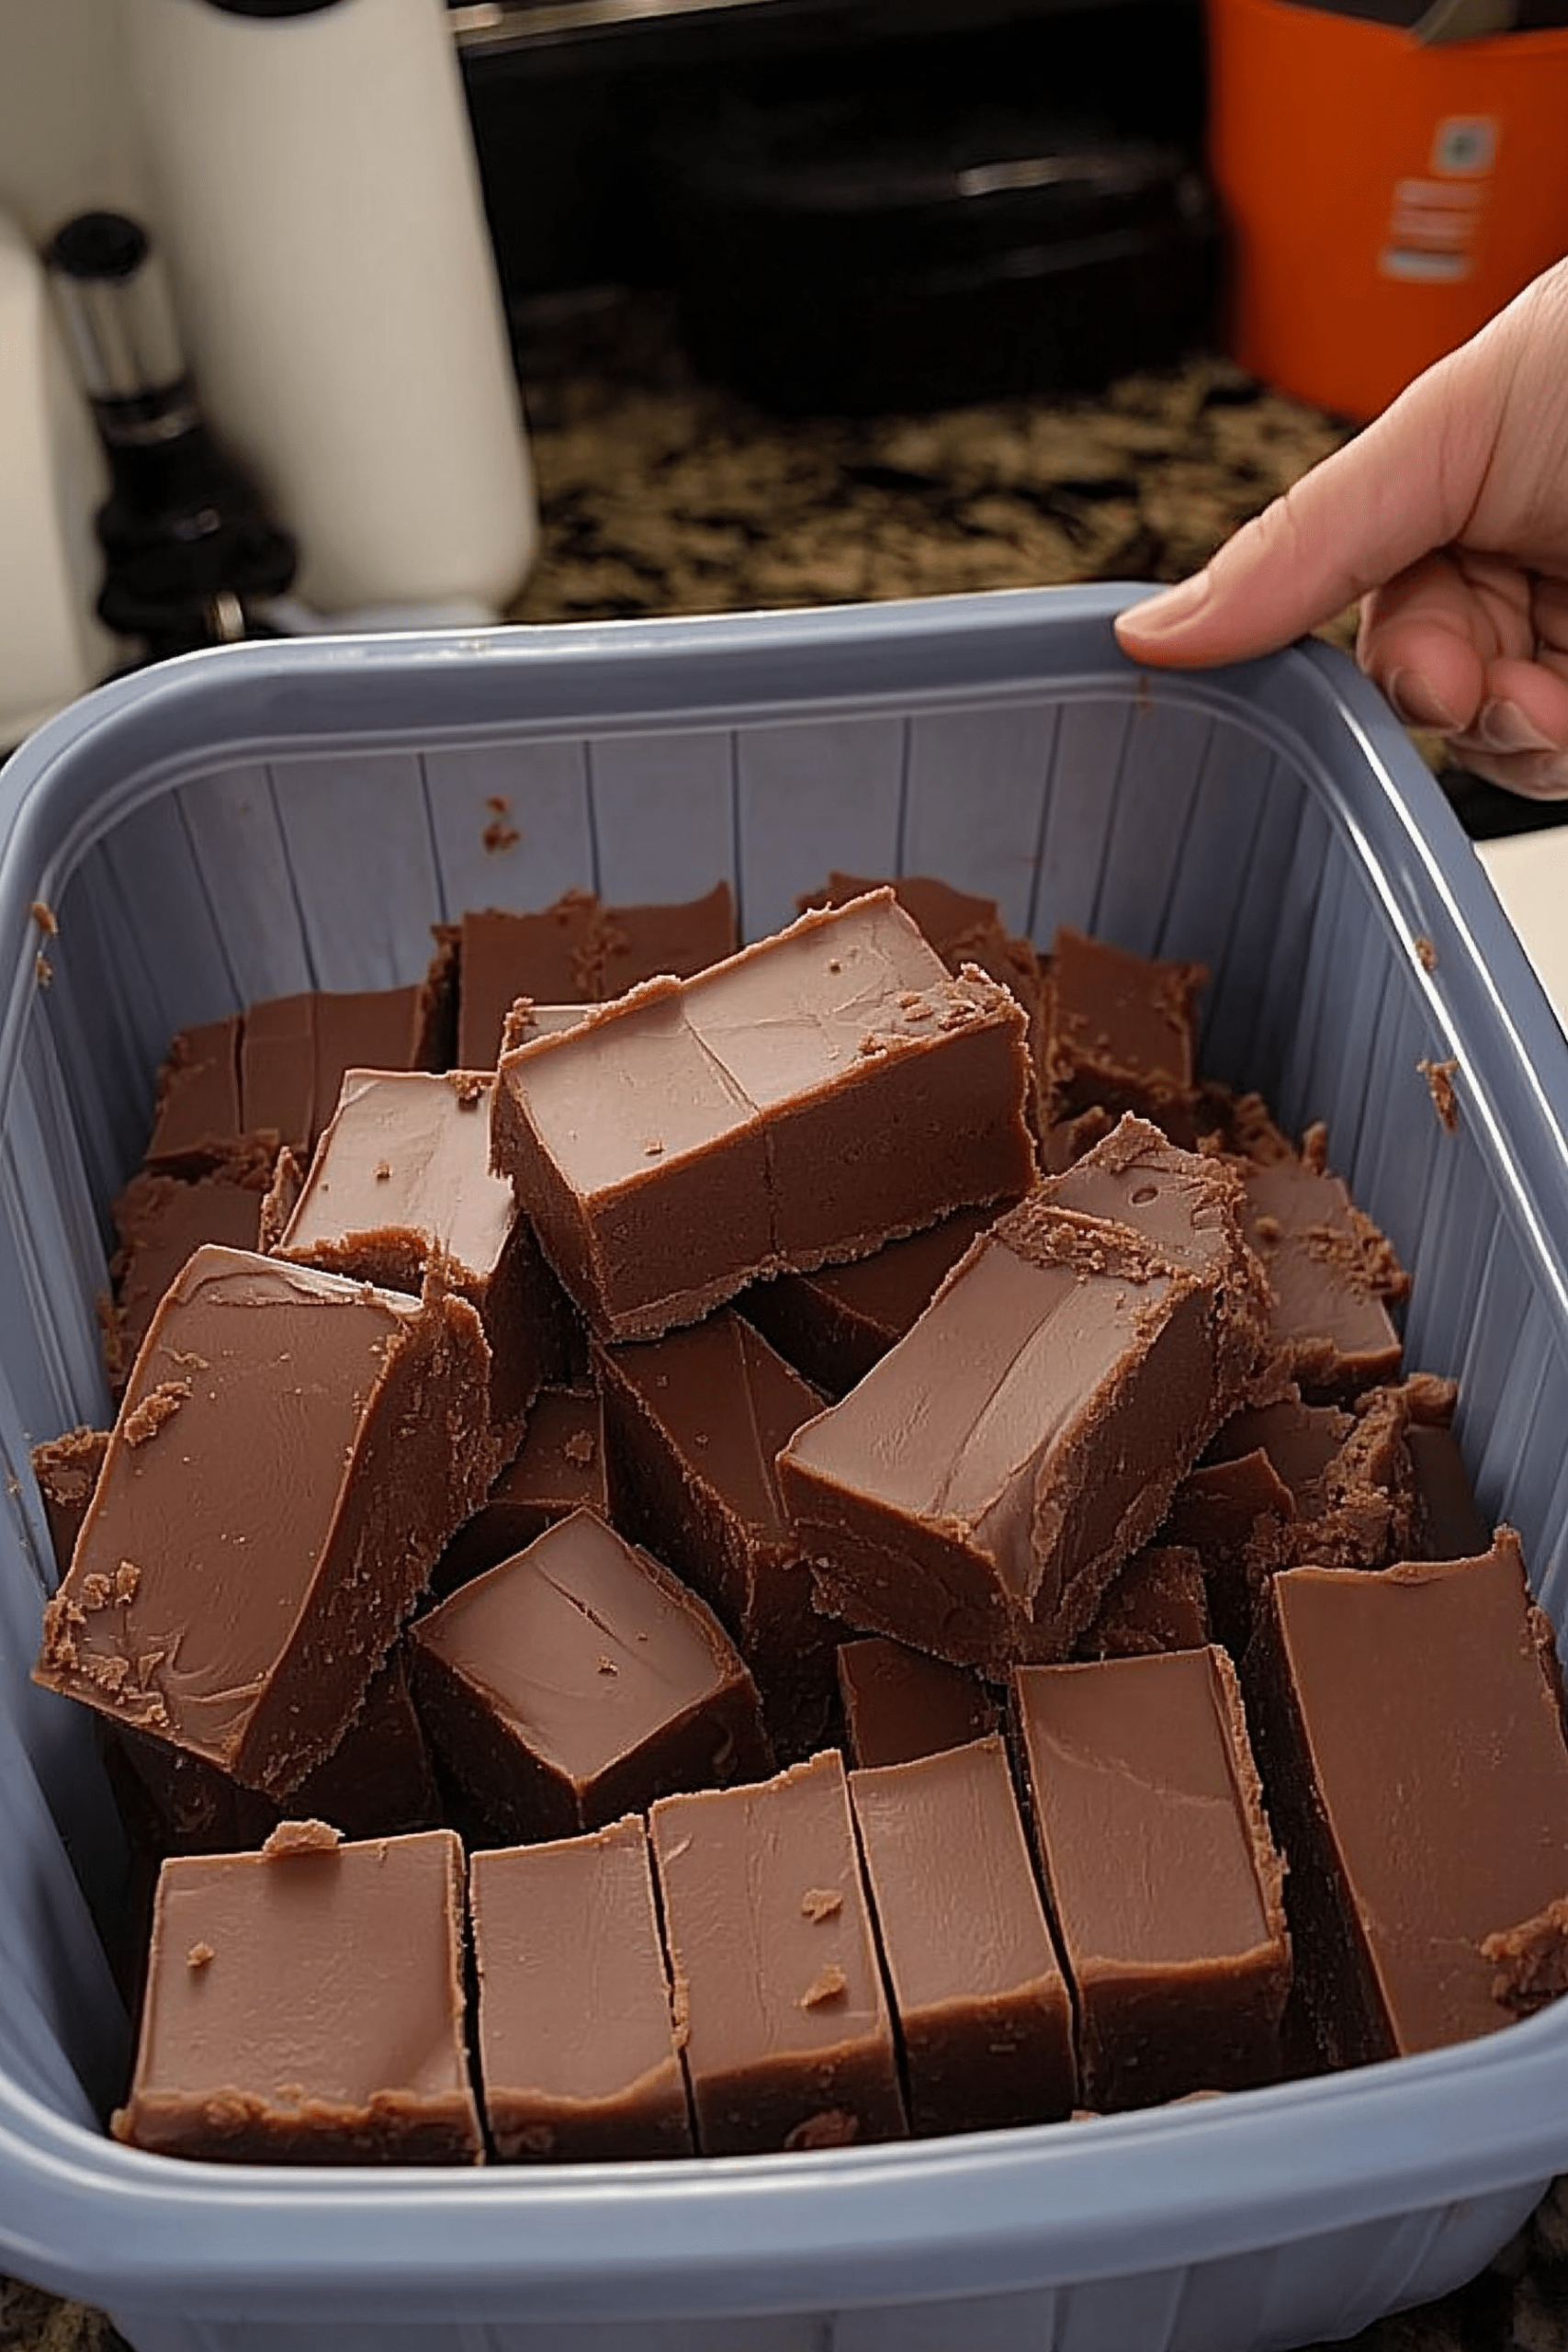
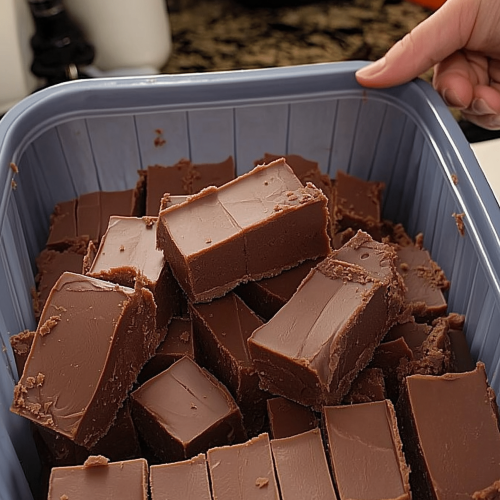
Once the fudge is firm, use the parchment paper overhang to lift it out of the pan. Place it on a cutting board. Use a sharp knife to cut it into squares. I usually make mine about 1-inch to 1.5-inch pieces. If the fudge is sticking to your knife, try dipping the knife in hot water and wiping it dry between cuts.
Step 9: Enjoy!
And there you have it! Perfectly rich, creamy, melt-in-your-mouth Moms Fudge. Serve it up and watch it disappear. It’s truly a labor of love, even if the labor part is minimal!
What to Serve It With
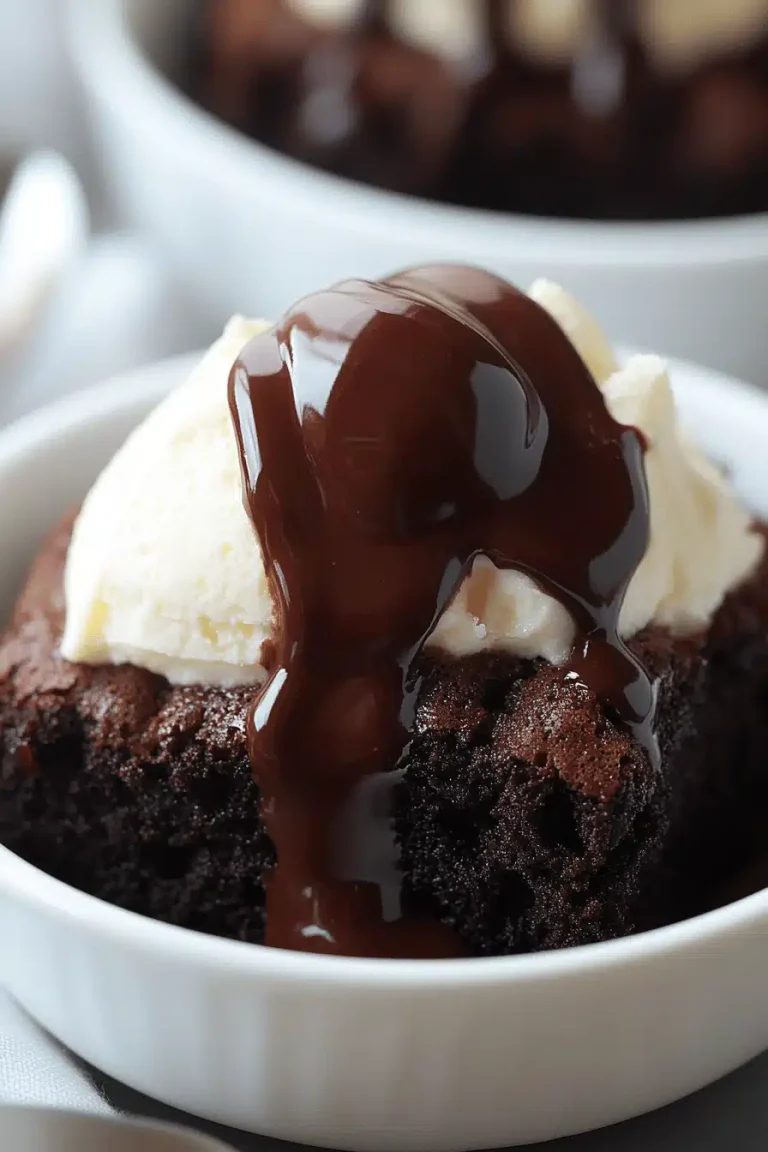
This Moms Fudge is a star all on its own, but it also plays wonderfully with other things. For a cozy breakfast treat alongside a steaming mug of coffee, it’s pure bliss. Imagine a small piece with your morning brew – it’s like a little indulgence to start your day right. If you’re hosting brunch, cutting it into slightly smaller, bite-sized pieces and arranging them on a dessert platter alongside fresh berries or a mini cheesecake adds a delightful chocolatey element that everyone will adore. It’s also fantastic as a simple yet elegant dessert after dinner. I love serving a few cubes with a scoop of vanilla bean ice cream or a dollop of whipped cream. For those truly cozy snack moments, a piece of this fudge with a glass of cold milk is an absolute classic. My kids swear by it for their after-school snack, and honestly, so do I! It’s the perfect antidote to a long day. I’ve also found it’s amazing crumbled over yogurt or used as a topping for Hot Chocolate. The possibilities are truly endless for such a versatile treat!
Top Tips for Perfecting Your Moms Fudge
Over the years, I’ve picked up a few little tricks that make this Moms Fudge recipe even better. First, regarding the chocolate, using good quality chocolate chips really does make a noticeable difference in the final flavor. If you can, opt for a brand you trust. When you’re melting the chocolate and butter, *always* use low heat and stir constantly. Chocolate can scorch very easily, and burnt chocolate is a flavor you absolutely cannot hide. If you think it’s getting too hot, just pull it off the heat for a moment and keep stirring; the residual heat will do the job. For the sweetened condensed milk, make sure you’re using the sweetened kind, not evaporated. They have completely different purposes! If you want to add nuts, toasting them lightly before adding them to the fudge mixture will really bring out their flavor. Just spread them on a baking sheet and toast in a 350°F oven for about 5-7 minutes until fragrant, then let them cool before stirring them in. When it comes to chilling, patience is key. While it might be tempting to rush it, letting it chill for the full 2-3 hours (or even longer) ensures it sets up perfectly and is easy to cut. If your fudge is too soft to cut, don’t worry! You can usually pop it back in the freezer for about 20-30 minutes to firm it up. And for cutting, a sharp knife is your best friend. I find a thin, sharp chef’s knife works best. Wiping the blade clean between cuts can help achieve really neat squares. If you decide to add marshmallows, stir them in right at the end of the cooking process, just before you pour it into the pan, so they don’t completely melt away. My mom always added a tiny bit of espresso powder to hers, and it made the chocolate flavor sing without tasting like coffee – I highly recommend it!
Storing and Reheating Tips
This Moms Fudge is wonderfully forgiving when it comes to storage. At room temperature, if it’s in a fairly cool spot, it can last for up to a week. Just make sure to store it in an airtight container to keep it fresh and prevent it from picking up any odd smells from the fridge or pantry. I usually just layer it between sheets of parchment paper in a cookie tin or an airtight container. If your kitchen tends to be warm, or if you’ve added any meltier ingredients like marshmallows that might get gooey, the refrigerator is a better bet. In the fridge, it will stay fresh and firm for about two weeks. Again, an airtight container is crucial to maintain its texture and prevent it from drying out. For longer storage, the freezer is your best friend! Wrap the cut fudge pieces very tightly in plastic wrap, then place them in a freezer-safe bag or container. It can last in the freezer for up to 3 months. To thaw, simply unwrap the fudge and let it come to room temperature on the counter for about 30 minutes. It will taste just as delicious as when you first made it. If you’ve stored it in the fridge and want to enjoy it at its ideal softest texture, you can let it sit out on the counter for about 15-20 minutes before serving. Honestly, though, I rarely have leftovers to store because it disappears so fast!
Frequently Asked Questions
Final Thoughts
I truly hope you give this Moms Fudge a try. It’s more than just a recipe; it’s a little piece of my heart, a taste of tradition, and a whole lot of chocolatey comfort. It’s the perfect example of how a few simple ingredients can come together to create something truly extraordinary. Whether you’re making it for a special occasion, a family gathering, or just because you deserve a sweet treat, I know you’re going to fall in love with its incredible flavor and surprising ease. If you enjoy this rich chocolatey goodness, you might also love my recipe for No-Bake Chocolate Peanut Butter Bars or my classic Chewy Chocolate Chip Cookies – they’re other family favorites that bring joy to any kitchen! I can’t wait to hear how your Moms Fudge turns out. Please share your thoughts and any fun variations you try in the comments below! Happy baking (and eating)!
Moms Fudge
Ingredients
Main Ingredients
- 3 cups granulated sugar
- 0.5 cup butter unsalted
- 0.5 cup evaporated milk
- 6 oz semi-sweet chocolate chips
- 1 jar marshmallow fluff 7 oz
- 1 tsp vanilla extract
- 1 cup chopped walnuts or pecans optional
Instructions
Preparation Steps
- Grease an 8x8 inch baking pan.
- In a heavy-bottomed saucepan, combine granulated sugar, butter, and evaporated milk. Cook over medium heat, stirring constantly, until butter is melted and sugar is dissolved. Bring to a boil, then reduce heat and simmer for 5 minutes, stirring occasionally.
- Remove from heat. Stir in chocolate chips until melted and smooth.
- Add marshmallow fluff and vanilla extract. Stir until well combined and smooth.
- If using, stir in chopped nuts.
- Pour the mixture into the prepared baking pan and spread evenly.
- Let cool completely at room temperature, then cut into squares.