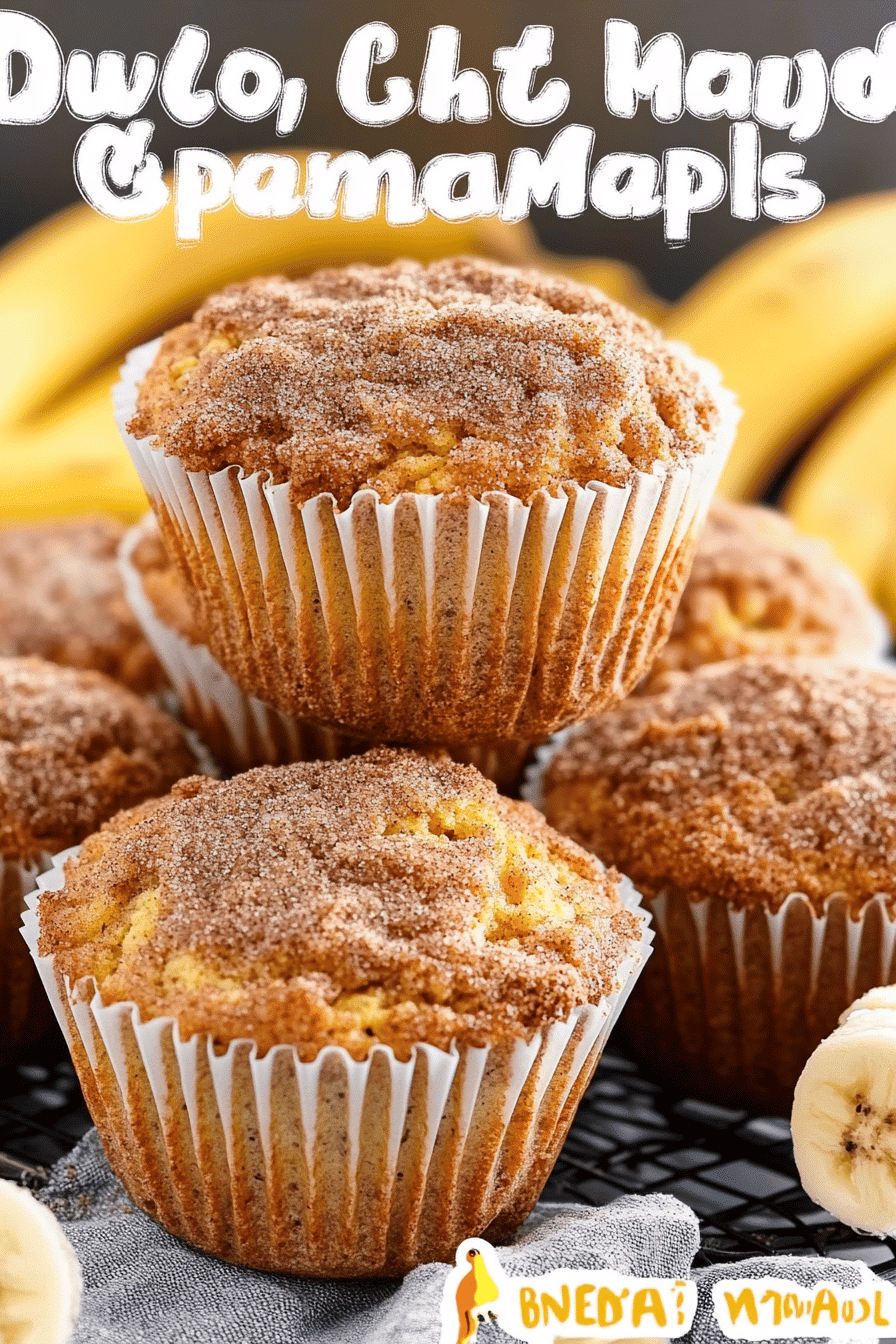
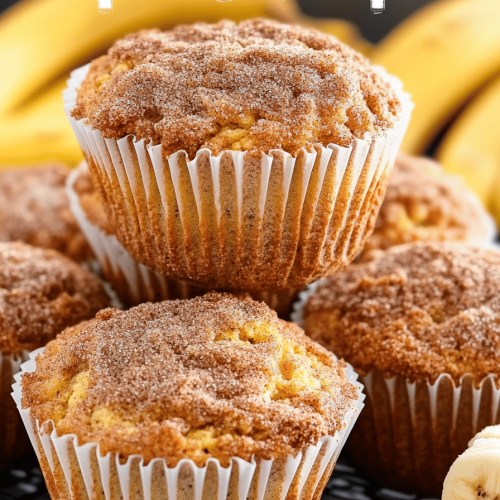
I remember the very first time I baked banana bread for my family—it wasn’t anything fancy, but the smell alone made the whole house feel like a warm hug. There’s just something about the way the sweet aroma of ripe bananas mingles with cinnamon and vanilla that instantly transports me back to cozy Sundays with my grandma. This banana bread recipe has become my go-to, especially when I have overripe bananas that I don’t want to waste. It’s easy, forgiving, and just downright delicious. I’ve tried other banana breads that feel dry or too dense, but this one hits that perfect soft, moist, slightly crumbly texture every single time. Plus, it’s a real crowd-pleaser—whether you want an afternoon snack or a comforting breakfast. If you love a classic treat with a little extra love, I promise this banana bread will soon be one of your favorites too.
What is banana bread?
Think of banana bread as the cozy cousin of your basic loaf cake, except it’s packed with ripe bananas that bring natural sweetness and moisture. It’s essentially a quick bread, which means no yeast and no rising time—just mix, pour, and bake. The name’s pretty straightforward: a bread-like cake made mostly with bananas. But don’t let the word “bread” fool you—it’s tender, soft, and slightly crumbly, not heavy like a sandwich loaf. Originating as a way to make use of extra bananas before they spoil, banana bread has become a beloved staple in kitchens across the world. You can eat it for breakfast, dessert, or whenever you need a treat that feels homemade with very little fuss. It’s approachable for beginners and comforting for seasoned bakers alike.
Why you’ll love this recipe?
Where do I even start with why this banana bread is a keeper? First off, the flavor is unbeatable—it’s like banana bread but elevated with cozy spices like cinnamon and a subtle vanilla undertone that sticks around just long enough to make you smile. Then there’s the texture: soft and moist but not soggy, with a tender crumb that melts in your mouth. You won’t need to force-feed this to the family; trust me, it disappears in minutes here!
What I love most about this recipe is how ridiculously easy it is. No fancy techniques, just simple mixing and baking that anyone can do after a rough day or when the kids are clamoring for a snack. The ingredients are everyday pantry staples—bananas, flour, sugar, eggs—which makes it budget-friendly too. And if you’re like me, who hates throwing away food, this is a lifesaver when the bananas have passed their prime but you’re not quite ready to compost.
Plus, the versatility! This banana bread tastes amazing plain but it’s also a fantastic base if you want to jazz it up with chocolate chips, walnuts, or even swirls of peanut butter. It’s also a perfect canvas for glazes or a dusting of cinnamon sugar. I’ve found it pairs wonderfully with my morning coffee or as a sweet finish after dinner. If you’ve ever enjoyed a good zucchini bread or pumpkin bread, think of this banana bread as that warm, inviting alternative that’s perfect any time of year.
How do you make banana bread?
Quick Overview
This banana bread comes together in just a few simple steps: you start by preheating the oven and prepping your pan, mix the dry ingredients separately, then combine the wet ingredients—mash those bananas extra well! After gently folding everything together with a filling or swirl if you like, pop it in the oven. What’s great about this method is how foolproof it is—you don’t have to worry about overworking it or complicated timing tricks. It’s an easy rhythm that gets you from pantry to plate in under an hour!
Ingredients
For the Main Batter:
– 3 ripe bananas (the more spotted, the better for sweetness)
– 1 cup granulated sugar (can swap half for brown sugar for a caramel note)
– 1/2 cup melted butter (or coconut oil for a twist)
– 2 large eggs
– 1 1/2 cups all-purpose flour (for a lighter crumb, sift before measuring)
– 1 tsp baking soda (helps with that rise and fluff)
– 1/2 tsp salt (balances sweetness)
– 1 tsp vanilla extract (trust me, don’t skip this)
For the Filling:
– Optional 1/2 cup chopped walnuts or pecans (toasted for extra crunch)
– Optional 1/3 cup chocolate chips or chunks (my kids swear by these!)
For the Glaze:
– 1/2 cup powdered sugar
– 1-2 tbsp milk or cream (adjust for desired thickness)
– Optional splash of vanilla or a squeeze of lemon juice (for brightness)
Step-by-Step Instructions
Step 1: Preheat & Prep Pan
Set your oven to 350°F (175°C). I always line my loaf pan with parchment paper—makes removing the banana bread a breeze and protects those beautiful edges. If you don’t have parchment, greasing the pan generously with butter or non-stick spray works just fine. Try to preheat the oven fully before starting the batter; it helps with consistent baking.
Step 2: Mix Dry Ingredients
Whisk together the flour, baking soda, and salt in a large bowl. This helps ensure everything is evenly distributed. I like to sift the flour to keep the crumb nice and tender, but if you’re feeling casual, just mix well with a spoon. The texture should feel light and powdery, ready to meet your wet ingredients.
Step 3: Mix Wet Ingredients
In another bowl, mash those ripe bananas with a fork until you can’t spot any lumps—that smooth banana base is key for flavor and moisture. Add in the sugar, melted butter, eggs, and vanilla extract. Whisk everything until it looks glossy and well combined, almost like a batter for pancakes. At this stage, your kitchen will start to smell so good—it’s one of my favorite moments!
Step 4: Combine
Pour the wet mixture into the dry and gently fold together with a spatula, just until you no longer see flour streaks. Resist the urge to overmix! Overworking the batter can make the banana bread tough, and no one wants that. If you’re adding nuts or chocolate chips, fold those in here too. The batter will be thick but soft and silky.
Step 5: Prepare Filling
If you’re wanting to add a filling swirl—like peanut butter or cream cheese—make sure it’s softened but not runny. Sometimes I heat mine in short bursts to get an easy to spread texture. Stir in a little sugar and vanilla if you like, and it’ll add a nice creamy contrast inside the bread.
Step 6: Layer & Swirl
Pour half the batter into the pan, then add spoonfuls of your chosen filling evenly across. Top with the remaining batter. Grab a butter knife and gently swirl through the top creating those pretty marbled lines. This little trick amps up both the looks and taste—plus your guests will ask how you did it!
Step 7: Bake
Place the pan in the middle rack and bake for 55-65 minutes. Start checking around 55 minutes by inserting a toothpick in the center—it should come out mostly clean, with a few moist crumbs but no wet batter. If the top is browning too fast, tent it with foil for the last 10 minutes. Every oven’s different, so go by feel and look rather than the clock alone.
Step 8: Cool & Glaze
Once out of the oven, let the bread cool in the pan for about 10 minutes to firm up, then remove it onto a wire rack. If you glaze it, wait until it’s mostly cool but still slightly warm—that way the glaze melts into gentle cracks on top instead of sliding off. Drizzle it slowly, and watch it harden into a lovely shiny finish as it cools completely.
Step 9: Slice & Serve
When slicing, use a serrated knife and cut gently to avoid squishing the crumb. This banana bread is great warm with a pat of butter or even a smear of Nutella if you’re feeling indulgent. Serve it with your favorite cup of coffee or tea and watch everyone’s eyes light up!
What to Serve It With
For Breakfast: Nothing beats a thick slice of this banana bread along with a strong cup of black coffee or a creamy latte. I love serving it with fresh fruit on the side, like slices of crisp apple or berries—keeps it balanced but still cozy.
For Brunch: Add a dollop of Greek yogurt or mascarpone cheese topped with a drizzle of honey. It makes the whole thing feel a little fancier and perfectly pairs with a mimosa or sparkling herbal tea.
As Dessert: Warm a slice gently and serve it with a scoop of vanilla ice cream or a swirl of whipped cream. A sprinkle of toasted nuts or a drizzle of homemade caramel sauce takes it to next-level indulgence.
For Cozy Snacks: Wrap a slice up and take it out on a picnic or afternoon walk. It’s filling and just sweet enough to satisfy that random 3 pm craving. Pair it simply with hot chocolate or chai tea for maximum comfort.
Our family has this ritual where each banana bread batch gets “custom toppings” right at the table—from peanut butter to cream cheese to jam—everyone’s happy and feeling a bit gourmet. I love how versatile this recipe is to fit any mood or occasion.
Top Tips for Perfecting Your Banana Bread
Banana Prep: I can’t stress enough—use bananas that are soft and speckled brown. The riper, the sweeter, and more flavor you get. If your bananas aren’t quite there, pop them in a paper bag for a day or two to speed ripening. Also, mash them really well; lumps mean uneven moisture.
Mixing Advice: Fold gently when combining wet and dry ingredients, no more than you have to. Overmixing develops gluten and toughens the bread—something I learned the hard way on my first dozen attempts! The batter should look just combined and slightly lumpy.
Swirl Customization: Go slow with your knife when swirling fillings like peanut butter or cream cheese. Erratic or harsh swirls can cause the batter to separate or bake unevenly. A light, even motion works best for that attractive marbled effect.
Ingredient Swaps: Don’t be afraid to replace regular flour with whole wheat for a heartier bread—it just needs a touch more moisture (like a splash of yogurt or extra banana). I tested almond milk instead of dairy milk once, and it actually made the crumb even creamier! Coconut oil instead of butter adds a lovely tropical hint.
Baking Tips: Place your loaf pan in the center rack for the most even heat. My oven runs hot, so I usually lower temp by 10-15°F. If you see the top browning too quickly, foil tenting is your best friend. And the toothpick test—don’t underestimate it!
Glaze Variations: Keep your glaze pourable but not too runny; think smooth but not dripping off the edges. Try lemon juice in your glaze for zing, or swap powdered sugar for a bit of cream cheese icing for extra richness. Applying glaze too early can make it slide off, so wait until the bread’s mostly cool.
I’ve made this recipe dozens of times and learned the quirks of my own oven and pantry, so trust me when I say these little tips will save you from the bumps I hit along the way. This recipe feels like a warm hug because it has been part of so many family breakfasts and snack times in my home.
Storing and Reheating Tips
Room Temperature: Store your banana bread in an airtight container or wrapped tightly in plastic wrap for up to 3 days. It will stay moist and fresh, perfect for slicing on demand without losing softness.
Refrigerator Storage: If you want it to last longer, keep it in the fridge wrapped in foil or in a sealed container for up to a week. It might firm up slightly, so letting slices come to room temp or warming briefly in the microwave brings back that fresh-baked feel.
Freezer Instructions: Wrap your bread tightly in plastic wrap and then place it in a freezer bag to avoid freezer burn. It’ll keep beautifully for 2-3 months. Thaw overnight in the fridge or at room temperature, then warm in the oven or microwave for that just-baked warmth.
Glaze Timing Advice: If you plan to freeze the bread, skip glazing until you’re ready to serve. Adding the glaze after thawing keeps it fresh and glossy. If you’re storing at room temp and plan to eat within a couple of days, glaze as soon as cooled so it sets beautifully.
Frequently Asked Questions
Final Thoughts
Over the years, this banana bread has become way more than just a recipe—it’s a little family tradition that brings comfort and smiles every time I bake it. It’s reliable, simple, and the kind of loaf that instantly makes your kitchen feel like home. I honestly can’t imagine not having this tucked away in my recipe box whenever I have ripe bananas lingering on the counter.
If you enjoy playing with flavors, try adding cinnamon or swapping some flour for oats. And don’t be shy with mix-ins! The beauty of banana bread is how customizable and forgiving it is. Whether you stick with the classic or go adventurous, I’d love to hear what you try. Drop a comment below if you bake it, share your favorite additions, or any new twists you invent. Happy baking and here’s to many cozy mornings and sweet snack times ahead!
cream cheese-filled banana bread
Ingredients
Main Ingredients
- 1 large egg
- 0.5 cup light brown sugar, packed
- 0.25 cup granulated sugar
- 0.25 cup liquid-state coconut oil can substitute canola or vegetable oil
- 0.25 cup sour cream lite is okay; Greek yogurt can be substituted
- 2 tsp vanilla extract
- 1 cup mashed ripe bananas about 2 large bananas
- 1 cup all-purpose flour
- 0.5 tsp baking powder
- 0.5 tsp baking soda
- pinch salt optional
- 1 large egg for cream cheese filling
- 4 oz brick-style cream cheese, softened lite is okay
- 0.25 cup granulated sugar for cream cheese filling
- 3 tbsp all-purpose flour for cream cheese filling
Instructions
Preparation Steps
- Preheat oven to 350 degrees F. Spray a 9x5-inch loaf pan with floured cooking spray or grease and flour the pan; set aside.
- In a large bowl, whisk together the egg, light brown sugar, granulated sugar, coconut oil, sour cream, and vanilla until combined.
- Add the mashed bananas and stir to incorporate.
- Add 1 cup all-purpose flour, baking powder, baking soda, and optional salt and fold gently until just combined; do not overmix.
- Pour about two-thirds of the batter into the prepared pan, smoothing the top lightly with a spatula, pushing it into corners and sides as necessary.
- In a separate bowl, mix the cream cheese filling by whisking together the cream cheese, egg, granulated sugar, and 3 tablespoons flour until smooth. A hand mixer can be used for best results.
- Pour the cream cheese filling evenly over the banana bread batter, smoothing the top lightly.
- Top with the remaining banana bread batter, smoothing the top lightly to cover the cream cheese filling.
- Bake for 48 to 50 minutes, until the top is domed and golden and a toothpick inserted in the center comes out clean or with a few moist crumbs. Note the cream cheese filling never fully solidifies.
- Allow the bread to cool in the pan for 15 minutes before transferring to a wire rack to cool completely before slicing and serving.