There are some treats that just have a way of wrapping you in a warm hug, aren’t there? For me, that’s always been anything chocolate, especially on a chilly evening. But let’s be honest, sometimes you just don’t have the time or energy to bake a whole batch of cookies or whip up a complicated dessert. That’s where these incredible Hot Chocolate cookie cups come in. They’re like the best of both worlds – the rich, comforting flavor of hot chocolate, baked into a perfect little edible cup that you can fill with even more chocolatey goodness. Honestly, the first time I made these, my kitchen filled with the most amazing aroma, and my family zeroed in on them like heat-seeking missiles. They’re a definite crowd-pleaser, and the fact that they use such simple ingredients makes them a lifesaver when that sweet craving hits. If you love a good cookie and a steaming mug of hot cocoa, you’re going to be obsessed with these hot chocolate cookie cups!
What are hot chocolate cookie cups?
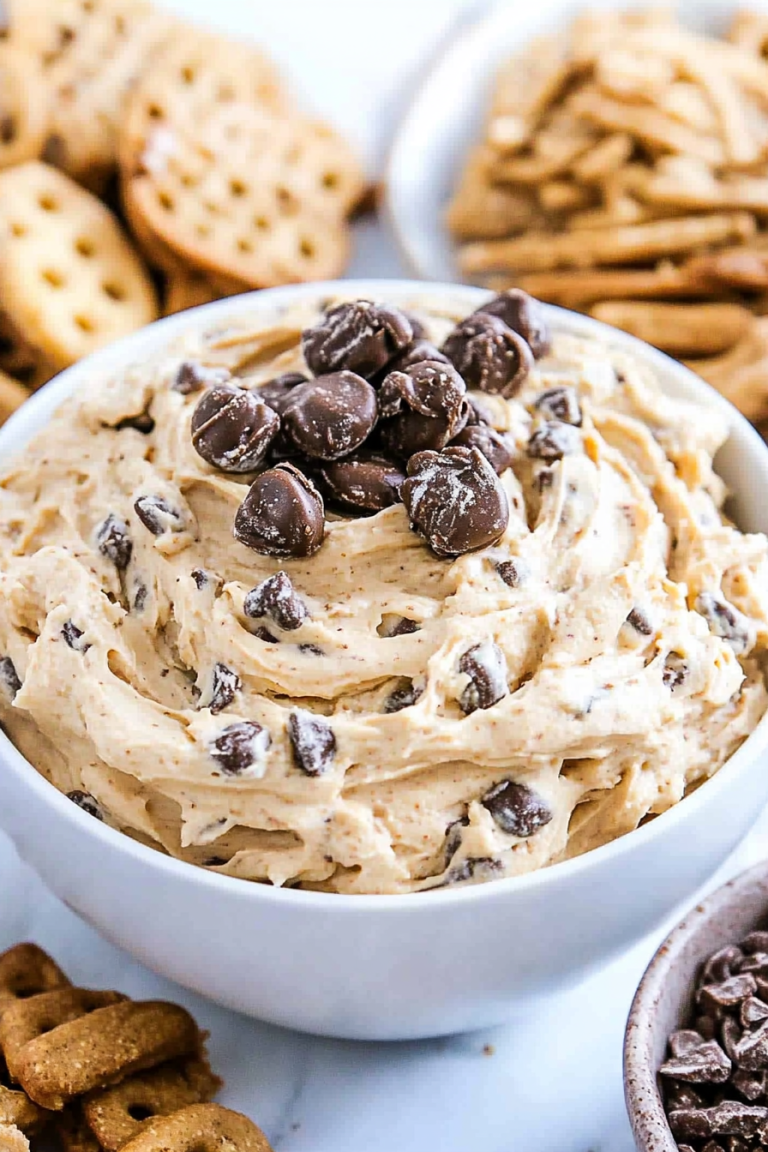
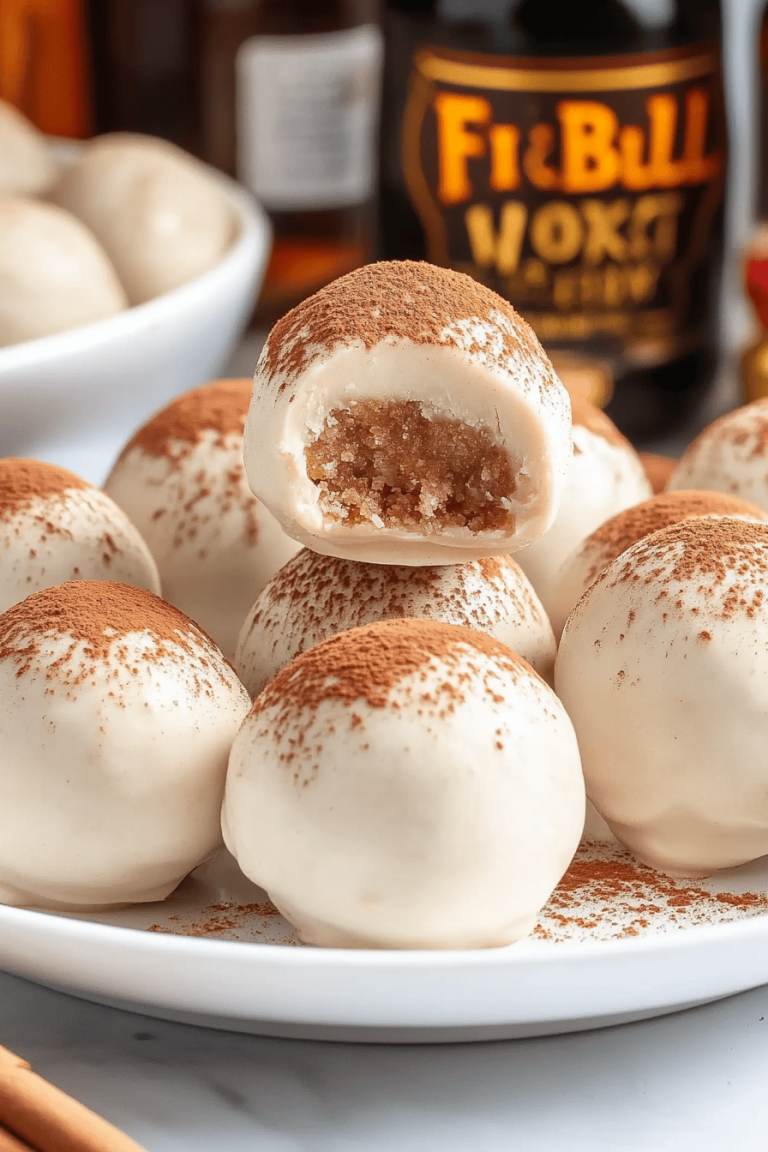
So, what exactly are these magical little bites? Think of them as a deeply chocolatey, tender cookie that’s been baked in a muffin tin to create a little “cup” shape. We’re talking a cookie base that’s intensely flavored with cocoa, giving it that signature Hot Chocolate taste. Instead of just being a flat cookie, it has a delightful little well in the center, just begging to be filled. It’s essentially a deconstructed, edible hot chocolate experience! You don’t need any special molds; just a regular muffin tin is all you need. The beauty of these hot chocolate cookie cups is that they capture all the cozy, nostalgic feelings of a warm mug of hot cocoa, but in a fun, handheld dessert format. It’s a playful twist on a classic, and it’s surprisingly easy to make, which is always a win in my book.
Why you’ll love this recipe?
Oh, where do I even begin with why you’ll absolutely adore these hot chocolate cookie cups? Let’s break it down: First off, the flavor is just out of this world. It’s not just sweet; it’s that deep, slightly bitter, incredibly rich chocolate flavor you crave from a good hot chocolate. The cookie itself is tender and moist, almost cake-like, which is a delightful contrast to the crunchier edges you get. And the simplicity! Seriously, this recipe is a lifesaver. You probably have most of the ingredients in your pantry right now. It’s a one-bowl wonder for the cookie dough, and the filling is just as straightforward. No fancy techniques or expensive ingredients required. What I love most about this recipe, though, is its versatility. You can customize the filling to your heart’s content – mini marshmallows, chocolate chips, a dollop of whipped cream, or even a bit of peppermint ganache. It’s also incredibly cost-effective, especially compared to buying store-bought treats. These hot chocolate cookie cups are perfect for bake sales, potlucks, or just a special weekend treat for your family. They’re far superior to a basic Chocolate Chip Cookie because they offer that extra layer of indulgence and fun with the cup shape and the filling. Trust me, once you make these, they’ll become a staple in your baking repertoire.
How do I make hot chocolate cupcakes?
Quick Overview
The process for these hot chocolate cookie cups is delightfully straightforward. You’ll mix up a rich, chocolatey cookie dough, press it into a muffin tin to form cups, bake them until they’re just set, and then fill those gorgeous little wells with a decadent chocolate ganache or your favorite topping. It’s a quick bake, and the payoff is enormous. The beauty is in the simplicity: mix, press, bake, fill, and enjoy. No fuss, just pure chocolate bliss!
Ingredients
For the Main Batter:
This is where the magic really starts. We want a deep chocolate flavor and a tender crumb.
- 2 ¼ cups all-purpose flour: This gives us the structure for our cookie cups. Make sure it’s spooned and leveled, not scooped directly from the bag, as that can lead to dry cookies.
- ¾ cup unsweetened cocoa powder: This is crucial for that intense hot chocolate flavor. I prefer Dutch-processed cocoa for a darker color and smoother taste, but natural unsweetened works too.
- 1 ½ teaspoons baking soda: This helps our cups rise beautifully.
- ½ teaspoon salt: Balances the sweetness and enhances the chocolate flavor.
- 1 cup (2 sticks) unsalted butter, softened: Make sure your butter is truly softened, not melted. This helps create a tender cookie.
- 1 ½ cups granulated sugar: For sweetness and that perfect cookie texture.
- 2 large eggs: They bind everything together and add richness.
- 1 teaspoon vanilla extract: A classic flavor enhancer that complements chocolate so well.
- ½ cup milk: I usually use whole milk for richness, but 2% or even almond milk works too! It helps with the cookie’s moisture.
For the Filling:
This is your little pool of pure chocolate heaven. You can get creative here!
- 1 cup semi-sweet chocolate chips (or chopped chocolate): Use good quality chocolate for the best flavor.
- ½ cup heavy cream: This makes the ganache wonderfully smooth and rich.
- 1 tablespoon unsalted butter (optional): For an extra glossy finish.
- A pinch of salt: Just to bring out all those chocolate notes.
For the Glaze (Optional, but highly recommended!):
A little something extra to seal the deal and add visual appeal.
- ½ cup powdered sugar
- 1-2 tablespoons milk or hot chocolate
- ½ teaspoon vanilla extract
Step-by-Step Instructions
Step 1: Preheat & Prep Pan
First things first, let’s get our oven fired up to 350°F (175°C). Now, grab your trusty muffin tin. You don’t need to grease it heavily, but a quick spritz of non-stick cooking spray or a light brush of melted butter works wonders to prevent sticking. You can also use paper liners, but I find the cookie cups get a slightly better shape without them. Make sure the spray or butter gets into all the nooks and crannies!
Step 2: Mix Dry Ingredients
In a medium bowl, whisk together the all-purpose flour, unsweetened cocoa powder, baking soda, and salt. Give it a good whisk to make sure everything is evenly distributed. You don’t want pockets of baking soda or cocoa powder in your finished cups. This step ensures a consistent flavor and texture throughout every single hot chocolate cookie cup.
Step 3: Mix Wet Ingredients
In a large bowl, cream together the softened butter and granulated sugar until light and fluffy. This usually takes a good 2-3 minutes with an electric mixer. Then, beat in the eggs one at a time, making sure each is fully incorporated before adding the next. Stir in the vanilla extract. It should look smooth and beautifully emulsified.
Step 4: Combine
Now, we’ll gradually add the dry ingredients to the wet ingredients, alternating with the milk. Start by adding about a third of the dry mixture and mix on low speed until just combined. Then add half of the milk and mix. Repeat with another third of the dry, then the rest of the milk, and finally the last of the dry ingredients. Be careful not to overmix here! Overmixing can develop the gluten in the flour, leading to tough cookies. Mix until just combined, and you can finish by gently folding in any remaining dry streaks with a spatula. The dough should be thick and fudgy, smelling absolutely divine.
Step 5: Prepare Filling
While the dough is chilling slightly (or you can skip chilling if you’re in a hurry!), let’s make our simple, decadent filling. Place the chocolate chips in a heatproof bowl. In a small saucepan, heat the heavy cream over medium heat until it just begins to simmer around the edges. Don’t let it boil! Pour the hot cream over the chocolate chips and let it sit for about 5 minutes. This allows the chocolate to soften. Then, whisk gently until smooth and glossy. If you’re using the optional butter, stir it in now until melted. Add a tiny pinch of salt to enhance the chocolate flavor. It should be a thick, pourable ganache. If it seems too thick, add a tiny bit more cream; if too thin, let it sit a bit longer or stir in a few more chocolate chips.
Step 6: Layer & Swirl
Take your cookie dough and divide it evenly among the muffin cups – about 2 tablespoons per cup. You can roll it into a ball and place it in the bottom, then use your fingers or the back of a spoon to firmly press the dough up the sides of the muffin tin, creating a cup shape. Make sure the base is sturdy enough to hold the filling, but thin enough to bake through. Aim for about ¼ inch thick walls. Don’t worry if they aren’t perfectly uniform; that’s part of their charm!
Step 7: Bake
Pop those beautifully shaped cookie cups into your preheated oven. Bake for about 10-12 minutes. You want the edges to be set and slightly firm, but the centers should still look a little soft. They will continue to cook slightly as they cool. Keep a close eye on them, as ovens can vary! Overbaking will result in dry, crumbly cups, which is definitely not what we’re going for.
Step 8: Cool & Glaze
Once they’re out of the oven, let the hot chocolate cookie cups cool in the muffin tin for about 5-10 minutes. This allows them to firm up enough to be removed without breaking. Then, carefully transfer them to a wire rack to cool completely. Once they are completely cool, you can spoon the prepared chocolate filling into the center of each cup. If you’re using the optional glaze, whisk together the powdered sugar, 1 tablespoon of milk (or hot chocolate for an extra punch!), and vanilla extract until smooth. Add more liquid, a teaspoon at a time, if needed to reach a drizzling consistency. Drizzle this over the filled cups for an extra touch of sweetness and elegance.
Step 9: Slice & Serve
These are best served slightly warm or at room temperature. You can serve them as is, or with a dusting of powdered sugar or even a tiny marshmallow on top. They’re perfect for dipping into a mug of actual hot chocolate!
What to Serve It With
These hot chocolate cookie cups are so wonderfully versatile, they fit in at almost any occasion. For a cozy breakfast treat, they pair beautifully with a strong cup of coffee or a warm glass of milk. Imagine serving one or two alongside your morning brew – pure bliss! At a brunch, they can add a touch of indulgence. I love serving them on a tiered stand with some fresh berries on the side, perhaps a raspberry or strawberry to cut through the richness of the chocolate. For a more elegant dessert spread, they’re fantastic. They work wonders after dinner, maybe with a scoop of vanilla bean ice cream or a tiny dollop of whipped cream infused with a hint of peppermint. And for those oh-so-common cozy snack attacks? They’re perfect on their own, perhaps with a warm mug of cider or, naturally, more hot chocolate! My family tradition is to have these on movie nights; they’re the ultimate comfort food for a cozy evening in.
Top Tips for Perfecting Your Hot Chocolate Cookie Cups
Over the years of making these, I’ve picked up a few tricks that really make a difference. When you’re pressing the dough into the muffin tin, really make sure you press it firmly up the sides. I learned this the hard way when some of my first attempts had really thin walls that cracked. You want a good, sturdy base and sides that can hold that delicious filling without collapsing. Speaking of the dough, don’t be afraid if it seems a little soft; that’s exactly what you want for a tender cookie. If it feels too sticky to handle, a few minutes in the fridge can make it much more manageable. For the filling, quality matters! Using good chocolate chips or chopped chocolate will give you a far superior ganache. I’ve experimented with different types, and the semi-sweet really hits that perfect balance of sweet and rich without being cloying. If your ganache seems a bit too thick, a few extra seconds in the microwave (in 10-second bursts!) or a touch more cream will loosen it right up. When it comes to baking, the key is to not overbake. Pull them out when the edges are set but the center still looks a little soft. They’ll firm up as they cool. Trust me on this one – they’ll continue to bake in the hot tin, and you want that slightly gooey center. For ingredient swaps, if you’re out of milk, you can substitute with plain yogurt or sour cream for a slightly tangy depth, though you might need a tiny bit less. And if you’re feeling adventurous with the filling, consider adding a swirl of peanut butter or a few drops of espresso powder to your ganache for an extra flavor kick. These little tips really elevate the cookie cups from good to absolutely spectacular!
Storing and Reheating Tips
One of the best things about these hot chocolate cookie cups is how well they store, meaning you can enjoy them for days! If you’ve got a few left over (a big if in my house!), you can keep them at room temperature in an airtight container for about 2-3 days. Just make sure they’re completely cooled before you seal them up, otherwise, you’ll get condensation, and that’s a recipe for sogginess. If you want them to last a bit longer, the refrigerator is your friend. They’ll stay good for up to a week in an airtight container. When storing in the fridge, the filling might firm up a bit, but don’t worry! Just let them come to room temperature for about 15-20 minutes before enjoying, or give them a quick zap in the microwave for about 10-15 seconds for that just-baked gooeyness. If you’re really planning ahead, these cookie cups freeze beautifully. You can freeze the un-filled baked cups in an airtight container or freezer bag for up to 2 months. When you’re ready to enjoy them, just thaw them at room temperature, and then you can fill them as usual. I usually wait to fill them until just before serving if they’ve been frozen to keep the filling nice and fresh. The glaze is best applied when the cookie cups are fully cooled and just before serving, especially if they’re going to be stored, as the glaze can sometimes get a little sticky if left on for too long in a humid environment.
Frequently Asked Questions
Final Thoughts
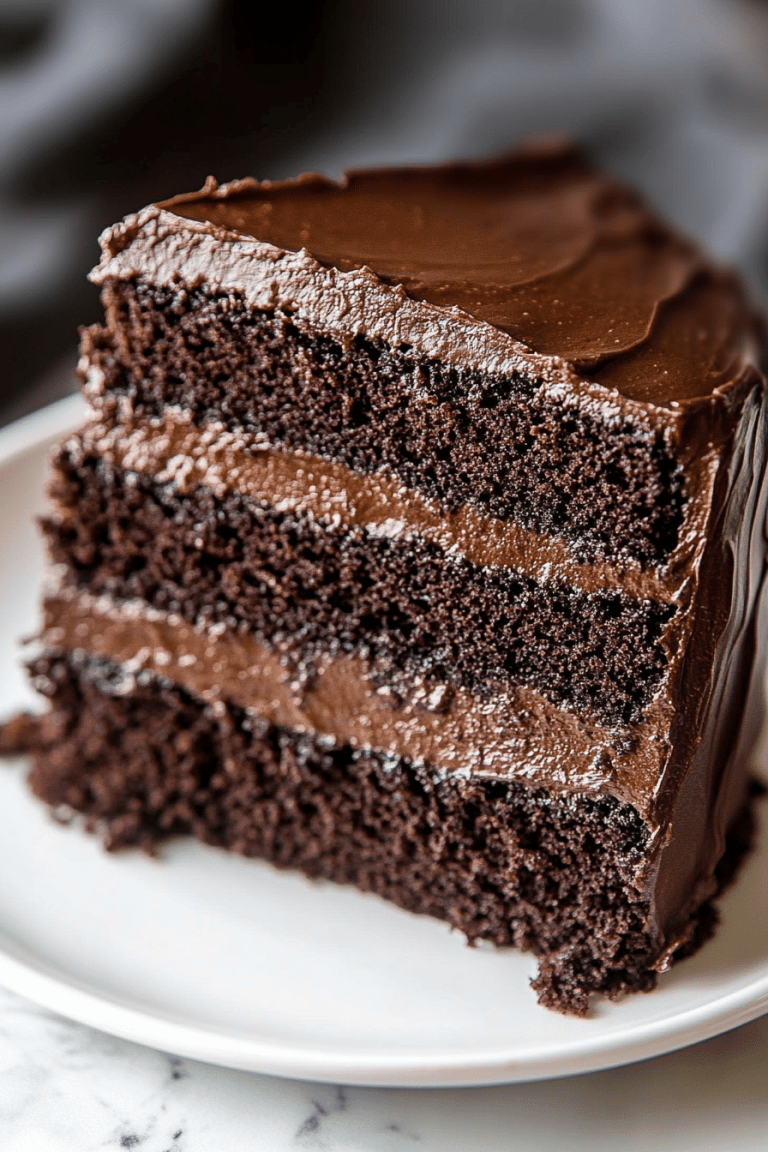
Honestly, these hot chocolate cookie cups are pure joy. They’re that perfect treat when you need a little comfort, a burst of chocolatey happiness, or just something wonderfully decadent without a whole lot of fuss. They’re a testament to how simple ingredients can come together to create something truly special. If you love the idea of a warm mug of hot chocolate but want it in a fun, edible form, these are absolutely for you. They’re easy enough for a weeknight bake but special enough for guests. I really hope you give these a try. If you do, please let me know how they turn out in the comments below – I absolutely love hearing about your baking adventures! And if you’re looking for more chocolatey inspiration, be sure to check out my recipe for triple chocolate brownies; they’re another family favorite! Happy baking, everyone!

Hot Chocolate Cookie Cups
Ingredients
Cookie Cups
- 1 pack ready to bake sugar cookie dough (24 cookies)
Filling & Decoration
- 24 Reese's peanut butter cups miniatures
- 24 mini candy canes cut the hook off
- 1 cup white chocolate chips
- 1 tub white or vanilla frosting
- holiday sprinkles
Instructions
Preparation Steps
- Preheat oven to 350°F (175°C). Spray a muffin tin with non-stick cooking spray.
- Separate each cookie from the dough package and place one into each muffin cup. Press down with your thumb or a tablespoon to create a crater.
- Bake for 13 minutes, or until the cookie cups are golden brown. Let cool to room temperature.
- While cookies bake, unwrap the Reese's peanut butter cups. Cut the hooked top off of the mini candy canes using a serrated knife to create handles.
- Once cookies have cooled slightly, place one Reese's peanut butter cup into the center of each cookie cup. Allow cookies to cool completely.
- Place the muffin tin with the cookie cups into the freezer for about 10 minutes.
- Melt white chocolate chips in a microwave-safe bowl in 30-second increments, stirring between each, until smooth.
- Dip the cut end of each candy cane handle into the melted white chocolate. Stick each handle vertically onto the side of the cookie cups. Let the chocolate set for about 10 minutes.
- Pipe white frosting onto the rim of each cookie cup and immediately add holiday sprinkles.