Oh, honey. Just thinking about these homemade honey buns makes me feel all warm and fuzzy inside. It’s one of those recipes that feels like a big, comforting hug from Grandma, even if your Grandma didn’t make them exactly like this (but trust me, she would have loved these!). I remember the first time I pulled a batch of these out of the oven, the sweet, caramelly aroma completely took over our house. My kids, who were small at the time, came running from all corners, drawn in by the irresistible smell. It’s funny, isn’t it, how certain smells can just transport you back? These aren’t your average sticky buns, and they certainly aren’t those mass-produced ones that feel a bit… well, artificial. These homemade honey buns are something else entirely. They’ve got this amazing, tender crumb that just melts in your mouth, drenched in a warm, gooey honey-cinnamon filling that’s simply divine. Honestly, if you’re looking for a treat that hits all the right notes – comforting, delicious, and surprisingly achievable for a home baker – you’ve found it. Forget those complicated pastry recipes; this is the one that will make you feel like a baking superstar, even on a Tuesday afternoon.
What are honey buns?
So, what exactly are these magical little rounds of joy we’re talking about? Think of them as the ultimate upgrade to a Cinnamon roll, but with a distinct honey-forward character that makes them truly special. They’re essentially a soft, slightly enriched dough swirled with a sweet, spiced honey mixture, baked until golden brown and then often finished with a light, glistening glaze. It’s the kind of treat that bridges the gap between breakfast and dessert perfectly. You might think of them as being similar to sticky buns, and you wouldn’t be wrong, but the emphasis here is on that lovely, natural sweetness from honey, which gives them a depth of flavor that granulated sugar just can’t replicate. They’re designed to be wonderfully tender, with that satisfying chewiness from the swirl, and that irresistible sticky topping. They’re not fussy, but they feel incredibly decadent – a real showstopper without the fuss.
Why you’ll love this recipe?
Honestly, there are so many reasons why this recipe has become a staple in my kitchen. First and foremost, let’s talk about the flavor. It’s just… divine. The way the warm honey, cinnamon, and a hint of brown sugar meld together is pure bliss. It’s sweet, yes, but it’s a balanced sweetness that doesn’t feel cloying. The dough itself is wonderfully soft and enriched, making each bite feel like a treat. Then there’s the simplicity of it all. I know baking can sometimes feel intimidating, but I’ve worked really hard to make this recipe straightforward and foolproof. You don’t need any fancy equipment or techniques. The steps are logical and easy to follow, and the results are consistently fantastic. Even if you’re a beginner baker, you can absolutely nail this! Plus, let’s be real, the cost of making these at home is a fraction of what you’d pay for a similar quality treat at a bakery. You’re using simple pantry staples, and the payoff is enormous. And the versatility! While they’re absolutely phenomenal as is, I’ve found they’re perfect for so many occasions. My kids devour them for breakfast, I love them with a cup of coffee on a lazy weekend morning, and they’re even impressive enough to serve at a brunch or as a sweet ending to a meal. What I love most about this recipe, though, is the pure joy it brings. The aroma filling the house, the look on everyone’s faces when they take that first bite – it’s just pure happiness. It’s the kind of recipe that makes people feel loved and cared for, and that’s something pretty special.
How do I make homemade honey buns?
Quick Overview
This recipe is all about creating a soft, pillowy dough that’s swirled with a rich, honey-cinnamon filling, then baked to golden perfection and drizzled with a simple glaze. We’ll mix up a quick dough, let it rise briefly, spread on our delicious filling, roll it up, slice it, and then bake. The whole process is designed to be manageable, even if you’re not a seasoned baker. It’s about achieving that wonderful balance of tender dough and gooey, sweet filling. You’ll be amazed at how quickly it comes together and how impressive the final result is.
Ingredients
For the Main Batter:
2 ¼ teaspoons active dry yeast (one standard packet)
¼ cup warm milk (about 105-115°F or 40-46°C) – Whole milk gives the best texture, but 2% works too!
2 tablespoons granulated sugar
1 large egg, at room temperature
⅓ cup unsalted butter, melted and slightly cooled
½ teaspoon salt
1 cup warm water (again, 105-115°F or 40-46°C)
3 ½ to 4 cups all-purpose flour, plus more for dusting
For the Filling:
½ cup unsalted butter, softened (leave it out on the counter for an hour or so)
½ cup packed light brown sugar
¼ cup honey (a good quality clover or wildflower honey is lovely)
1 ½ tablespoons ground cinnamon
¼ teaspoon ground nutmeg (optional, but adds a nice warmth)
For the Glaze:
1 cup powdered sugar, sifted
2-3 tablespoons milk or heavy cream
1 teaspoon honey
Step-by-Step Instructions
Step 1: Preheat & Prep Pan
First things first, grab a 9×13 inch baking dish. I like to grease mine really well with butter or cooking spray – you want those honey buns to release easily. Some people like to line the bottom with parchment paper for extra insurance, which is a smart move if you’re worried about sticking. Set this aside while we get the dough ready.
Step 2: Mix Dry Ingredients
In a small bowl, combine your warm milk, yeast, and a pinch of the granulated sugar. Give it a gentle stir and let it sit for about 5-10 minutes. You’re looking for it to get foamy on top – that means your yeast is alive and ready to do its job! If it doesn’t foam, your yeast might be old, or the milk was too hot or too cold, and you’ll want to start over with fresh yeast. While the yeast is proofing, in a large bowl (or the bowl of your stand mixer fitted with the dough hook), whisk together 3 ½ cups of the flour, the remaining granulated sugar, and the salt. This ensures everything is evenly distributed before we start mixing.
Step 3: Mix Wet Ingredients
Once your yeast is foamy, add the proofed yeast mixture to the bowl with the dry ingredients. Add your room temperature egg and the melted, slightly cooled butter. Pour in the warm water. This is where it all starts coming together! If you’re using a stand mixer, mix on low speed until the ingredients just start to come together.
Step 4: Combine
Now, let the mixer do the work (or get ready for some kneading by hand!). Gradually add in the remaining flour, about ½ cup at a time, until a soft, slightly sticky dough forms. You might not need all of the flour, or you might need a little more – it depends on the humidity and your flour. The dough should pull away from the sides of the bowl but still be a little tacky to the touch. Knead for about 5-7 minutes in a stand mixer, or about 8-10 minutes by hand, until the dough is smooth and elastic. It should feel soft and pliable. Lightly grease a clean bowl, place the dough in it, turning to coat, and cover loosely with plastic wrap or a clean kitchen towel. Let it rise in a warm place for about 1 hour, or until it has doubled in size. I usually pop mine in a slightly warm oven (turned off, of course!) – it’s like a little cozy retreat for the dough.
Step 5: Prepare Filling
While the dough is rising, let’s whip up that glorious filling. In a medium bowl, combine the softened butter, packed light brown sugar, honey, cinnamon, and nutmeg (if using). Use a fork or a spatula to mix it all together until it’s smooth and spreadable. It should look like a delicious, sticky paste. This is the heart of our honey buns, so make sure it’s well combined!
Step 6: Layer & Swirl
Once the dough has doubled, punch it down gently to release the air. Turn it out onto a lightly floured surface. Now, we’re going to roll it out into a rectangle, roughly 12×18 inches. Try to get the edges as even as you can. Spread the honey-cinnamon filling evenly over the entire surface of the dough, all the way to the edges. Then, starting from one of the long sides, tightly roll up the dough, like a jelly roll. Pinch the seam to seal it. Now, this is where a sharp knife or dental floss comes in handy. Use a serrated knife or a piece of unflavored dental floss to cut the log into 12 equal pieces, about 1 ½ inches thick. This method helps you get clean cuts without squishing the dough.
Step 7: Bake
Carefully arrange the cut honey buns in your prepared baking dish, cut-side up. They’ll be snug, but that’s okay – they’ll expand as they bake. Cover the dish loosely and let them rest for another 15-20 minutes while your oven preheats to 375°F (190°C). Bake for 25-30 minutes, or until they’re golden brown and the filling is bubbly and caramelized. The smell at this point is absolutely intoxicating!
Step 8: Cool & Glaze
This is a crucial step for maximum deliciousness! Let the honey buns cool in the pan for about 10-15 minutes. This allows the filling to set up just a bit. While they’re cooling, whisk together the powdered sugar, 2 tablespoons of milk or cream, and the teaspoon of honey for the glaze. You’re looking for a thick but pourable consistency. If it’s too thick, add a tiny bit more milk; if it’s too thin, add a bit more powdered sugar. Drizzle the glaze generously over the warm honey buns. Don’t be shy – this is part of the magic!
Step 9: Slice & Serve
Once glazed, let them cool for another 5-10 minutes before serving. They are truly best served warm, when the glaze is still a little soft and gooey. If you can wait that long! You can gently lift them out of the pan with a spatula or just dig in right from the dish. Trust me, they’ll be gone in a flash.
What to Serve It With
These homemade honey buns are pretty spectacular on their own, but they also pair wonderfully with so many things, depending on the occasion. For a simple, comforting breakfast, a good cup of black coffee or a creamy latte is the perfect companion. The bitterness of the coffee cuts through the sweetness of the buns beautifully. If you’re serving these for brunch, I love to present them warm in their baking dish right on the table – it’s such a welcoming sight! Alongside some fresh fruit like berries or melon, or perhaps with a side of scrambled eggs or crispy bacon, they feel wonderfully elegant. For dessert, you can’t go wrong. A scoop of vanilla bean ice cream melting into a warm honey bun is pure indulgence. They also make a fantastic sweet ending after a hearty meal, perhaps with a glass of dessert wine or a rich Hot Chocolate. And for those moments when you just need a little something sweet and comforting, a warm honey bun with a glass of milk is pure, unadulterated bliss. It’s the ultimate cozy snack that feels incredibly special without any effort.
Top Tips for Perfecting Your Homemade Honey Buns
I’ve made these homemade honey buns more times than I can count, and I’ve definitely learned a few tricks along the way that I think will help you get them just perfect. First, when you’re mixing your dough, don’t be afraid of a slightly sticky dough. Over-flouring is one of the biggest mistakes people make, and it leads to tough buns. Aim for a dough that’s soft and manageable, and trust that it will firm up slightly as it bakes. When you’re spreading the filling, make sure your butter is truly softened, not melted. This makes it much easier to spread evenly without tearing the dough. If your dough tears a bit, don’t panic! Just press it back together. For the swirl, roll that dough up as tightly as you can. This is what gives you those beautiful, distinct layers. And when you’re cutting the buns, a sharp knife is your best friend. For really clean cuts, you can use unflavored dental floss – slide it under the rolled dough, cross the ends, and pull them in opposite directions. It’s a game-changer! For baking, ovens can be quirky, so keep an eye on your honey buns during the last 10 minutes. If the tops are browning too quickly, you can always tent them loosely with foil. When it comes to the glaze, consistency is key. It should be thick enough to coat the buns but thin enough to drizzle. If it’s too thick, add milk a teaspoon at a time. If it’s too thin, whisk in a little more powdered sugar. And remember, these are best served warm, so don’t wait too long to enjoy them! I’ve experimented with adding nuts to the filling – chopped pecans or walnuts are a fantastic addition if you like a little crunch. Just sprinkle them over the filling before rolling. Also, make sure your yeast is fresh; it makes all the difference in the rise and texture of the dough.
Storing and Reheating Tips
These homemade honey buns are truly at their best when they’re fresh and warm, but thankfully, they store quite well, and reheating is a breeze. If you happen to have any leftovers (a rare occurrence in my house!), you can store them at room temperature in an airtight container for up to 2 days. Just make sure they’ve cooled down completely before sealing them up, otherwise, you’ll end up with condensation, which can make them soggy. For longer storage, or if your kitchen is particularly warm, the refrigerator is your best bet. Store them in an airtight container for up to 4-5 days. The glaze might firm up a bit in the fridge, but don’t worry, they’ll still be delicious. If you know you won’t get through them within a few days, or you want to have some on hand for a future craving, freezing is a great option. You can freeze them either glazed or unglazed. For the best quality, I recommend freezing them unglazed, then glazing them after reheating. Wrap them individually in plastic wrap, then place them in a freezer-safe bag or container. They’ll keep well in the freezer for up to 2-3 months. To reheat, if they’re at room temperature, you can gently warm them in a 300°F (150°C) oven for about 5-10 minutes, or until warmed through. If reheating from frozen, it will take a bit longer, perhaps 15-20 minutes. If you froze them unglazed, you can whip up a fresh glaze (or just a simple powdered sugar and milk mixture) and drizzle it over the warm buns. Honestly, even a quick zap in the microwave for 15-20 seconds can work in a pinch if you’re craving that warm, gooey center, though the oven gives a more even result.
Frequently Asked Questions
Final Thoughts
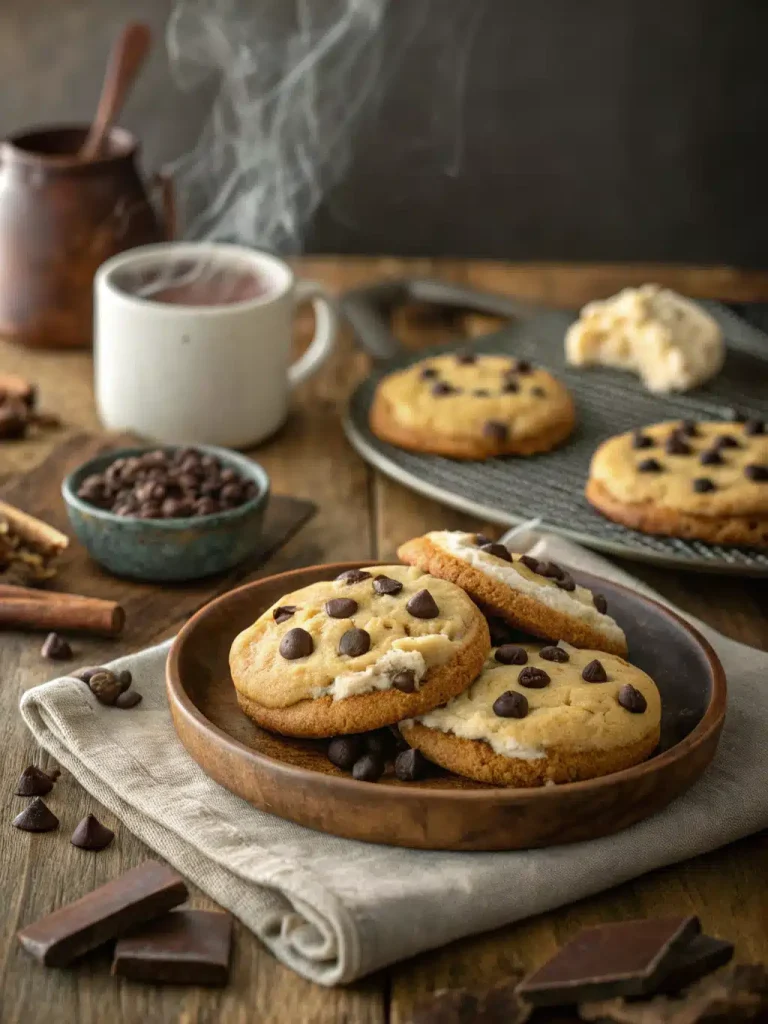
I really hope you give these homemade honey buns a try. They’re more than just a recipe to me; they’re a source of comfort and joy. The smell that fills the house as they bake is just incredible, and the taste is even better. They’re proof that you don’t need to be a professional baker to create something truly spectacular. The combination of the soft, fluffy dough and that gooey, honey-cinnamon filling is just irresistible, and the simple glaze ties it all together perfectly. It’s the kind of recipe that makes people gather in the kitchen, asking what that amazing smell is. If you enjoyed this recipe, you might also love my Soft & Chewy Chocolate Chip Cookies or my Perfectly Fluffy Buttermilk Pancakes – they’re all about simple ingredients and incredible flavor! Please, if you make these, come back and let me know how they turned out in the comments below. I absolutely love hearing about your baking adventures and seeing your creations. Happy baking, and enjoy every delicious bite!
Homemade Honey Buns
Ingredients
Dough Ingredients
- 0.25 cup warm water
- 2.25 teaspoon active dry yeast
- 0.5 cup warm milk
- 0.25 cup granulated sugar
- 0.5 teaspoon salt
- 1 large egg, lightly beaten
- 4 cups all-purpose flour, plus more for dusting
- 0.5 cup unsalted butter, softened
Filling Ingredients
- 1 cup packed light brown sugar
- 2 tablespoon ground cinnamon
- 0.33 cup unsalted butter, melted
Glaze Ingredients
- 0.5 cup honey
- 0.25 cup unsalted butter, melted
- 1 teaspoon vanilla extract
Instructions
Preparation Steps
- In a small bowl, combine warm water and yeast. Let stand for 5-10 minutes until foamy.
- In a large bowl, whisk together warm milk, sugar, and salt. Add the yeast mixture and lightly beaten egg. Mix well.
- Gradually add 3.5 cups of flour to the wet ingredients, mixing until a soft dough forms. Turn out onto a lightly floured surface and knead for 8-10 minutes, adding the remaining flour as needed, until the dough is smooth and elastic. Incorporate the softened butter during the last few minutes of kneading until fully combined.
- Place the dough in a greased bowl, cover with plastic wrap, and let rise in a warm place for 1-1.5 hours, or until doubled in size.
- Punch down the dough and turn it out onto a lightly floured surface. Roll the dough into a 12x18-inch rectangle.
- In a small bowl, combine brown sugar and cinnamon for the filling. Brush the rolled-out dough with melted butter. Sprinkle the sugar and cinnamon mixture evenly over the dough.
- Starting from the long side, tightly roll up the dough. Cut the roll into 12 equal slices.
- Place the honey bun slices into a greased 9x13-inch baking pan, cut-side up.
- Cover the pan and let the buns rise for another 30 minutes.
- Preheat oven to 375°F (190°C).
- Bake for 20-25 minutes, or until golden brown.
- While the buns are baking, prepare the glaze: In a small bowl, whisk together honey, melted butter, and vanilla extract.
- Remove the buns from the oven and immediately drizzle the glaze over the hot buns.
- Let cool slightly before serving.

