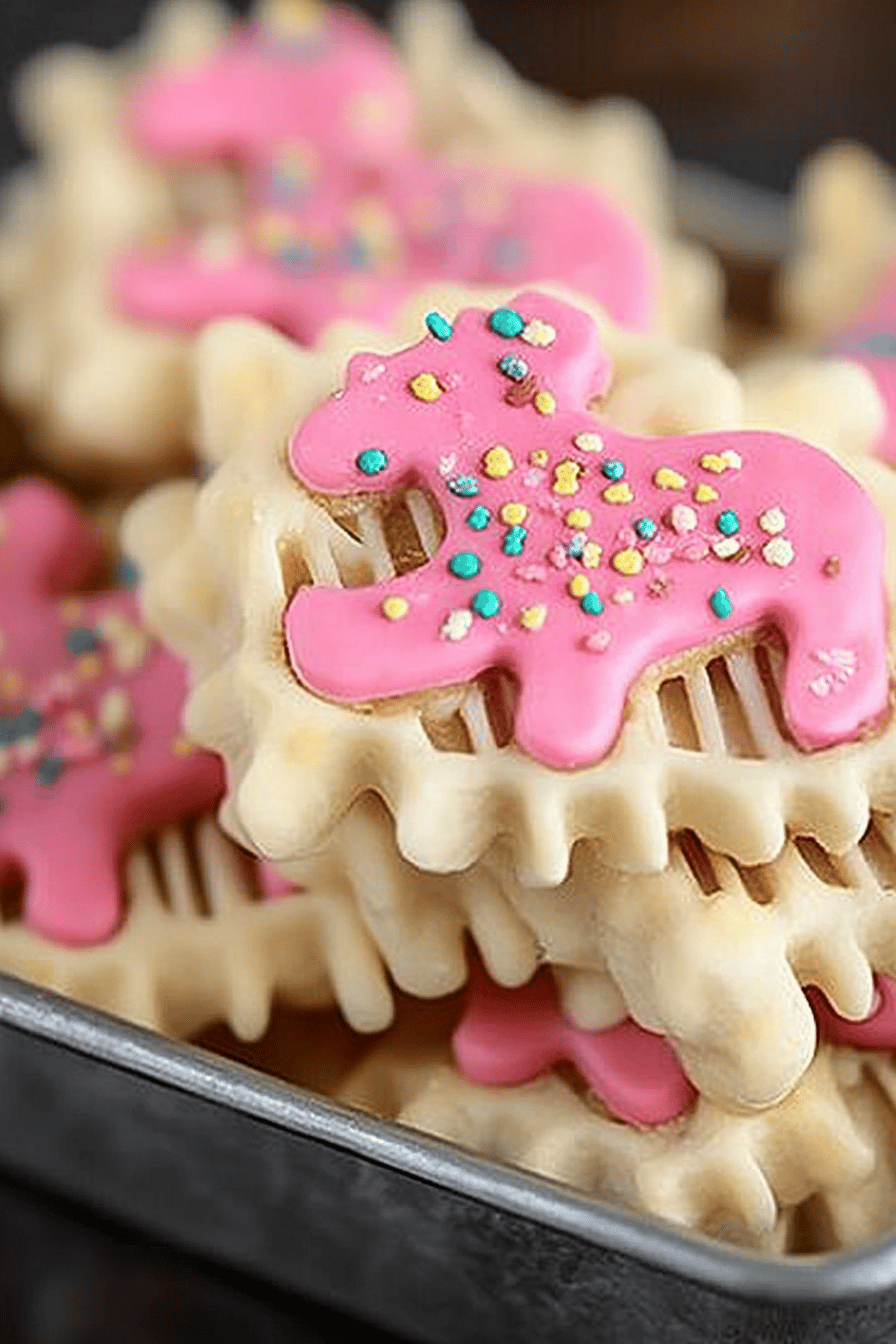
You know those days? The ones where a sudden craving strikes, and you just need something… *more* than your average snack? Maybe it’s a rainy afternoon, or you’ve got unexpected guests, or perhaps you’re just trying to keep little hands busy (and happy!) while you sneak in five minutes of peace. Whatever the reason, I’ve got a recipe that has become an absolute lifesaver in my kitchen. It’s for these amazing gluten-free cheese crackers, and let me tell you, they are seriously addictive. Forget those chalky, crumbly gluten-free versions you might have tried elsewhere. These are the real deal – crispy, cheesy, melt-in-your-mouth goodness that I’ve made countless times, and they *never* fail to disappear in minutes. They’re so good, even my pickiest eaters gobble them up, asking for seconds before the first batch is even cool. If you’re a fan of that classic cheesy cracker vibe, you’re going to adore these. They’re a little bit like the store-bought ones we all grew up with, but so much better because they’re homemade with love (and way more cheese!).
What are gluten free cheese crackers?
So, what exactly are these magical little gluten-free cheese crackers? Think of them as your homemade, guilt-free answer to those beloved cheesy snacks you might remember from childhood, but without any of the gluten. They’re essentially a tender, savory biscuit or cracker dough, loaded with good quality cheese, baked until perfectly golden and crispy. The name itself is pretty straightforward – they are crackers, they are cheesy, and they are made without gluten. I’ve found that the magic really lies in the blend of cheeses and the precise baking time, which gives them that satisfying crunch. It’s essentially a love letter to cheese in cracker form. They’re not overly complicated, which is a huge plus in my book. The goal is to capture that irresistible umami, salty, cheesy flavor that makes you want to reach for just *one* more. And trust me, that “one more” is a slippery slope with these!
Why you’
Honestly, where do I even begin? There are so many reasons why this recipe has earned a permanent spot in my recipe binder. First off, the flavor is just out of this world. We’re talking a deep, savory, cheesy punch that hits all the right notes. It’s not just cheesy; it’s got this subtle richness from the butter and a hint of salt that makes them utterly irresistible. Then there’s the simplicity. I’ve tested this recipe with friends who are total beginners in the kitchen, and they’ve had no trouble at all. The steps are straightforward, and you don’t need any fancy equipment. Plus, it’s incredibly cost-effective! Using simple pantry staples and good, accessible cheeses means you can whip up a big batch without breaking the bank. This is especially handy when you’re trying to feed a crowd or just need a quick snack. And talk about versatility! These gluten-free cheese crackers aren’t just for snacking; they’re amazing crumbled over salads, served alongside soups, or even as part of a cheese board. What I love most about this particular recipe is the texture – it’s that perfect balance of crisp edges and a slightly tender, melt-in-your-mouth center. It’s far superior to many store-bought options I’ve tried, and knowing exactly what goes into them is such a comfort. They’re a lifesaver on busy nights when I need a quick appetizer or a satisfying snack for the kids.
How do I make gluten-free cheese crackers?
Quick Overview
This recipe is all about combining simple ingredients into a beautiful, cheesy dough, shaping it, and baking it to golden perfection. You’ll mix your dry ingredients, add your wet ingredients to form a dough, chill it briefly (this is key for easy handling!), roll it out, cut shapes, and bake. The whole process from start to finish, including chilling, takes about an hour, making it totally manageable even on a weeknight. It’s a fuss-free way to get that delicious, homemade cheesy cracker taste without any gluten.
Ingredients
For the Main Batter:
Here’s what you’ll need to get that perfect cracker base. I always try to use good quality ingredients, especially the cheese, as it really makes a difference. For the flour, a good all-purpose gluten-free blend that contains xanthan gum works wonders. If yours doesn’t, you might need to add a tiny pinch. I usually use a blend that has rice flour, tapioca starch, and potato starch for the best texture. You’ll need about 1 ¾ cups of your favorite gluten-free all-purpose flour. Then, we have about ½ teaspoon of baking powder to give them a little lift, and just ¼ teaspoon of salt to enhance all those cheesy flavors. Don’t skip the salt! It really wakes everything up.
For the Cheese & Flavor:
This is where the magic happens! You’ll need 1 cup of shredded sharp cheddar cheese. Sharp cheddar gives a fantastic depth of flavor. I also love adding ½ cup of shredded Parmesan cheese for that extra salty, nutty kick. Using pre-shredded is fine, but if you have time, shredding your own from a block melts and tastes even better – just a little tip! Then, we’ll add 6 tablespoons of cold, unsalted butter, cut into small cubes. Cold butter is super important for a flaky texture, just like in pie crusts. You’ll also need about ¼ cup of ice-cold water. The ice-cold water helps bring the dough together without melting the butter too quickly.
Step-by-Step Instructions
Step 1: Preheat & Prep Pan
First things first, get your oven preheated to 375°F (190°C). I like to line a couple of baking sheets with parchment paper. This does two things: it stops the crackers from sticking, and it makes cleanup a breeze. Nobody likes scrubbing burnt cheese off a baking sheet!
Step 2: Mix Dry Ingredients
In a large bowl, whisk together the gluten-free flour, baking powder, and salt. Give it a good mix to make sure everything is evenly distributed. This ensures your crackers have a consistent texture throughout.
Step 3: Cut in the Butter
Add the cold, cubed butter to the dry ingredients. Now, this is where you can use a pastry blender, your fingertips, or even a food processor to cut the butter into the flour mixture. You want to work it until it resembles coarse crumbs, with some pea-sized pieces of butter still visible. Don’t overwork it! Those little bits of butter are going to create those wonderful flaky layers.
Step 4: Add Cheese and Water
Stir in the shredded cheddar and Parmesan cheeses. Then, gradually add the ice-cold water, a tablespoon at a time, mixing until the dough just starts to come together. You might not need all the water, or you might need a tiny bit more – it really depends on your flour blend and humidity. The dough should be shaggy but hold together when you pinch it.
Step 5: Chill the Dough
Turn the dough out onto a lightly floured surface. Gently bring it together into a ball, then flatten it into a disc. Wrap it tightly in plastic wrap and refrigerate for at least 30 minutes. This chilling step is crucial. It firms up the butter and makes the dough much easier to roll out without becoming sticky or tearing.
Step 6: Roll and Cut
Once chilled, take the dough out and place it on a lightly floured surface. Roll it out to about ¼-inch thickness. Don’t worry if it’s not perfectly uniform; that adds to the rustic charm! Now, use your favorite cookie cutters (fun shapes are great for kids!) or a knife to cut out your crackers. I usually aim for squares or rectangles, about 1.5 to 2 inches in size.
Step 7: Arrange and Bake
Carefully transfer the cut crackers to your prepared baking sheets, leaving a little space between them. You can gently prick each cracker a few times with a fork if you want to ensure they don’t puff up too much, though I often skip this step and they turn out great. Bake for 15-20 minutes, or until they’re lightly golden brown around the edges and feel firm to the touch. Keep an eye on them, as ovens can vary!
Step 8: Cool and Enjoy
Let the crackers cool on the baking sheets for a few minutes before transferring them to a wire rack to cool completely. This is when they really crisp up. Once they’re cool, they’re ready to be devoured! They’re best enjoyed the day they’re made, but they store surprisingly well.
Step 9: Slice and Serve
Once your gluten-free cheese crackers are completely cool, they are ready to be served. They’re perfect for snacking right out of hand. If you cut them into squares or rectangles, you can arrange them artfully on a platter. For a more casual setting, just pile them up in a bowl. They’re incredibly satisfying on their own, but their crispy, cheesy goodness also makes them a fantastic addition to so many other dishes.
What to Serve It With
These gluten-free cheese crackers are so versatile, you’ll find yourself reaching for them in all sorts of situations. For breakfast, I love serving a few alongside a fresh Fruit Salad or a simple yogurt parfait. They add a savory crunch that balances out the sweetness beautifully. For a more elegant brunch spread, they can be arranged on a platter with other pastries and dips, perhaps with a mimosa or a light sparkling cider. They’re also surprisingly wonderful as a dessert accompaniment, especially with a honey-drizzled ricotta or a mild, creamy cheese – it’s an unexpected but delightful pairing that feels a bit fancy. But, of course, their true home is as a cozy snack. They are absolutely perfect with a warm cup of tea on a chilly afternoon, or with a glass of milk for the kids. My personal favorite way to enjoy them is simply by the handful while I’m curled up with a good book, or crumbled over a hearty lentil soup. They add a wonderful texture and savory depth that takes a simple soup to a whole new level. Honestly, they’re just good with *everything*.
Top Tips for Perfecting Your Gluten-Free Cheese Crackers
After making these gluten-free cheese crackers more times than I can count, I’ve picked up a few tricks that I think really elevate them. First, the cheese quality matters. Using sharp cheddar and good Parmesan will give you a much more robust flavor than milder varieties. If you can, shred your own cheese from a block; it melts much better than pre-shredded, which often has anti-caking agents that can affect texture. When it comes to mixing the dough, don’t overwork it after adding the water. You want to mix just until it comes together. Overmixing can lead to tough crackers. The chilling step is non-negotiable for me. It’s what makes the dough easy to roll out and prevents the butter from melting too quickly, which is key for that flaky texture. If your dough feels too sticky even after chilling, don’t be afraid to add a tiny bit more gluten-free flour, or if it’s too dry and crumbly, a splash more ice water. When rolling, aim for about ¼-inch thickness. If you roll them too thin, they might burn before they get crispy, and if they’re too thick, they can be a bit doughy in the center. For even baking, try to cut your crackers into uniform sizes. Baking time can vary, so watch for those golden edges. They’ll continue to crisp up as they cool. If you want to add some spice, a pinch of cayenne pepper or a dash of paprika in the dry ingredients can add a nice kick. For a different flavor profile, you could try adding some finely chopped herbs like rosemary or chives to the dough.
Storing and Reheating Tips
These gluten-free cheese crackers are definitely best when they’re fresh, but they do store surprisingly well, which is great for meal prep or having them on hand. At room temperature, they’ll stay delightfully crisp for about 2-3 days if stored in an airtight container. Make sure they are completely cool before sealing them up, otherwise, any residual moisture can make them soggy. If you find they’ve lost a bit of their crispness after a day or two, you can easily revive them! Just pop them in a 300°F (150°C) oven for about 5-7 minutes until they’re crisp again. For longer storage, you can keep them in the refrigerator for up to a week, though they might lose a bit of their crunchiness over time. Again, a quick trip back into the oven will revive them. If you want to freeze these gems, I highly recommend doing so *before* baking. Shape them, cut them, and arrange them on a baking sheet, then freeze until solid. Once frozen, transfer them to a freezer-safe bag or container. You can then bake them directly from frozen; just add a few extra minutes to the baking time. If you have leftover baked crackers, you can freeze them too, but they might not have the same crisp texture upon thawing. It’s best to freeze them plain and then reheat them in the oven to bring back their crispness.
Frequently Asked Questions
Final Thoughts
So there you have it – my absolute favorite, can’t-live-without gluten-free cheese crackers recipe. They’re the perfect example of how delicious and satisfying homemade gluten-free baking can be. I truly hope you give these a try! They’re more than just a snack; they’re a little bit of comfort and pure joy baked into every bite. Whether you’re gluten-free or just looking for an incredibly tasty cheese cracker, I promise you won’t be disappointed. They’re proof that simple ingredients, treated with a little bit of care, can create something truly magical. If you end up making them, I would absolutely love to hear all about it! Leave a comment below, rate the recipe, and tell me your favorite way to enjoy them. Happy baking, and I can’t wait to hear how yours turn out!
Gluten-Free Cheese Crackers
Ingredients
Main Ingredients
- 2.5 cups all-purpose gluten-free flour blend
- 0.5 teaspoon salt
- 0.25 teaspoon cayenne pepper optional
- 1 cup shredded cheddar cheese
- 0.5 cup cold unsalted butter cut into cubes
- 0.25 cup ice water
Instructions
Preparation Steps
- In a large bowl, whisk together the gluten-free flour blend, salt, and cayenne pepper (if using).
- Add the shredded cheddar cheese and cold butter cubes to the flour mixture. Cut the butter into the dry ingredients using a pastry blender or your fingertips until the mixture resembles coarse crumbs.
- Gradually add the ice water, 1 tablespoon at a time, mixing until the dough just comes together. Be careful not to overmix.
- Gather the dough into a ball, flatten it into a disc, wrap in plastic wrap, and refrigerate for at least 30 minutes.
- Preheat your oven to 400°F (200°C). Line baking sheets with parchment paper.
- On a lightly floured surface, roll out the dough to about 1/8-inch thickness.
- Cut the dough into desired shapes using cookie cutters or a knife. Prick each cracker a few times with a fork.
- Place the crackers on the prepared baking sheets.
- Bake for 10-12 minutes, or until golden brown and crispy.
- Let the crackers cool completely on the baking sheets before serving.