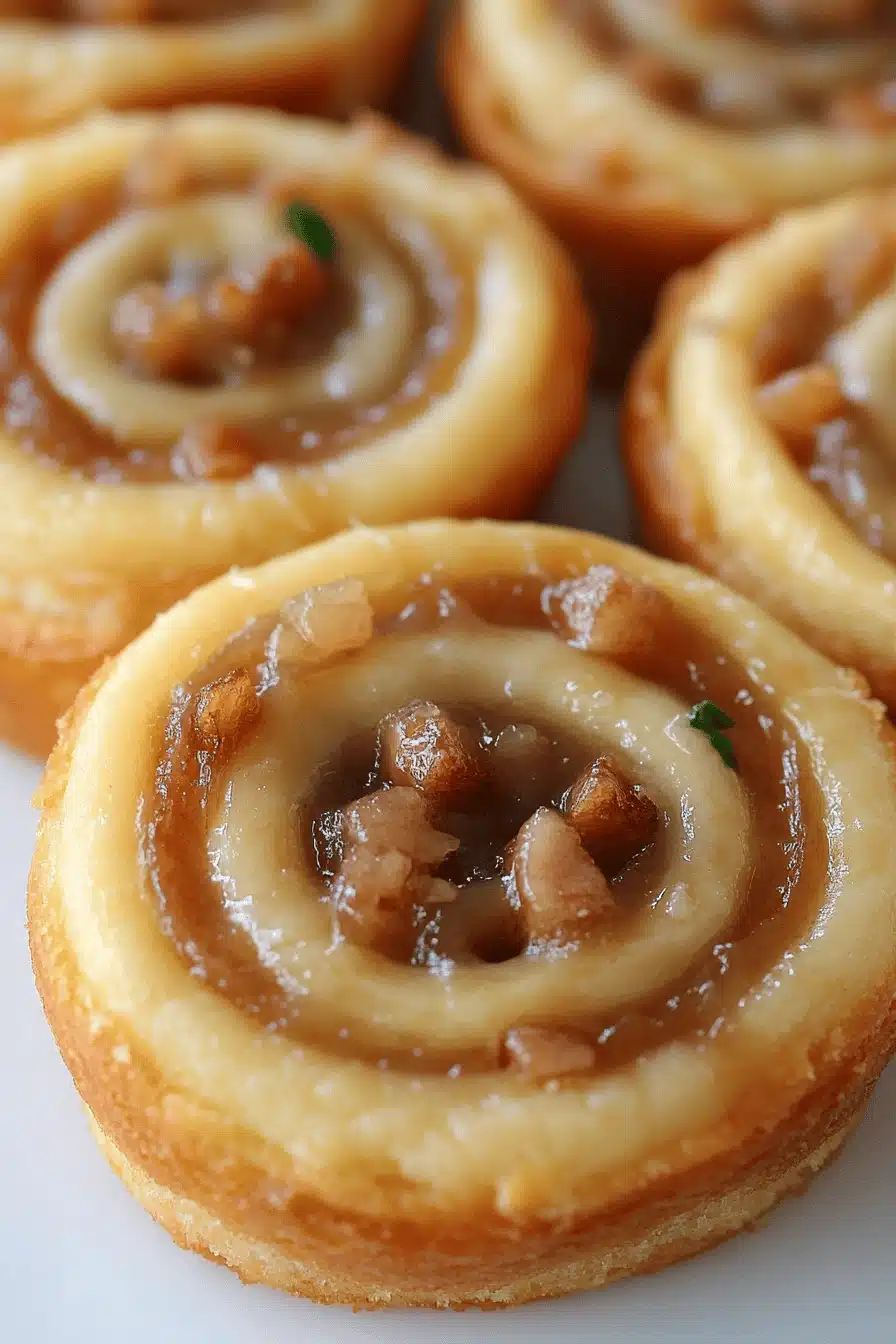
Oh, where do I even begin with French crullers? If you’ve ever walked into a bakery and seen those delicate, golden rings of airy goodness, you know the siren call. They look so impossibly elegant, don’t they? For years, I just admired them from afar, assuming they were some kind of magical creation reserved for professional pastry chefs. My own attempts at homemade donuts were usually… well, let’s just say they were more dense than delightful. But then, a few years ago, I stumbled upon a true gem – a French crullers recipe that finally cracked the code. It’s the kind of recipe that makes you feel like a baking superhero. The texture is just unreal – crisp on the outside, incredibly light and almost cloud-like on the inside. This recipe is what finally made me understand that homemade French crullers aren’t just possible, they’re downright achievable and, dare I say, even better than store-bought. It’s my go-to when I want to impress (or just seriously treat myself!).
What are French crullers?
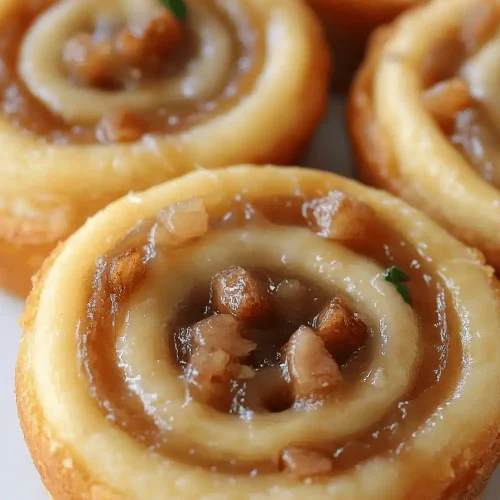
So, what exactly is this magical thing called a French cruller? Think of it as a close cousin to the cream puff or éclairs, but with its own unique charm. Instead of being a yeast-risen dough like many traditional donuts, French crullers are made from a choux pastry base. This means you cook the dough on the stovetop for a bit before baking it. It’s this cooking step that creates those amazing airy pockets. When they bake, they puff up beautifully, and then after frying (or baking, in our case!), they get this wonderful, slightly crisp exterior that’s just begging for a sweet glaze. They’re shaped into rings, often piped with a star tip, which gives them those lovely ridges. It’s essentially a celebration of simple ingredients coming together to create something truly spectacular. Forget those heavy, cakey donuts; these are pure, unadulterated lightness.
Why you’ll love this recipe?
Honestly, there are so many reasons I keep coming back to this French crullers recipe, and I have a feeling you will too! First off, the flavor and texture are just out of this world. You get that delightful contrast between the slightly crisp, golden exterior and the impossibly tender, airy interior. It’s not overly sweet on its own, which is brilliant because it makes the glaze the star of the show. Speaking of the glaze, you can customize it to your heart’s content – a classic vanilla is divine, but a hint of lemon or even a chocolate drizzle? Heavenly. And the simplicity! While it sounds fancy, the process is actually quite manageable. Once you get the hang of the choux pastry part, it’s smooth sailing. I also love how budget-friendly it is. Most of the ingredients are pantry staples you probably already have. And the versatility! Serve them warm for breakfast, as a sweet treat with coffee, or even as a stunning dessert. They truly elevate any occasion. What I love most is the pure joy they bring. Seeing them puff up in the oven is so satisfying, and the look on people’s faces when they take their first bite? Priceless. It’s a step up from your average donut recipe, but without the intimidation factor.
How do I make French crullers?
Quick Overview
Making these French crullers is a two-part magic show: first, you’ll create a simple choux pastry dough on the stovetop, then pipe and bake them until they’re golden and puffed. Once cooled, they’re dipped in a sweet, dreamy glaze. It sounds involved, but I promise, each step is straightforward and the payoff is immense. You’ll be amazed at how these humble ingredients transform into such an elegant treat.
Ingredients
For the Main Batter (Choux Pastry):
This is the heart of our French crullers! The key here is the water and butter coming to a boil, which helps create that initial steam that puffs the pastry.
* 1 cup water
* 1/2 cup unsalted butter, cut into pieces
* 1/2 teaspoon salt
* 1 cup all-purpose flour
* 4 large eggs, at room temperature
For the Glaze:
This glaze is simple perfection. It’s sweet but not cloying, and it sets up nicely without being too hard. I always make sure my powdered sugar is sifted to avoid any lumps!
* 2 cups powdered sugar, sifted
* 1/4 cup milk (or water for a thinner glaze)
* 1 teaspoon vanilla extract
Step-by-Step Instructions
Step 1: Preheat & Prep Pan
Get your oven preheated to 400°F (200°C). This hot oven is crucial for a good puff. Line a couple of baking sheets with parchment paper. You don’t need to grease the parchment, as the crullers won’t stick. You’ll also need a piping bag fitted with a large star tip (like a Wilton 1M or similar). If you don’t have a piping bag, you can use a sturdy zip-top bag with a corner snipped off, but the star tip really gives them that classic cruller look.
Step 2: Mix Dry Ingredients
In a medium bowl, whisk together the all-purpose flour and the salt. Just a quick whisk to combine them thoroughly. Having them pre-mixed makes it easy to add them all at once to the wet ingredients later.
Step 3: Mix Wet Ingredients
In a medium saucepan, combine the water, butter, and salt. Place it over medium heat and bring it to a rolling boil, making sure the butter is completely melted. Once it’s boiling, immediately remove the pan from the heat. This is important – you don’t want it to keep boiling vigorously.
Step 4: Combine
Dump all of the flour mixture into the hot liquid all at once. Stir vigorously with a wooden spoon or heatproof spatula until a smooth ball of dough forms and starts to pull away from the sides of the pan. This usually takes about 1-2 minutes. You’ll see a film forming on the bottom of the pan – that’s a good sign!
Now, transfer this dough to the bowl of a stand mixer fitted with the paddle attachment (or use a hand mixer and a large bowl). Let it cool for about 5 minutes, stirring occasionally. This is really important so you don’t scramble the eggs! Once it’s cooled slightly, add the eggs one at a time, beating well after each addition. The dough might look separated or curdled at first, but keep beating. It will eventually come together into a smooth, thick, glossy batter. It should be thick enough to hold its shape but still soft and pipeable. If it seems too thick, you can add a tiny bit more water or milk, but be careful not to make it too runny.
Step 5: Prepare Filling
This step is actually for preparing the glaze, not a filling like you’d find in a cream puff! In a medium bowl, whisk together the sifted powdered sugar, milk, and vanilla extract until smooth and pourable. If it’s too thick, add a tiny bit more milk, a teaspoon at a time. If it’s too thin, add a bit more sifted powdered sugar.
Step 6: Layer & Swirl
Spoon the choux pastry dough into your prepared piping bag with the star tip. Pipe rings onto the prepared baking sheets, about 3-4 inches in diameter. Try to keep them relatively even in thickness for even baking. You can pipe them directly or pipe a solid circle and then pipe a second, smaller circle inside the first to create the ring shape. If you’re not a fan of piping, you can also use two spoons to shape them, though they might not be as perfectly round. Don’t overcrowd the baking sheets; give them some space to puff up.
Step 7: Bake
Bake for 20-25 minutes, or until the crullers are puffed and golden brown. They should feel light when you tap them. Don’t open the oven door for the first 15 minutes, or they might deflate. Once they’re done, carefully remove them from the oven. You can poke a small hole in the side of each cruller with a skewer or knife to allow steam to escape, which helps them stay crisp as they cool. If you’re baking in batches, make sure the oven is back to temperature before putting in the next sheet.
Step 8: Cool & Glaze
Let the crullers cool on a wire rack for about 10-15 minutes. You want them to be warm, but not piping hot, when you glaze them. This helps the glaze adhere nicely. Dip the top half of each warm cruller into the prepared glaze, letting any excess drip back into the bowl. Place them back on the wire rack (with parchment paper underneath to catch drips!) to let the glaze set.
Step 9: Slice & Serve
Once the glaze has set, your gorgeous French crullers are ready! They are best enjoyed the same day they are made, ideally within a few hours of glazing, for that perfect crisp-chewy texture. If you need to cut them, a serrated knife works best to avoid squishing them.
What to Serve It With
These French crullers are so versatile, they fit into almost any meal or treat occasion! For breakfast, they are absolutely divine paired with a hot cup of coffee. The warmth of the coffee and the sweetness of the cruller are just the perfect way to start your day. Imagine sitting by the window with a plate of these and your favorite brew – pure bliss. For a more special brunch, I love to arrange them on a tiered stand with fresh berries and a scattering of mint. They look so elegant and make a fantastic centerpiece. A light sparkling rosé or a mimosa is the perfect beverage to accompany them. As a dessert, they can be served with a dollop of whipped cream or a light fruit compote. The airy texture makes them feel less heavy than some other desserts, making them a great choice after a rich meal. And for those cozy, “I need something sweet right now” moments, they are simply perfect on their own. My kids absolutely adore them as an after-school treat with a glass of cold milk. It’s one of those simple pleasures that makes an ordinary afternoon feel a little bit special.
Top Tips for Perfecting Your French Crullers
I’ve made these French crullers more times than I can count, and along the way, I’ve picked up a few tricks that really make a difference. For the choux pastry, the cooling step after cooking it on the stovetop is non-negotiable. If the dough is too hot when you add the eggs, they’ll scramble, and you’ll end up with a greasy mess instead of light, airy pastry. I usually let it cool for at least 5 minutes, stirring it in the mixer bowl to help it along. When you add the eggs, patience is key. Adding them one at a time and beating until fully incorporated ensures the dough emulsifies properly, giving you that characteristic smooth, glossy texture. You’re looking for a batter that’s thick enough to hold its shape when piped but still soft and pliable. It should droop slightly off the spoon, not be stiff or runny.
For baking, don’t be tempted to open the oven door too early! That blast of cold air can cause your beautiful puffs to collapse before they’ve set. Trust the timing, and let them get nice and golden brown. Once they’re out, I always give them a little poke with a skewer to release any trapped steam – this is a tip I learned after a few batches that stayed a little soft inside because they couldn’t breathe. When it comes to the glaze, the consistency is everything. You want it thick enough to coat the cruller but thin enough to drip off nicely. If it’s too thick, your crullers will be gloopy; too thin, and it will all run off. A good starting point is about 2 cups of sifted powdered sugar to 1/4 cup liquid. Always sift your powdered sugar; it’s a small step that prevents a lumpy glaze. For ingredient swaps, I haven’t experimented much with the choux pastry itself, as it’s quite specific, but for the glaze, you can absolutely play with flavors! A splash of almond extract, a bit of citrus zest, or even a tablespoon of cocoa powder mixed in can create wonderful variations. My personal favorite is a simple vanilla, but a lemon glaze is divine on a warm day. Remember, these are best enjoyed the day they are made. While they can be stored, the crispness does fade.
Storing and Reheating Tips
Okay, let’s talk about storing these beauties. The truth is, French crullers are absolutely at their peak when they’re fresh, ideally within a few hours of being glazed. That delicate crispness is something that’s hard to replicate once they’ve sat around. However, if you happen to have leftovers (which is rare in my house!), here’s what I do. If you want to keep them at room temperature, and they aren’t glazed yet, store them in an airtight container for up to a day. The unglazed ones retain a bit more of their texture. If they are already glazed, I recommend eating them within 24 hours. Store them in a single layer in an airtight container, perhaps with a piece of parchment paper between them if they’re stacked, to prevent the glaze from sticking. They will become softer over time, but still quite delicious.
For longer storage, the refrigerator isn’t ideal for maintaining their crisp texture, but if you must, wrap them well in plastic wrap and then place them in an airtight container. They’ll last for about 2 days, but expect them to be chewier. Reheating isn’t really recommended for French crullers, as the heat tends to make them soggy rather than restoring their crispness. Honestly, your best bet is to make them the day you plan to serve them. If you absolutely have to serve them at room temperature, and they’ve been stored, you might try a very brief stint in a toaster oven on a low setting (like 200°F or 90°C) for just a couple of minutes, watching them *very* closely, but I’ve found this often doesn’t quite bring them back to their former glory. It’s one of those treats best enjoyed at its freshest!
Frequently Asked Questions
Final Thoughts
So there you have it – my absolute favorite French crullers recipe! I know it might look a little intimidating at first glance, but trust me, it’s so worth the effort. The process is quite rewarding, and the result is a treat that’s truly spectacular. You get that incredible crisp-on-the-outside, airy-on-the-inside texture that’s just heavenly. They’re so much better than anything you’d find pre-packaged, and they have a way of making any ordinary day feel a bit more special. If you love these, you might also enjoy my recipe for classic churros or my easy éclairs, as they all share a similar choux pastry base. Give these French crullers a try, and I promise you’ll be hooked. I can’t wait to hear how yours turn out – let me know in the comments below if you try them, and what your favorite glaze variation is!
French Crullers Recipe
Ingredients
Choux Pastry Dough
- 0.5 cup Water
- 0.5 cup Milk
- 0.375 cup Unsalted Butter cut into pieces
- 1 tablespoon Granulated Sugar
- 0.25 teaspoon Salt
- 1 cup All-Purpose Flour
- 4 large Eggs
Glaze
- 1 cup Powdered Sugar sifted
- 2 tablespoons Milk
- 0.5 teaspoon Vanilla Extract
Frying
- 3 cups Vegetable Oil or other neutral frying oil
Instructions
Make the Choux Pastry
- In a medium saucepan, combine water, milk, butter, sugar, and salt. Heat over medium heat, stirring until butter is melted and mixture is simmering.
- Add the flour all at once and stir vigorously with a wooden spoon until a smooth dough forms and pulls away from the sides of the pan.
- Cook for 1-2 minutes, stirring constantly. This helps dry out the dough.
- Transfer the dough to the bowl of a stand mixer fitted with the paddle attachment. Let it cool for about 5 minutes, stirring occasionally.
- With the mixer on low speed, add the eggs one at a time, making sure each egg is fully incorporated before adding the next. The dough should be smooth, thick, and glossy.
Shape and Fry the Crullers
- Fit a piping bag with a large star tip (about 1/2 inch). Fill the piping bag with the choux pastry dough.
- Heat the vegetable oil in a large, heavy-bottomed pot or Dutch oven over medium heat to 350°F (175°C).
- Carefully pipe rings of dough into the hot oil, about 3-4 inches in diameter. Cut the dough with kitchen shears or a knife as you pipe it.
- Fry in batches, without crowding the pot, for 3-4 minutes per side, or until golden brown and puffed.
- Using a slotted spoon, remove the crullers from the oil and place them on a wire rack set over a baking sheet to drain.
Make the Glaze and Finish
- In a small bowl, whisk together the powdered sugar, milk, and vanilla extract until smooth.
- Dip the tops of the warm crullers into the glaze, letting any excess drip off. Place them back on the wire rack to set.
- Serve immediately or store in an airtight container at room temperature for up to 2 days.

