There’s something magical about homemade ice cream that just can’t be beaten. I still remember the smell of vanilla and cream wafting through my childhood kitchen on hot summer afternoons, and how every lick seemed like a little vacation. Compared to store-bought tubs, homemade ice cream feels like an instant happiness machine — creamy, fresh, and endlessly customizable. Whether it’s a classic vanilla, a rich chocolate swirl, or something wild like lavender honey, there’s just nothing quite like scooping out a bowl of homemade ice cream to beat the heat and elevate any day. If you think making ice cream sounds intimidating, trust me, it’s much easier than you’d expect, and so rewarding. I can’t wait to share the recipe that’s become my go-to for family gatherings, last-minute treats, and late-night cravings.
What is home made ice cream?
Think of homemade ice cream as a simple, sweet mixture of cream, milk, sugar, and your favorite flavors — all lovingly churned to soft, creamy perfection right in your kitchen. It’s essentially the classic frozen treat we all know and love, but made from scratch with much more personality and heart. The beauty of homemade ice cream is that you can tailor it however you like — richer, lighter, dairy-free, or with all your favorite mix-ins. Unlike store versions, it doesn’t have a list of preservatives or mysterious additives; just real ingredients you recognize. The name says it all: it’s ice cream, yes, but made lovingly at home, where the smell of fresh vanilla beans and the sound of the churner become part of the warm kitchen memories you make along the way.
Why you’ll love this recipe?
What I love most about this homemade ice cream recipe is how it hits that perfect sweet spot between incredible flavor and simplicity. First off, the taste — rich, creamy, with just the right balance of sweetness and the lovely essence of real vanilla or whichever flavor you decide to try. It’s like an extra hug on a summer day. And simplicity? Don’t be fooled; this recipe is foolproof. I’ve messed around with fancy gadgetry, but the tried-and-true method I’m sharing works every time, even if you’re new to ice cream making.
Budget-wise, it’s a lifesaver. Using basic pantry staples without needing expensive or exotic ingredients means you can whip this up whenever the craving strikes without stress. Plus, it’s incredibly versatile. You can go old school with chocolate chips, swirl in your favorite fruit preserves, or sprinkle in candied nuts. It’s also one of those recipes that’s cool to experiment with — I once swapped out heavy cream for coconut milk and got a gorgeously tropical vibe that my kids couldn’t stop asking for. If you’ve played around with other frozen desserts like gelato or sorbet, you’ll find this homemade ice cream recipe striking the perfect balance — creamy but light, simple but indulgent. Trust me, this recipe disappears in minutes at my house every single time.
How do I make homemade ice cream?
Quick Overview
Making this homemade ice cream is surprisingly straightforward: mix up your cream, milk, sugar, and flavorings, chill it to lock in the flavors, then churn until it’s smooth and creamy. No fancy equipment necessary if you have a good ice cream maker, but I’ll share tips for no-machine versions too. The key is the chill-and-churn rhythm, which creates that silky texture everyone loves. You’ll find it’s less time-consuming than you think — plus, the smell and anticipation are half the fun!
Ingredients
For the Main Batter:
- 2 cups heavy cream – fresh is best, but ultra-pasteurized works fine too
- 1 cup whole milk – the creaminess comes here, so don’t skip on fat content
- ¾ cup granulated sugar – feel free to adjust based on your sweetness preference
- 1 tablespoon pure vanilla extract – this is the real flavor booster, invest in quality
For the Fillings (Optional):
- ½ cup mini chocolate chips or chopped nuts – for a bit of texture
- ½ cup fresh fruit puree or swirls of jam – strawberries, peaches, or even a berry combo work wonders
- 1 tablespoon bourbon or rum – if you want a grown-up twist, adds warmth and depth
For the Glaze (Optional):
- ½ cup semi-sweet chocolate chips or dark chocolate – melted gently for drizzling
- 1 teaspoon coconut oil or butter – adds shine to the glaze
- Pinch of sea salt – balances the sweetness perfectly
Step-by-Step Instructions
Step 1: Chill Your Equipment
Before you even start mixing, pop your ice cream maker’s bowl into the freezer for at least 24 hours, or put your mixing bowl in the freezer if you’re churning by hand. Cold equipment = creamier ice cream. This is a trick I absolutely swear by — I learned the hard way that warm bowls make a slushy mess.
Step 2: Mix the Dry Ingredients
Combine the sugar with a pinch of salt in a mixing bowl. Whisking sugar with salt might sound odd, but it helps round out the flavors beautifully. Plus, the salt keeps the sweetness from overpowering your taste buds — always worth that little extra step.
Step 3: Mix Wet Ingredients
In a separate jug, stir together the heavy cream, whole milk, and vanilla extract. The vanilla is your flavor’s backbone, and using pure, good-quality vanilla will bring a floral warmth that fake extracts just can’t match.
Step 4: Combine
Pour the wet ingredients slowly into the bowl with the sugar, whisking gently until the sugar is fully dissolved — you don’t want the sugar grains to crunch later. Avoid over-whisking; just enough so everything is smoothly combined and glossy. If you’re adding any liquor or delicate extracts, this is the time to fold them in.
Step 5: Prepare the Filling
Get your mix-ins ready. If using fresh fruit, puree it for a smooth swirl or chop it small for texture. Nuts and chocolate chips are best added toward the end of churning so they retain their crunch. A little bourbon swirled in can elevate the whole batch if you’re feeling fancy.
Step 6: Chill the Mixture
Pour the combined mixture into a covered container and chill in the refrigerator for at least 2 hours, ideally overnight. This helps the flavors marry and ensures a cold base so the churning process works faster and smoother.
Step 7: Churn the Ice Cream
Set your ice cream maker to churn the chilled mixture. When it reaches a soft-serve consistency after about 20-30 minutes, fold in your mix-ins. Don’t overdo it — you want to see pretty streaks and uneven swirls, not a fully blended mass. If you’re skipping the machine, pour the mixture into a shallow pan, freeze, then scrape with a fork every 30 minutes to break up ice crystals until creamy. It’s a bit more hands-on but totally doable.
Step 8: Freeze to Firm Up
Transfer the churned ice cream to an airtight container and freeze for at least 4 hours to firm up. This resting stage makes scooping a dream and the texture lovely and dense.
Step 9: Optional Glaze & Serve
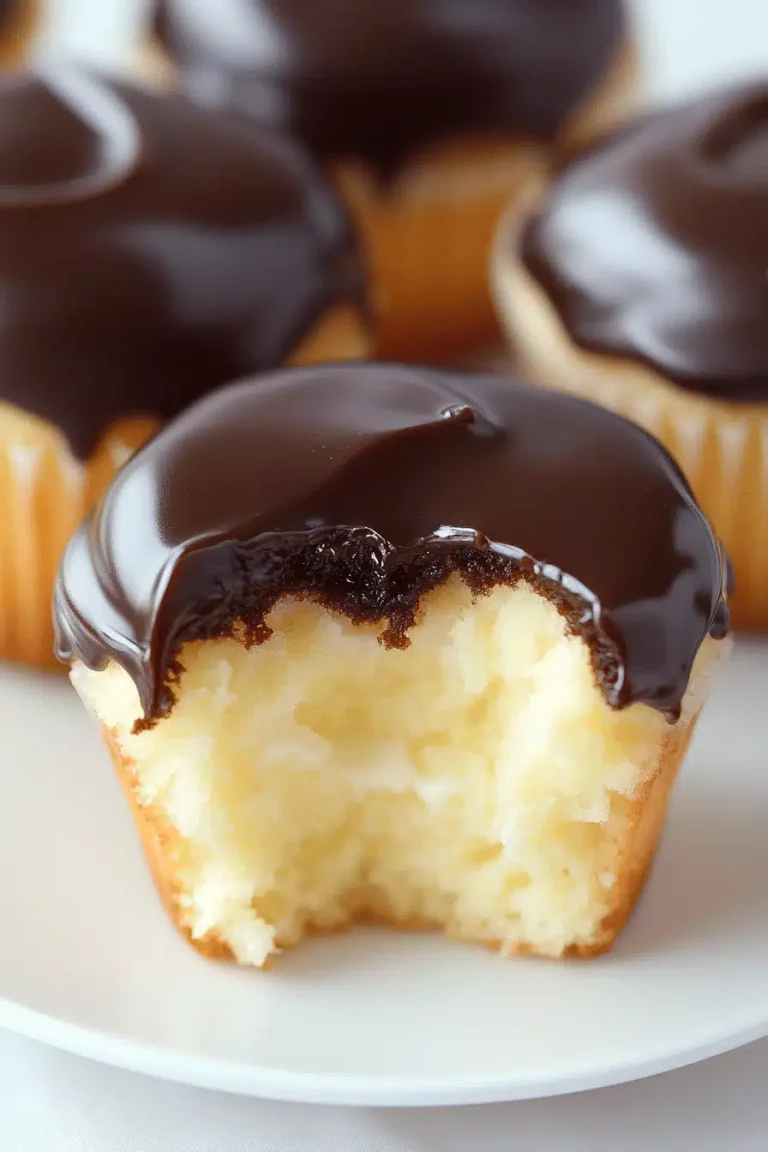
Melt the chocolate chips gently with coconut oil or butter, stir in a pinch of sea salt, and drizzle over the ice cream just before serving. It sets beautifully into a thin, crackly shell that adds an extra layer of indulgence. Serve immediately and watch it vanish.
What to Serve It With
For Breakfast: Sometimes I serve homemade ice cream alongside warm pancakes or waffles with a drizzle of maple syrup and fresh berries. Pair with a rich coffee or chai latte to warm up the morning even if the treat itself is chilled.
For Brunch: Present your ice cream with slices of freshly baked fruit tarts or crumble bars. A sparkling rosé or iced tea completes the light, elegant vibe.
As Dessert: This is where homemade ice cream shines brightest. Try it with a warm chocolate lava cake or homemade brownies — the hot-and-cold contrast is heavenly. A sprinkle of toasted coconut or pecans on top elevates the experience even more.
For Cozy Snacks: Scooping a bowl on a quiet afternoon with a few crunchy biscotti or shortbread cookies has become a midweek tradition in my house. It’s just the right amount of indulgence without feeling over-the-top.
I learned early on that pairing is everything. Simple things like fresh fruit, nuts, or a drizzle of honey can transform a scoop into something truly special. My kids especially love it with sprinkles or tiny chunks of their favorite candy mixed in — a little chaos in the kitchen always sparks the best memories.
Top Tips for Perfecting Your Homemade Ice Cream
Chill Everything: I can’t stress enough how chilling your base and equipment beforehand makes a world of difference. It helps the ice cream freeze faster and keeps it creamy without icy chunks.
Mixing Matters: When whisking the sugar into the milk and cream, make sure the sugar is fully dissolved. Undissolved sugar can give you a gritty texture that’s no fun. Also, avoid vigorous whisking after combining wet and dry ingredients — gentle folding keeps the texture smooth.
Swirl with Care: When adding fruit purees or sauces, fold them in last and only partially. Overmixing kills the pretty marbled effect. I always use a spoon or rubber spatula to create random patterns — that little artistic touch turns out way better than you’d think!
Ingredient Swaps: I’ve successfully swapped half the cream with coconut milk or almond milk for a lighter feel — the texture stays creamy, just a bit more subtle. You can reduce sugar slightly, but keep in mind it affects freezing, so don’t cut more than ¼ cup without experimentation.
Baking & Freezing Tips: If your freezer is super cold, placing the container in the coldest spot for about 6 hours helps firm it without turning it icy. Also, avoid opening the freezer while it’s setting to prevent ice crystals forming.
Glaze Variations: For the chocolate glaze, adding a tablespoon of corn syrup smooths it nicely, but I prefer coconut oil for a cleaner flavor. You can also try caramel sauce or even a dusting of cinnamon sugar right on top for a sweet crunch.
One thing I learned after a few trials is to never rush reheating the glaze — a slow gentle melt stops it from seizing up. Another fun tip: add a pinch of espresso powder to your base to enrich the vanilla flavor without making it a coffee ice cream.
Storing and Reheating Tips
Room Temperature: Ice cream is best served fresh or stored in the freezer, but if you let it sit out for 10-15 minutes, it softens just enough for easy scooping. Avoid leaving it out longer than 30 minutes to prevent melting and refreezing, which ruins texture.
Refrigerator Storage: Not recommended for ice cream since it melts quickly — always keep it cold. However, if you have leftovers from churning before it’s frozen solid, store in a sealed container for up to 24 hours in the fridge for immediate re-churning.
Freezer Instructions: Store your homemade ice cream in a shallow freezer-safe container with a tight lid. Press a layer of parchment paper directly on the surface before sealing to prevent ice crystals. It keeps beautifully for up to 2 weeks, but I’m telling you, it rarely lasts that long at my place!
Glaze Timing Advice: Drizzle the glaze just before serving for the best crackly shell. If you want to prepare ahead, keep the glaze separate or set the glazed ice cream on parchment in the freezer for 15-20 minutes before covering to avoid stickiness.
Frequently Asked Questions
Final Thoughts
I can’t tell you how many times this homemade ice cream has saved a meal, made a hot day better, or brought my family together around the kitchen table. What makes it so special isn’t just how it tastes, but how easy and satisfying it is to make your own scoopable happiness at home. It’s the kind of recipe that invites creativity, invites laughter — and frankly, it disappears too fast for my liking. If you love this, try riffing on the flavor base with cinnamon, coffee, or even matcha for something new. I can’t wait to hear what versions you come up with or how this becomes your new summer ritual. Happy scooping, and don’t forget to drop me a note with your favorite mix-ins or triumphs!
homemade ice cream
Ingredients
Main Ingredients
- 1.75 cups heavy cream
- 1.25 cups whole milk
- 0.75 cups sugar
- 0.125 teaspoon fine sea salt
- 1 tablespoon vanilla extract or 1 vanilla bean split in half lengthwise
Instructions
Preparation Steps
- Pour 1 cup of the heavy cream into a saucepan and add the sugar and salt. If using a vanilla bean, scrape the seeds of the bean into the mixture and then add the vanilla pod to the saucepan.
- Warm the mixture over medium heat, stirring constantly, just until the sugar dissolves. Remove from heat and add the remaining cream, milk, and vanilla extract (if using extract). Whisk to combine and chill in the refrigerator for at least 1 hour.
- When ready to churn, remove the vanilla pod, whisk the mixture again, and pour it into the ice cream maker. Churn according to the manufacturer's instructions until the ice cream thickens.
- Serve immediately for soft serve style or transfer the finished ice cream to an airtight container and freeze for several hours for a firmer texture.