There’s something truly magical about the smell of freshly baked oatmeal cookies wafting through the house — it instantly takes me back to my childhood. My grandma’s kitchen always smelled like warm cinnamon and vanilla as she pulled trays of these golden, chewy delights from the oven. It wasn’t just the taste; it was the memory of laughter around the table, the crumbly edges that always stuck to your fingers, and the gooey centers that begged to be eaten first. I’ve tried countless cookie recipes, but these oatmeal cookies have that perfect, nostalgic balance of heartwarming flavor and irresistible texture. Honestly, they’re like a softer, cozier cousin of the classic chocolate chip cookie — but with a little rustic charm and wholesome goodness that keeps everyone coming back for more. Trust me, if you’re looking for a cookie that’s both comforting and downright addictive, this recipe will be your new best friend in the kitchen.
What is Oatmeal Cookies?
So, let’s talk about what makes oatmeal cookies what they are. At their core, they’re exactly what they sound like—cookies made with oats as a primary ingredient. But don’t let the simplicity fool you! Think of them as little pockets of chewy, slightly nutty sweetness wrapped up in a cookie form. The oats add texture and a pleasant earthiness that’s missing in most traditional cookies. The recipe probably popped up in the early 1900s when cooks started embracing oats for their hearty nature and nutritional boost. It’s essentially a sweet dough that’s part flour, part oats, and flavored with warm spices like cinnamon or nutmeg to make those cozy fall vibes come alive. And the best part? They’re endlessly customizable — added raisins, nuts, chocolate chips, or even coconut can make them feel like a whole new treat each time.
Why you’ll love this recipe?
What I adore most about these oatmeal cookies is how multifaceted they are. First up, the flavor hits all the right notes — that hint of cinnamon, the subtle chew of the oats, and just the perfect sweetness that doesn’t overwhelm but leaves you wanting more. They’re the kind of cookie you can enjoy with your morning coffee but also pack in your kid’s lunchbox without worrying about sugary overload. Secondly, the recipe is practically foolproof. I’ve made these dozens of times, sometimes scrambling between errands or early morning school runs, and it’s always a hit. Plus, most of the ingredients are pantry staples, so you don’t have to run out to some specialty store – bonus for those busy days! Cost-wise, oats are super affordable and stretch a recipe well, so you get plenty of cookies without breaking the bank.
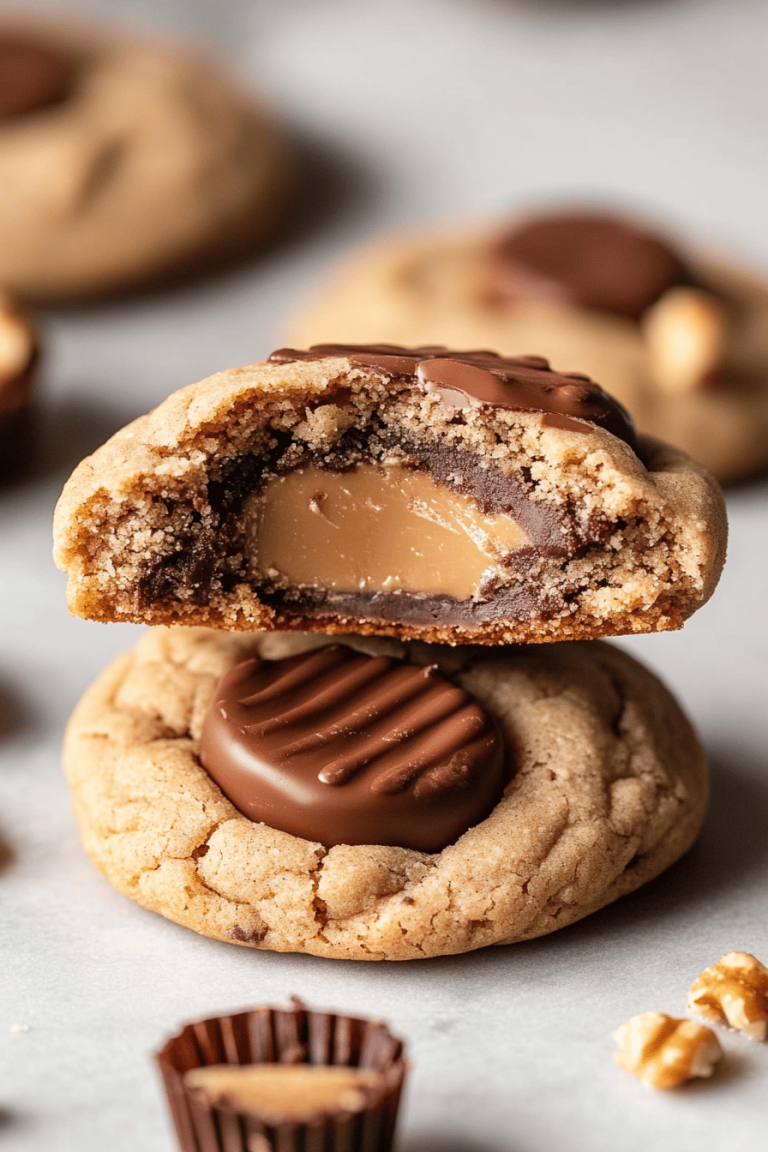
And speaking of versatility, these cookies are incredible. My kids absolutely love when I toss in some mini chocolate chips, while my partner prefers the nutty crunch of toasted walnuts. I’ve even swapped out the butter for coconut oil (for a slightly tropical twist), and honestly, it’s delicious. If you’ve ever made traditional sugar cookies or chocolate chip cookies, this recipe offers a lovely alternative that feels a little more wholesome but just as comforting. What really sets this apart for me is that it’s the cookie I turn to when I want something that feels like a hug from the inside. Whether you’re baking for a crowd or sneaking a late-night treat, these oatmeal cookies never disappoint.
How do I make Oatmeal Cookies?
Quick Overview
Making these oatmeal cookies is as comforting as eating them. You start by mixing the dry ingredients separately from the wet, then gently fold them together so the oats stay happy and chewy. No need for fancy equipment — just your trusty mixing bowls and a spoon will do. The beauty here is in the simplicity: the ingredients come together fast, and the baking time gives you the perfect chewy-soft texture that everyone loves. Baking them fills your home with an irresistible aroma that’s honestly half the joy. And when they come out golden and ready? Pure bliss.
Ingredients
For the Main Batter:
- 1 cup (2 sticks) unsalted butter, softened — I always let mine sit out for an hour beforehand for easy mixing.
- 1 cup packed light brown sugar — the molasses in it adds incredible depth, don’t skip it!
- 1/2 cup granulated sugar — for that bit of extra crisp on the edges.
- 2 large eggs — room temperature helps everything blend smoothly.
- 1 teaspoon vanilla extract — fresh vanilla makes a difference, trust me.
- 1 1/2 cups all-purpose flour — for structure; you want to scoop and level it, not pack it.
- 1 teaspoon baking soda — helps them rise just right.
- 1/2 teaspoon salt — balances sweetness perfectly.
- 1 teaspoon ground cinnamon — feel free to add a pinch of nutmeg if you’re feeling fancy!
- 3 cups old-fashioned rolled oats — not instant oats; the texture difference is worth it.
For the Filling:
- 1/2 cup raisins or dried cranberries — optional but adds a chewy surprise.
- 1/2 cup chopped walnuts or pecans — lightly toasted for extra flavor (my personal favorite).
- 1/2 cup mini chocolate chips — if you want that melty chocolate boost.
For the Glaze:
- 1 cup powdered sugar — sifted, you don’t want lumps here.
- 1–2 tablespoons milk or cream — start with one and add more if needed for drizzling consistency.
- 1/2 teaspoon vanilla extract — just a splash for flavor depth.
- Optional: zest of half a lemon or orange — for a fresh twist.
Step-by-Step Instructions
Step 1: Preheat & Prep Pan
First things first, preheat your oven to 350°F (175°C). Line a large baking sheet with parchment paper or use a silicone baking mat to prevent sticking. I always prep two sheets because these cookies bake quickly and you don’t want to overcrowd. Also, spacing the dough balls about 2 inches apart helps them spread just right without merging into one giant cookie.
Step 2: Mix Dry Ingredients
Grab a medium bowl and whisk together the flour, baking soda, salt, and cinnamon. This step might seem simple, but it makes sure the leavening and spices distribute evenly throughout the dough, giving you consistent flavor and texture in every bite.
Step 3: Mix Wet Ingredients
In a larger bowl, beat the softened butter with the brown and granulated sugars until fluffy and light—this usually takes about 3-4 minutes with a hand mixer. Then add the eggs one at a time, scraping down the sides, plus the vanilla extract. The mixture should be creamy and smell heavenly at this point.
Step 4: Combine
Slowly add your dry ingredients to the wet, stirring gently. Don’t go overboard here; a few small lumps are totally fine. Overmixing can lead to tough cookies, and that’s a rookie mistake I learned early on! Once the flour is almost incorporated, fold in the oats until you have a thick, hearty dough.
Step 5: Prepare Filling
Now for the fun part — toss in your raisins, nuts, or chocolate chips. You can do all three if you want a super loaded cookie, or keep it simple. I like to toast the walnuts in a dry pan for a couple of minutes to bring out their nutty aroma before adding it to the dough. This step elevates the flavor in a surprisingly easy way.
Step 6: Layer & Swirl
For traditional oatmeal cookies, this isn’t about swirling, but if you’re adding chocolate chips, try folding them in last to keep them nice and evenly distributed. If you like, scoop the cookie dough using a tablespoon or small cookie scoop and place balls on the baking sheet.
Step 7: Bake
Bake the cookies for about 10 to 12 minutes. They’ll look slightly underbaked in the center and golden on the edges — that’s what you want! The residual heat will finish cooking them, leading to that soft, chewy middle. Ovens vary, so keep an eye on the first batch. If you bake too long, they get crispy, which is great for some but not for my personal favorite chewy texture.
Step 8: Cool & Glaze
Allow the cookies to cool on the baking sheet for about 5 minutes before transferring to a wire rack to cool completely. For a little extra touch, mix your glaze ingredients until smooth and drizzle over once the cookies have fully cooled. This gives a glossy, sweet finish that makes them feel a bit special — like a little secret upgrade.
Step 9: Slice & Serve
Okay, these aren’t bars to slice, but if you like thick cookies, you can press the dough into a square pan and slice them after baking for a different presentation. Otherwise, serve them warm or at room temperature with a big glass of milk or coffee. You’ll notice the edges stay crisp while the centers remain wonderfully chewy.
What to Serve It With
For Breakfast: I love pairing these oatmeal cookies with a strong cup of morning coffee or a chai latte. They’re just sweet enough to feel like a treat but also hearty from the oats, so they sort of double as a quick breakfast on those rushed mornings.
For Brunch: If you’re hosting guests, set these out alongside fresh fruit and whipped cream, maybe a pot of tea. The texture and spice make the perfect compliment to light, fresh flavors, and people always appreciate an unexpected cookie at brunch!
As Dessert: Try serving warm oatmeal cookies with a scoop of vanilla bean ice cream or drizzle some honey on top. The contrasting temperatures and textures are heavenly, and it’s such an easy way to elevate simple cookies into something party-worthy.
For Cozy Snacks: Nothing beats pulling a plate of these from the pantry on a chilly afternoon. I like to have a jug of homemade hot cocoa ready — my kids ask for this combo constantly, and it’s great for unwinding after school.
To this day, these oatmeal cookies have been a little tradition in my kitchen, popping up anytime someone needs a pick-me-up or a little sweet celebration. They’re just that kind of recipe that feels like home.
Top Tips for Perfecting Your Oatmeal Cookies
Oats Prep: Always use old-fashioned rolled oats, not quick oats or instant. Their sturdier texture creates that perfect chewy bite instead of crumbly flakes. If you want a bit more bite, lightly toast the oats in a dry pan before adding.
Mixing Advice: When combining wet and dry ingredients, fold gently. Overmixing develops gluten and can make your cookies tough — I once had a batch of rock-hard cookies because of this! Also, be sure not to pack the flour when measuring; spoon it into the measuring cup instead.
Swirl Customization: If you’re adding chocolate or nut butters swirled in, try dolloping and then using a skewer or knife for pretty marbling. It’s those small details that impress guests but don’t add much time.
Ingredient Swaps: Want to switch it up? Coconut oil instead of butter adds a subtle coconut flavor and keeps them dairy-free. You can swap half the flour for whole wheat flour for extra fiber, but keep an eye on baking time as they may brown faster. I tested almond milk instead of regular when making glaze, and it actually made it creamier — a neat trick if you’re dairy-free.
Baking Tips: Position your oven rack in the middle for even heat. If your oven runs hot, lower temperature by 10-15 degrees to avoid burnt edges. Test doneness by looking for golden edges and a slightly jiggly center.
Glaze Variations: For a hint of citrus, add orange or lemon zest to the glaze. If you want a richer taste, swap milk for cream. Drizzle when cookies are fully cooled to avoid melting and pooling.
One lesson I keep coming back to is: never rush the cooling process before glazing! I’ve learned this the hard way — glaze melts off warm cookies and makes a sticky mess. Patience is key, and it’s worth the wait for that shiny finish.
Storing and Reheating Tips
Room Temperature: Store your oatmeal cookies in an airtight container for up to 4 days. I always place a slice of bread inside to keep them soft; it’s an old trick grandma swore by!
Refrigerator Storage: If you want to keep them a bit longer, place them in an airtight container in the fridge for up to a week. They’ll firm up a bit but pop right back to perfect after a few minutes at room temp.
Freezer Instructions: Cookies freeze beautifully. Wrap them tightly in plastic wrap and place in a freezer bag for up to 3 months. Thaw overnight on the counter or warm them briefly in the microwave — just 10-15 seconds to regain softness.
Glaze Timing Advice: For longer storage, it’s best to glaze cookies right before serving so the glaze stays fresh and shiny. If you need to store them already glazed, keep them in a single layer separated by parchment paper, and store in the fridge to prevent stickiness.
Frequently Asked Questions
Final Thoughts
Looking back, these oatmeal cookies aren’t just a sweet treat — they’re a little piece of comfort, memory, and happiness all rolled into one. I can’t count how many times they’ve saved me from last-minute dessert crises or cheered up a gloomy afternoon. If you give them a try, I hope you find the same joy and cozy nostalgia they bring my family. Don’t be shy about making this recipe your own by adding your favorite mix-ins or tweaking the glaze. And hey, don’t forget to tell me how yours turned out — I love hearing all the creative ways friends reinvent this classic. Happy baking, and may your kitchen smell as wonderful as mine does right now!
oatmeal cookies
Ingredients
Main Ingredients
- 1 large egg
- 0.5 cup unsalted butter softened to room temp
- 0.5 cup light brown sugar packed
- 0.25 cup granulated sugar
- 1 tablespoon vanilla extract
- 1.5 cups old-fashioned whole rolled oats not instant or quick cook
- 0.75 cup all-purpose flour
- 0.75 teaspoon cinnamon adjust to taste
- 0.5 teaspoon baking soda
- pinch salt optional and to taste
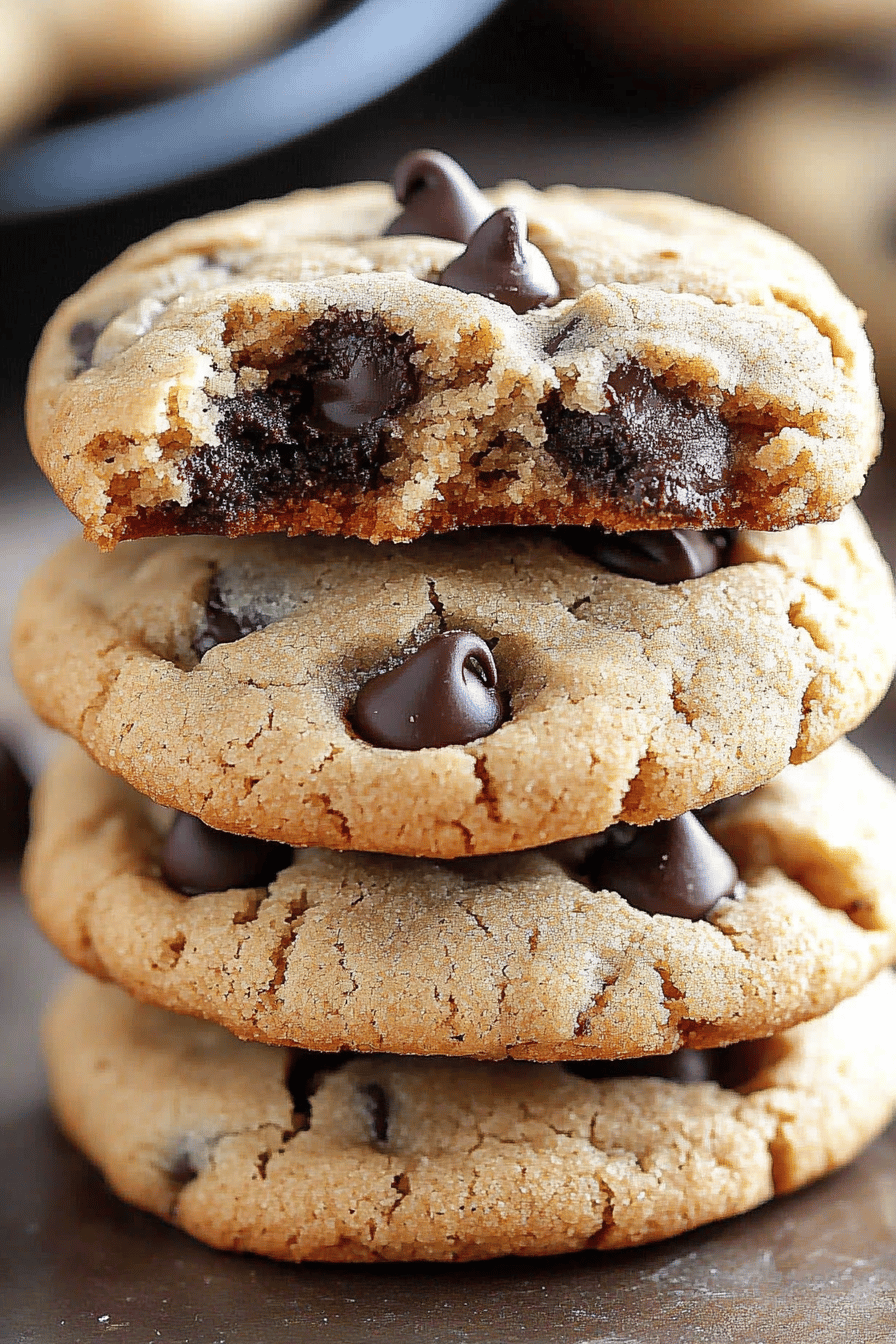
- 1 cup semi-sweet chocolate chips heaping cup
- 0.5 cup raisins or nuts optional and to taste
Instructions
Preparation Steps
- In a mixing bowl or stand mixer fitted with paddle attachment, combine egg, softened butter, light brown sugar, granulated sugar, and vanilla extract. Beat on medium-high speed until creamed and well combined, about 4 minutes.
- Scrape down the sides of the bowl. Add old-fashioned oats, all-purpose flour, cinnamon, baking soda, and optional salt. Beat on low speed until just combined, about 1 minute.
- Add semi-sweet chocolate chips and optional raisins or nuts. Beat on low speed until just combined, about 30 seconds.
- Using a 1/4-cup scoop or your hands, form approximately 11 equal-sized dough mounds. Roll into balls and flatten slightly. Place a few chocolate chips on top of each mound for decoration.
- Place dough mounds on a plate or tray, cover with plastic wrap, and refrigerate for at least 2 hours or up to 5 days. Do not bake unchilled dough to avoid flat cookies.
- Preheat oven to 350°F. Line a baking sheet with a Silpat mat or spray with cooking spray. Arrange dough mounds at least 2 inches apart on the baking sheet.
- Bake for about 11 minutes until edges are set, and tops are just set but can be slightly undercooked in the center. Do not overbake.
- Allow cookies to cool on the baking sheet for about 10 minutes before serving.