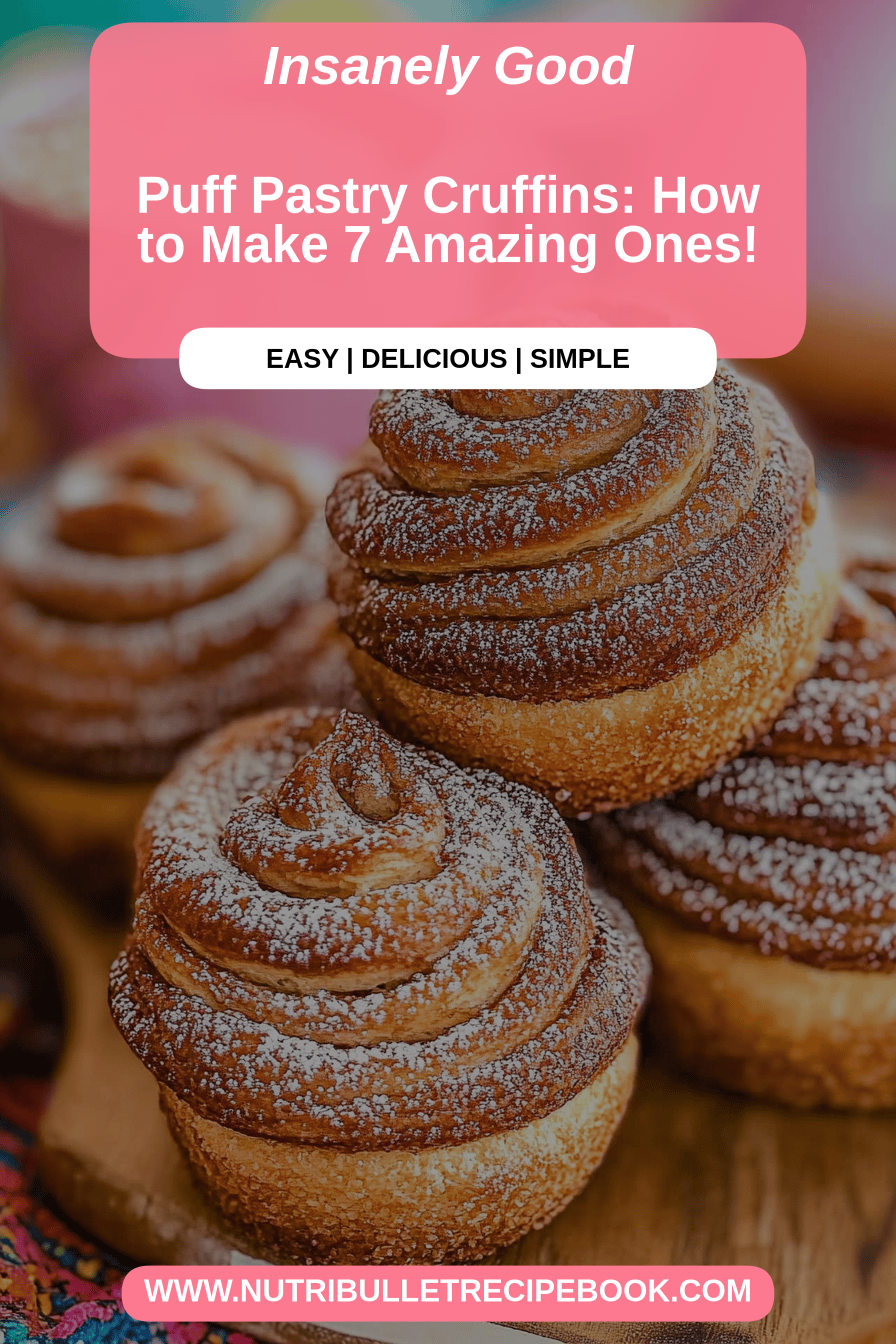
Oh, cruffins! Just saying the word brings back such a flood of memories. It reminds me of those crisp autumn mornings when I was little, heading to the local bakery with my grandma, the air thick with the scent of cinnamon and sugar. She’d always let me pick out one treat, and more often than not, it was something that looked like it had a little bit of everything magical baked into it. That feeling, that pure joy of a special, slightly messy, incredibly delicious treat, is exactly what I wanted to capture with this recipe. If you’ve ever fallen head over heels for a croissant and then swooned over a muffin, prepare yourself, because this recipe for cruffins is about to become your new obsession. They’re the perfect hybrid, offering all the flaky, buttery layers you dream of from a croissant, but with the delightful tenderness and easy-to-handle nature of a muffin. Seriously, it’s the best of both worlds, and honestly, they’re much easier to make at home than you might think!
What are cruffins?
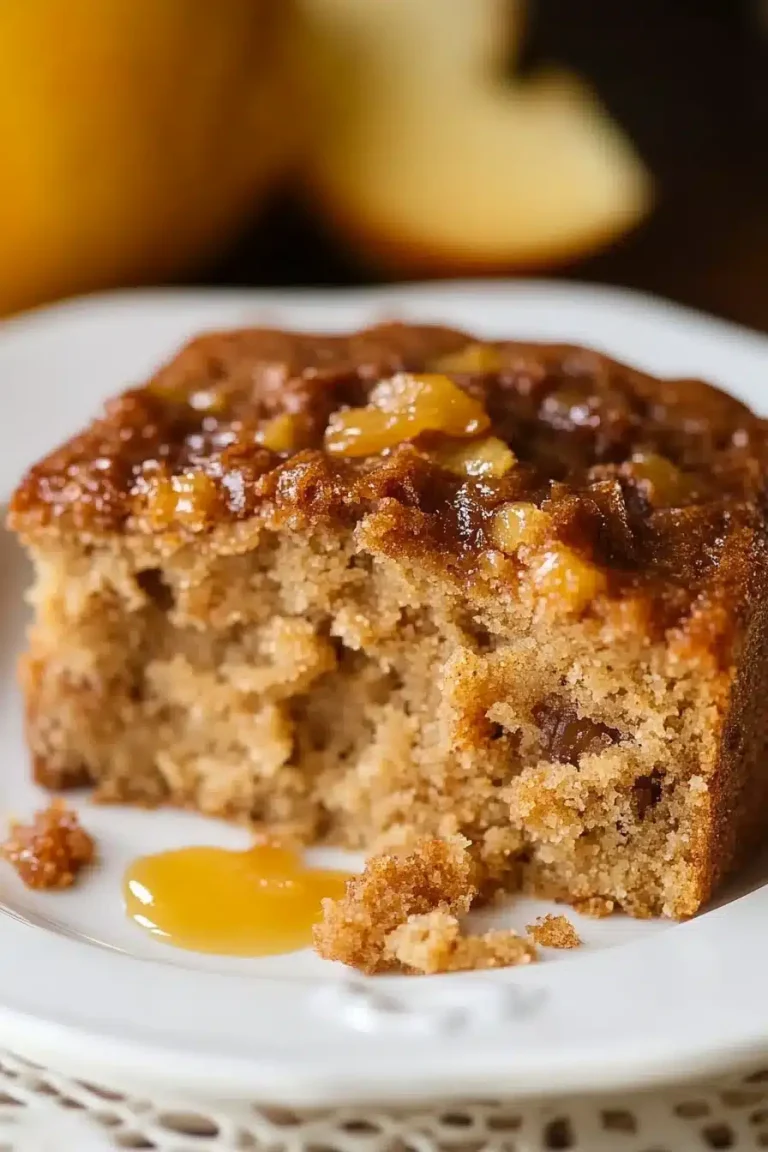
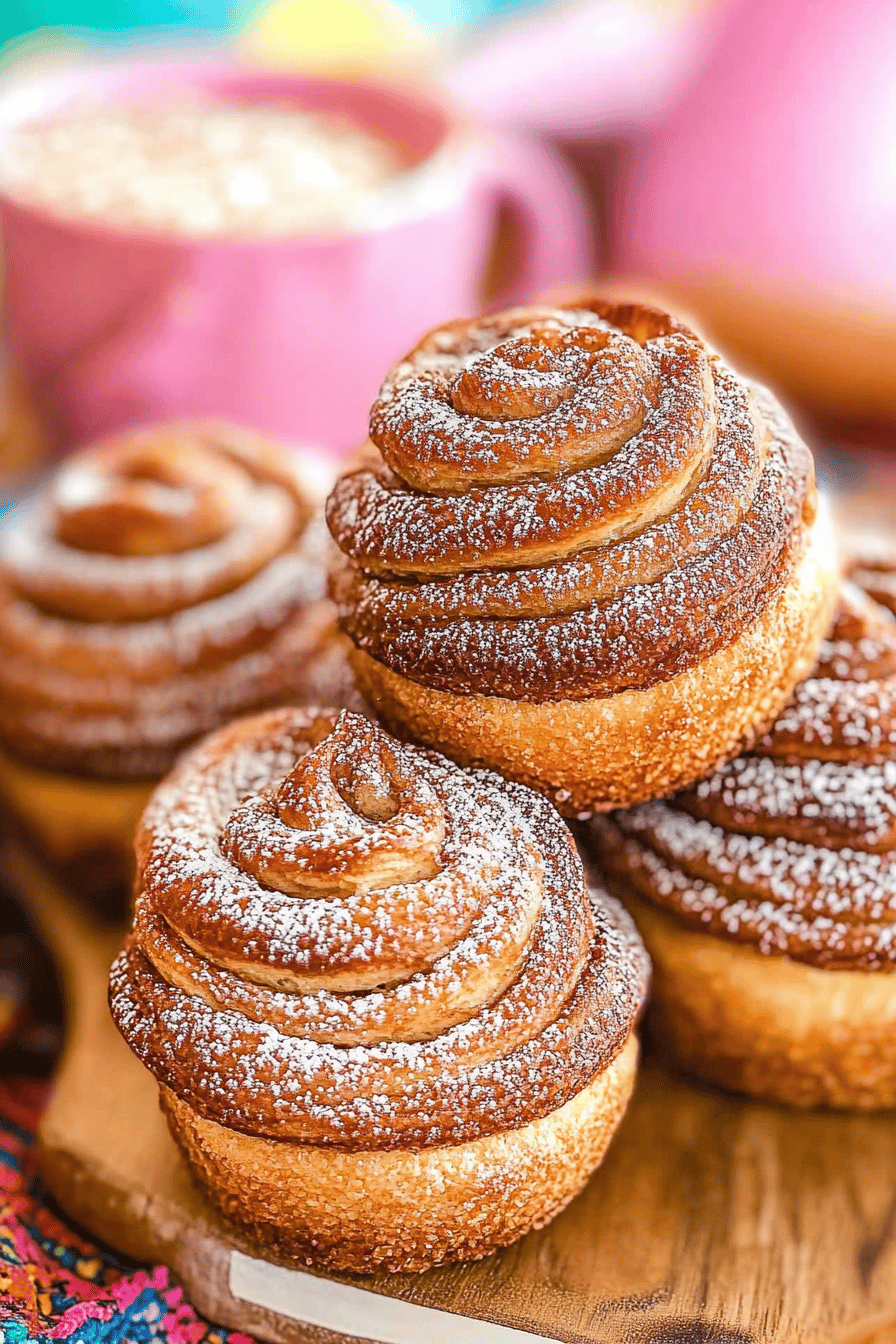
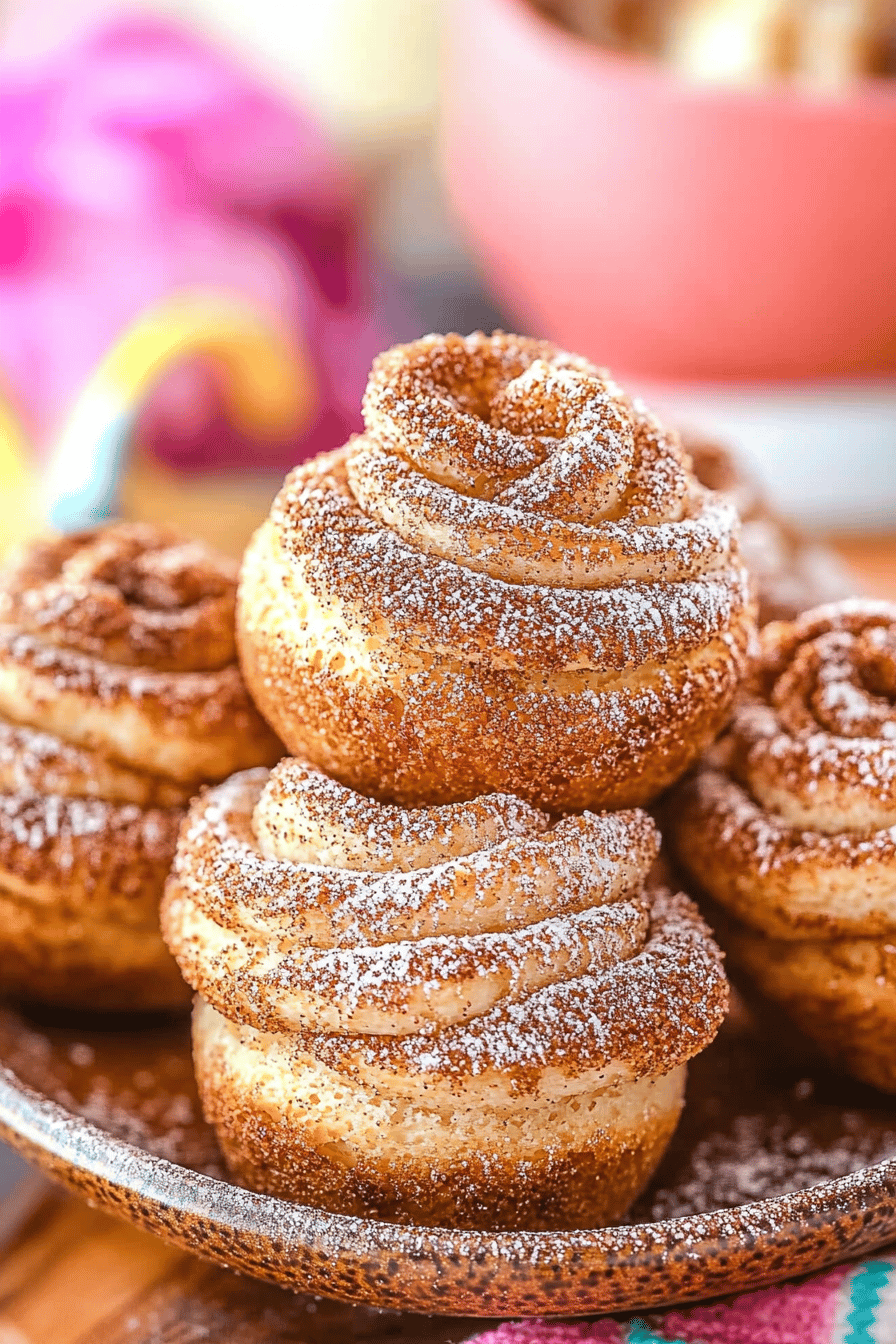
So, what exactly *are* these little wonders? Think of them as the love child of a croissant and a muffin. They get their incredible texture from a dough that’s laminated – that’s the fancy pastry term for layering butter and dough repeatedly, just like you would for croissants or puff pastry. This creates all those glorious, flaky layers. But instead of shaping them into traditional croissants, we cut the laminated dough into strips, spread them with a delicious filling, and then roll them up and bake them in muffin tins. The result is a pastry that’s crispy and flaky on the outside, wonderfully soft and tender on the inside, and bursting with flavor from whatever filling you choose. It’s that satisfying chew you get from a croissant, combined with the comforting shape and ease of a muffin. They’re just… special. And utterly addictive!
Why you’ll love this
Honestly, I could go on and on about why this cruffin recipe holds such a special place in my heart (and my recipe binder!), but let me try to break it down for you. First and foremost, the flavor is absolutely out of this world. You get that rich, buttery goodness from the laminated dough, and when you add in a sweet, perhaps slightly tart filling, it’s just pure heaven. The aroma that fills your kitchen as they bake? Unforgettable. My kids go absolutely bonkers for it, and it’s usually the first thing they rush to the kitchen for when they smell it.
Beyond the incredible taste, what I truly love is that they feel so much more complicated to make than they actually are. Sure, laminating dough takes a bit of time and patience, but the steps themselves are straightforward, and I’ve streamlined them here to make it as painless as possible. You don’t need any fancy equipment, just a willingness to get a little flour on your hands! And the cost-efficiency! Compared to buying these from a high-end bakery, making them at home is a fraction of the price. Plus, you can customize them endlessly. I’ve experimented with so many fillings – from classic chocolate and berry to more adventurous things like salted caramel or even a savory cheese and herb version. They’re incredibly versatile. I’ve found they’re fantastic served warm right out of the oven, but they’re also surprisingly good at room temperature, making them perfect for potlucks or even a fancy picnic. If you’re looking for something that feels a bit more special than your average baked good but is still totally doable for a weekend treat, this is it. It’s a recipe that always impresses, and the smiles you get when people take their first bite? Priceless.
How do I make cru
Quick Overview
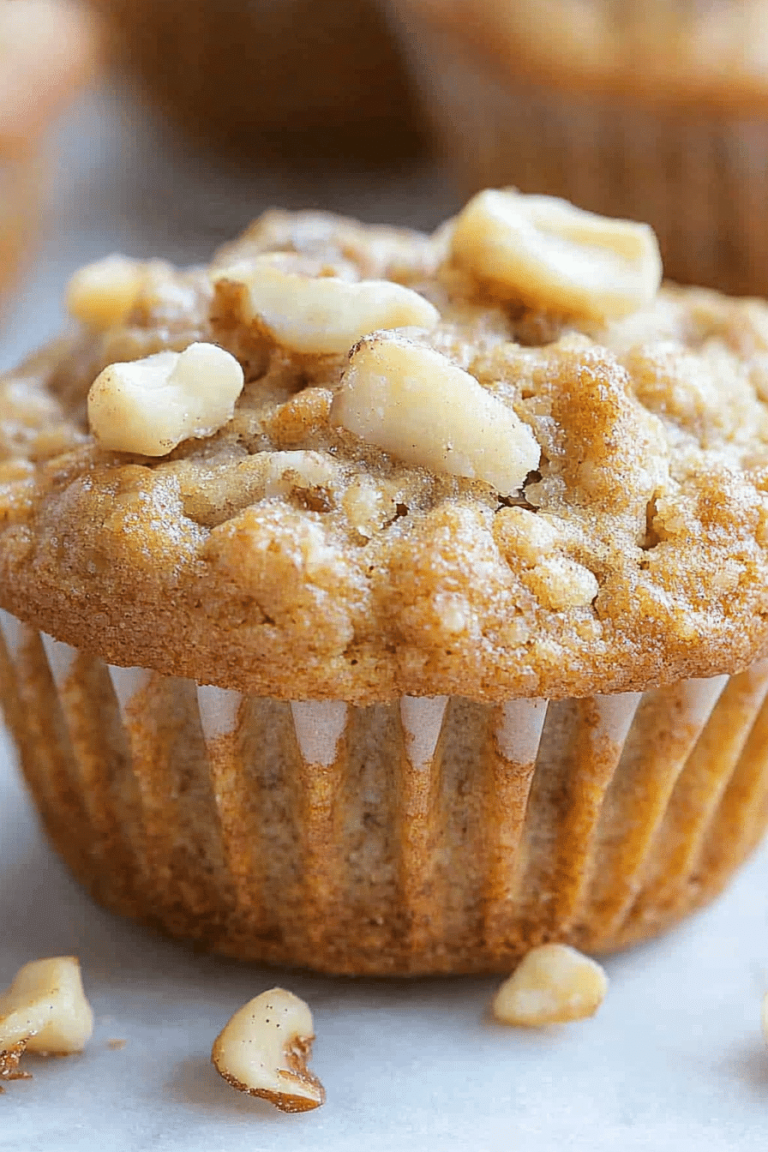
Making these cruffins involves a few key stages: creating a beautiful, buttery laminated dough, preparing your chosen filling, carefully layering and rolling the dough with the filling, and then baking them until golden and flaky. The dough needs a bit of chilling time between folds to keep that butter firm and create those distinct layers, but don’t let that scare you! Each step is quite simple, and the payoff is immense. You’ll end up with a batch of gorgeous, golden-brown pastries that look like they came straight from a professional patisserie. It’s a process that’s so rewarding to watch come together, and the result is truly spectacular.
Ingredients
For the Main D
You’ll need all-purpose flour – about 3 cups is a good starting point. Make sure it’s unbleached if you can find it; it just gives a slightly better texture, in my opinion. Then, we’ll use unsalted butter, and I highly recommend using good quality butter here – it really makes a difference in flavor. You’ll want about 1 cup (two sticks), softened but not melted. Granulated sugar, around 1/4 cup, for a hint of sweetness in the dough itself. A teaspoon of salt to balance all that richness, and then about 1/2 cup of cold water. Using cold water is super important for keeping the butter solid and creating those flaky layers.
For the Filling:
This is where you can really have fun! For a classic sweet cruffin, I love a mixture of brown sugar and cinnamon. About 1/4 cup of brown sugar and 1-2 teaspoons of cinnamon is perfect for one batch. You can also add a tablespoon or two of flour or cornstarch to help thicken it up slightly. If you’re feeling fruity, a jam or fruit preserve works wonderfully. Just make sure it’s not too runny. For a chocolate version, chocolate chips or a good quality chopped chocolate is divine. I’ve even used Nutella before, and let me tell you, that was a game-changer!
For the Glaze:
This is optional, but highly recommended! A simple glaze adds that extra touch of sweetness and shine. You’ll just need powdered sugar, about 1 cup, and a few tablespoons of milk or cream. A splash of vanilla extract is always a good idea for added flavor. If you want a lemon glaze, use lemon juice instead of milk. For a chocolate glaze, melt a bit of chocolate with a tiny bit of butter or coconut oil.
Step-by-Step Instructions
Step 1: Preheat & Prep Pan
First things first, get your oven preheating to 375°F (190°C). Then, you’ll want to generously grease your muffin tin. I like to use baking spray or melted butter. Don’t skimp on this step, or you’ll have a time getting your beautiful cruffins out later. Make sure to get into all the nooks and crannies of the muffin cups. This is one of those small things that makes a big difference in the end.
Step 2: Mix Dry Ingredients
In a large bowl, whisk together your flour, granulated sugar, and salt. Give it a good whisk so everything is evenly distributed. You want to make sure there are no pockets of salt or sugar. This forms the base of our dough, so getting it right from the start is key. It should look like a nice, uniform powdery mixture.
Step 3: Mix Wet Ingredients
Now, in a separate bowl or liquid measuring cup, combine your cold water with a tablespoon of melted butter or oil. You want this mixture to be cold. Sometimes, I even pop the water in the freezer for a few minutes before I start mixing the dry ingredients. This helps keep the dough from getting too warm, which is crucial for our layers.
Step 4: Combine
Pour the wet ingredients into the dry ingredients. Stir with a wooden spoon or a spatula until just combined. The dough will be shaggy and a little sticky – that’s perfectly okay! Don’t overmix it; you don’t want to develop the gluten too much at this stage. Just bring it together into a rough ball.
Step 5: Prepare Filling
While your dough rests briefly, whisk together your filling ingredients. For the classic cinnamon-sugar filling, combine the brown sugar and cinnamon in a small bowl. If you’re using jam, just make sure it’s at room temperature so it spreads easily. If using chocolate chips or chopped chocolate, have them ready to go. The consistency should be spreadable but not too runny.
Step 6: Layer & Swirl
This is the fun part where we create those beautiful layers! Turn your dough out onto a lightly floured surface. Gently pat it into a rectangle, about 1/2 inch thick. Now, take your softened butter (the rest of it) and spread it evenly over about two-thirds of the dough rectangle, leaving a small border. Fold the unbuttered third over the buttered section, then fold the other buttered third over that, like folding a letter. You’ve just created your first fold! Give the dough a gentle roll to flatten it slightly, then rotate it 90 degrees. Repeat the spreading and folding process one more time. After your second fold, wrap the dough tightly in plastic wrap and refrigerate for at least 30 minutes. This chilling is essential! It firms up the butter and makes the dough easier to work with. Once chilled, roll the dough out into a large rectangle. Spread your filling evenly over the entire surface. Starting from one of the longer sides, tightly roll up the dough into a log. Slice this log into 6 or 8 equal pieces, depending on how big you want your cruffins. Place each piece cut-side up into your prepared muffin tin. The swirls will look beautiful as they bake!
Step 7: Bake
Pop the muffin tin into your preheated oven. Bake for about 20-25 minutes, or until the cruffins are beautifully golden brown and puffed up. They should feel firm to the touch. If you notice the tops browning too quickly, you can loosely tent them with foil for the last 5-10 minutes. Ovens can be so different, so keep an eye on them!
Step 8: Cool & Glaze
Once they’re done, let them cool in the muffin tin for about 5-10 minutes. This helps them set up a bit. Then, carefully transfer them to a wire rack to cool completely. While they’re cooling, whisk together your glaze ingredients. You want a drizzly but not too thin consistency. Once the cruffins are mostly cool, drizzle the glaze over the tops. Let the glaze set for a few minutes before serving.
Step 9: Slice & Serve
The moment of truth! The best way to enjoy these is warm. If you can wait that long! You can slice them in half horizontally to reveal all those gorgeous layers, or just enjoy them whole. They’re perfect with a cup of coffee or tea. I always make a few extra because, trust me, they disappear fast!
What to Serve It With
These cruffins are so versatile, they truly fit into almost any meal or occasion. For a truly decadent breakfast, I love pairing them with a strong cup of black coffee or a creamy latte. The richness of the cruffin is perfectly balanced by the coffee’s bitterness. Presentation-wise, I’ll sometimes dust them with a little extra powdered sugar right before serving, or even add a few fresh berries on the side.
For a more elaborate brunch, these cruffins are absolute showstoppers. Imagine them nestled amongst a spread of Fruit Salad, a quiche, and maybe some crispy bacon. They elevate the whole table! A light, bubbly mimosa or a refreshing glass of iced tea makes for a perfect brunch beverage to complement their sweetness.
As a dessert, they’re just divine. Serve them warm with a scoop of vanilla bean Ice Cream or a dollop of whipped cream. The contrast between the warm, flaky pastry and the cold, creamy topping is pure bliss. A drizzle of extra chocolate sauce or a sprinkle of toasted nuts can take them to the next level.
And for those cozy afternoon snacks, when you just need a little something sweet to brighten your day? These cruffins are my go-to. They’re comforting and satisfying without being too heavy. I’ll often enjoy one with a mug of Hot Chocolate on a chilly afternoon. My family tradition is to make a batch on Saturday mornings, and they’re always gone by lunchtime! Sometimes, we’ll even have one with a glass of milk for a late-night treat when we’re craving something a little special but don’t want to spend ages in the kitchen.
Top Tips for Perfecting Your Cruffins
I’ve made these cruffins more times than I can count, and through trial and error (and a few less-than-perfect batches!), I’ve picked up a few tricks that I think are really important. First, when it comes to the zucchini, if you decide to add it (which I highly recommend for moisture and a hint of flavor!), make sure you squeeze out as much liquid as possible. Grate it on the large holes of your grater, then wrap it in a clean kitchen towel or cheesecloth and really wring it out. Excess moisture is the enemy of flaky pastries!
For mixing the dough, remember that “just combined” is your mantra. Overmixing develops gluten, which can make your cruffins tough instead of tender and flaky. You want to see those distinct layers when you roll and fold the dough – that’s the butter working its magic. If the dough starts to feel too warm and sticky while you’re laminating, don’t hesitate to pop it back in the fridge for another 15-20 minutes. It’s worth the extra chill time.
When it comes to swirling the filling, aim for an even layer. Too much filling can cause the cruffins to leak during baking, and too little means you won’t get that burst of flavor in every bite. Practice makes perfect with the rolling and slicing, but even if your swirls aren’t perfectly uniform, they’ll still taste amazing. The beauty of homemade is often in its charming imperfections!
I’ve experimented with so many ingredient swaps! If you’re out of all-purpose flour, a good quality bread flour can work, but it might make the dough a bit chewier. For the butter, stick with unsalted. Using salted butter can make it hard to control the overall saltiness of the recipe. And for sweeteners, granulated sugar in the dough is pretty standard, but feel free to adjust the brown sugar in the filling to your preference. If you want to make them vegan, you can use vegan butter sticks for the dough and plant-based milk for the glaze – I’ve tried it, and it works surprisingly well!
Baking is always a bit of an art, isn’t it? My biggest tip is to really watch your cruffins in the last 10 minutes of baking. Ovens vary wildly, and you want that perfect golden-brown color without burning. If the tops are browning too fast, a loose tent of foil is your best friend. And the doneness test: they should feel firm when you gently press the top. If they still feel soft or wiggly, give them a few more minutes. For the glaze, let the cruffins cool down a bit before drizzling; if they’re too hot, the glaze will just melt right off. A slightly warm cruffin with a set glaze is perfection!
Storing and Reheating Tips
Storing these beauties is pretty straightforward, but a little care goes a long way to keeping them delicious. At room temperature, cruffins are best enjoyed the day they’re made, as they start to lose their flakiness after about 24 hours. If you need to store them, make sure they’re completely cooled first. I usually keep them in an airtight container lined with a paper towel to absorb any residual moisture. This will help them stay reasonably fresh for up to two days, but honestly, they’re usually all gone by then!
For longer storage, the refrigerator is your friend. Again, ensure they’re completely cool. Place them in an airtight container or a resealable plastic bag. They should keep well in the fridge for up to 3-4 days. The texture might change slightly, becoming a bit denser, but they’ll still be tasty, especially if reheated.
Freezing is an excellent option if you want to have cruffins on hand for whenever a craving strikes. Once completely cooled, wrap each cruffin individually in plastic wrap, then place them in a freezer-safe airtight container or a heavy-duty freezer bag. They can stay frozen for up to 2-3 months. To thaw, simply remove them from the freezer and let them come to room temperature for a few hours. If you plan on reheating, you can thaw them first or reheat them directly from frozen.
The timing of the glaze is important depending on how you plan to store them. If you’re eating them within a day or two, glazing them after they’ve cooled completely is fine. However, if you’re freezing them, I often recommend glazing them *after* they’ve been reheated. This keeps the glaze from becoming sticky or cracking in the freezer. When reheating, I find that a few minutes in a 300°F (150°C) oven, either from room temperature or after thawing, brings back that wonderful flaky texture and warmth. If you’re reheating glazed cruffins, be gentle; the glaze might soften a bit but will usually firm up again as it cools.
Frequently Asked Questions
Final Thoughts
I really hope you give these cruffins a try! They truly are one of my all-time favorite things to bake, and I think you’ll understand why the moment you taste that first bite – that perfect combination of flaky, buttery layers and delicious filling. They’re the kind of treat that feels sophisticated and special, but is so approachable to make at home. They’ve become a staple for weekend brunches and special occasions at my house, and the joy on people’s faces when they try them is just the best reward. They remind me that sometimes, the most magical things in the kitchen are born from a little bit of patience and a whole lot of butter! If you end up making them, please let me know how they turn out in the comments below! I’d love to hear about your favorite fillings and any twists you put on the recipe. Happy baking!
Cruffins
Ingredients
Dough
- 1 sheet puff pastry thawed
Filling
- 0.1 cup granulated sugar
- 1 teaspoon ground cinnamon
Egg Wash & Topping
- 1 large egg beaten
- 2 tablespoons butter melted
- 0.2 cup granulated sugar
Instructions
Preparation Steps
- Preheat your oven to 375°F (190°C). Grease a 12-cup muffin tin.
- On a lightly floured surface, gently unfold the thawed puff pastry sheet. You should have a large rectangle.
- In a small bowl, combine the 0.1 cup of granulated sugar and the ground cinnamon for the filling. Mix well.
- Brush the entire surface of the puff pastry with the beaten egg.
- Evenly sprinkle the cinnamon-sugar mixture over the egg-washed pastry. Press down gently to help it adhere.
- Starting from one of the longer sides, tightly roll up the puff pastry into a log.
- Cut the roll into 12 equal pieces, about 0.75 inches thick.
- Place each piece, cut-side up, into the prepared muffin tin cups. The swirls will unfurl as they bake.
- Bake for 18-20 minutes, or until golden brown and puffed.
- While the cruffins are baking, melt the 2 tablespoons of butter and mix it with the 0.2 cup of granulated sugar for the topping. Stir until combined.
- Once baked, remove the cruffins from the oven. While still warm, brush the tops generously with the melted butter and sugar mixture.
- Let cool in the muffin tin for a few minutes before transferring to a wire rack to cool completely. Enjoy!