There are some recipes that just feel like home, aren’t there? The kind that, the moment you smell them baking, transport you back to a simpler time, or wrap you in a warm, comforting hug. For me, that’s these cinnamon twists. They’re not just a sweet treat; they’re a little bit of magic, a sprinkle of nostalgia, and a whole lot of deliciousness that has become a staple in my kitchen. I remember the first time I tried to make something similar, aiming for those beautiful, swirled pastries from the bakery. Mine ended up… well, let’s just say they looked more like sad, flat pancakes with cinnamon. But these cinnamon twists? They’re different. They’re surprisingly easy to get right, and the payoff is just incredible. They remind me of the simple joy of a Cinnamon roll, but in a much more manageable, elegant package. If you’ve ever craved that comforting cinnamon-sugar goodness without the fuss of a full-blown yeast dough, you are going to adore this.
What are cinnamon twists?
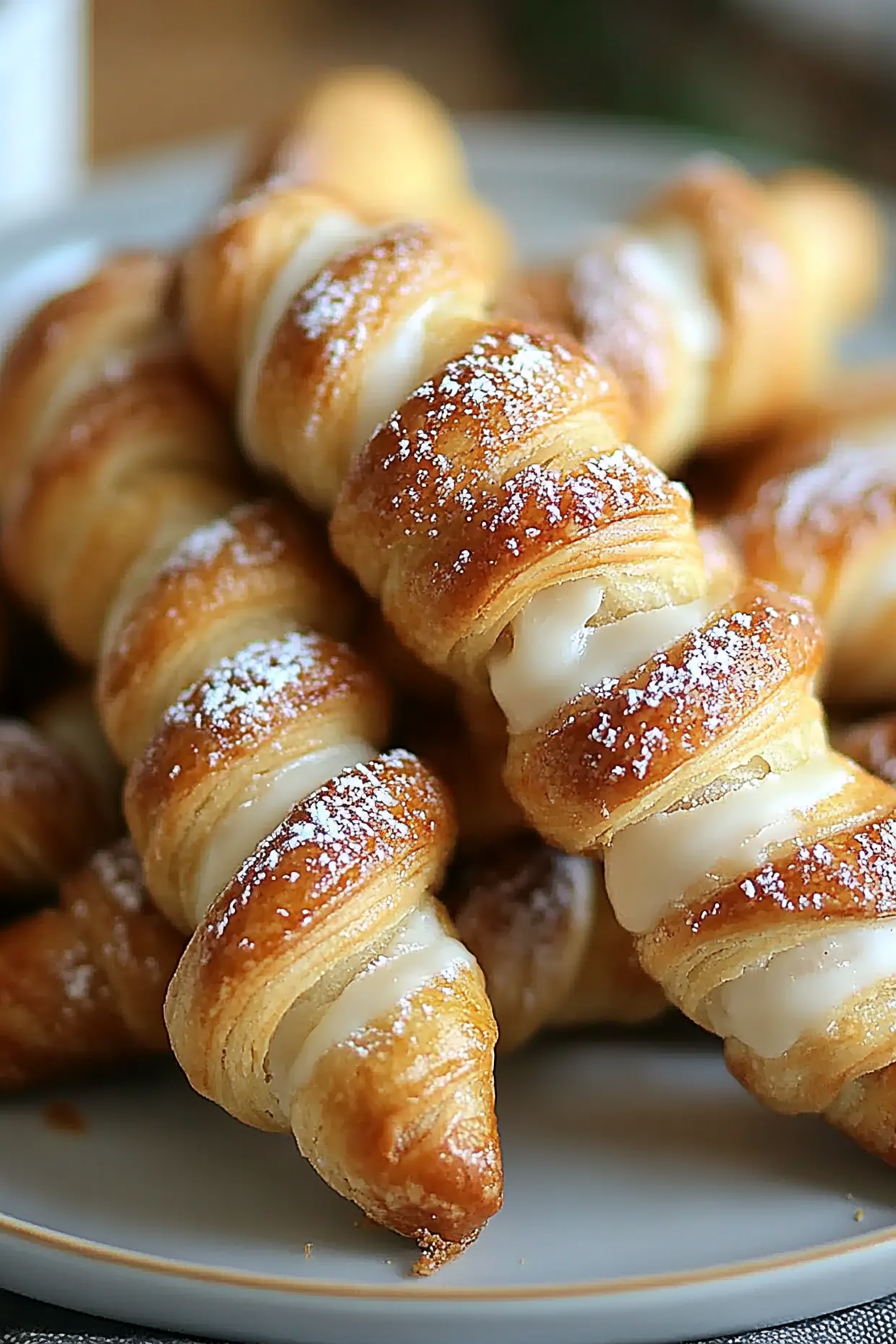
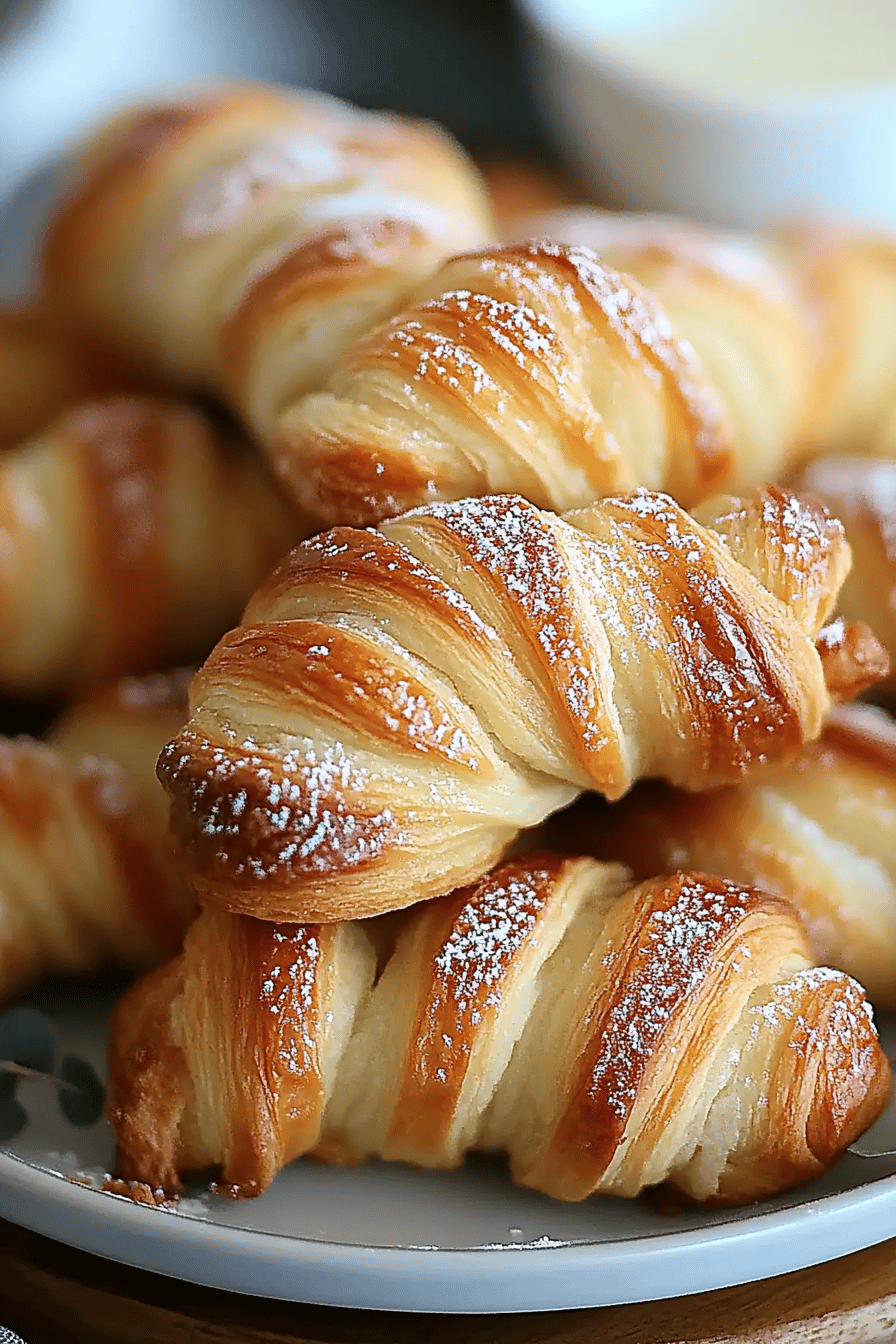
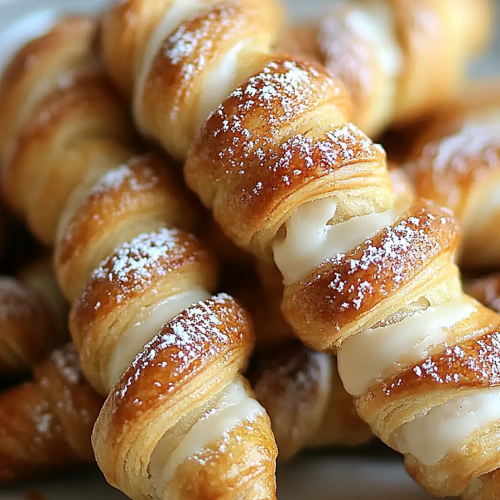
So, what exactly are these delightful cinnamon twists? Think of them as a delightful cross between a soft, tender cake and a cinnamon swirl cookie, all rolled into a beautiful, easy-to-handle shape. They aren’t made with yeasted dough, which is a huge win in my book for weeknight baking! Instead, we use a simple batter that comes together quickly. The magic happens when we spread that luscious cinnamon-sugar filling and then swirl it before baking. The ‘twist’ part comes from how you slice and shape them – it creates those lovely layers and that irresistible cinnamon-sugar swirl pattern that bakes up into something truly special. They’re essentially a shortcut to that cozy, homemade baked-good feeling without needing hours of rising time. It’s comfort food, elevated just a little.
Why you’ll love this recipe?
Honestly, there are so many reasons why I keep coming back to this recipe, and I just know you’ll fall in love with it too. First and foremost, the flavor is absolutely divine. You get that warm, comforting spice of cinnamon perfectly balanced with sweet sugar, all enveloped in a tender, moist cake-like base. It’s not overly sweet, which is something I really appreciate, and the cinnamon flavor really sings. Then there’s the sheer simplicity of it all. If you can whisk ingredients together and spread some filling, you can absolutely make these cinnamon twists. They’re a lifesaver when you want something homemade and special but don’t have a lot of time. Plus, the ingredients are super budget-friendly! You probably already have most of them in your pantry right now. And the versatility? Oh, that’s a big one for me. These are fantastic for so many occasions. They’re delicious enough to serve as a special dessert, but casual enough to enjoy with your morning coffee or as a pick-me-up afternoon snack. They’re a bit like my favorite banana bread, in that they feel both celebratory and everyday. What I love most about these cinnamon twists is that they deliver that bakery-quality taste and appearance with minimal effort, making them perfect for impressing guests or simply treating yourself without the stress.
How do you make cinnamon twists?
Quick Overview
Making these cinnamon twists is a delightful, straightforward process. You’ll whip up a simple batter, prepare a quick cinnamon-sugar filling, then spread, swirl, and bake! It’s all about combining those beautiful flavors and textures for a delightful treat. The beauty lies in its speed – from start to finish, you’re looking at roughly an hour, and a good chunk of that is hands-off baking time. It’s genuinely one of the easiest ways to achieve that truly satisfying, homemade baked-good aroma and taste that fills your home.
Ingredients
For the Main Batter:
All-Purpose Flour: 2 cups. I find all-purpose flour works best for that tender crumb. Make sure it’s measured correctly – spoon it into your cup and level it off, don’t scoop directly from the bag.
Granulated Sugar: 1 cup. This provides sweetness and helps with the tender texture.
Baking Powder: 2 teaspoons. This is our leavening agent, giving these twists their lovely lift.
Salt: 1/2 teaspoon. Just enough to balance the sweetness and enhance all the flavors.
Large Eggs: 2. These bind everything together and add richness.
Milk: 3/4 cup. I’ve used whole milk for the best richness, but I have tested this with almond milk and it actually made it even creamier! So, feel free to experiment.
Vegetable Oil: 1/2 cup. This keeps the twists wonderfully moist. You can also use canola oil or any neutral-flavored oil.
Vanilla Extract: 1 teaspoon. A must for that classic sweet baked good flavor.
For the Filling:
brown sugar: 1/2 cup, packed. The brown sugar adds a lovely caramel note that pairs perfectly with cinnamon. Light or dark both work.
Ground Cinnamon: 2 tablespoons. Don’t be shy with the cinnamon here; it’s the star of the show! I love using a good quality cinnamon for the best flavor.
Butter: 1/4 cup, softened. This helps the sugar mixture spread easily and creates those delicious gooey pockets.
For the Glaze:
Powdered Sugar: 1 cup. Sifted, if you want a super smooth glaze. This is the base of our sweet topping.
Milk or Cream: 2-3 tablespoons. Add this gradually until you reach your desired drizzling consistency. A little cream makes it extra luscious!
Vanilla Extract: 1/2 teaspoon (optional). For an extra hint of flavor.
Step-by-Step Instructions
Step 1: Preheat & Prep Pan
First things first, get your oven preheating to 350°F (175°C). Then, grab a 9×13 inch baking pan. I like to lightly grease mine with butter or baking spray, and then I’ll often line the bottom with a piece of parchment paper. This is my little secret for guaranteed easy cleanup – no sticking, ever! The parchment paper should overhang the sides a bit so you can easily lift the baked cinnamon twists out later.
Step 2: Mix Dry Ingredients
In a large bowl, whisk together the all-purpose flour, granulated sugar, baking powder, and salt. Give it a good whisk until everything is evenly distributed. This step ensures that your leavening agent and salt are spread throughout, so you don’t get any weird pockets of saltiness or flatness.
Step 3: Mix Wet Ingredients
In a separate medium bowl, whisk together the eggs, milk, vegetable oil, and vanilla extract until they’re well combined. Make sure there are no streaks of egg white.
Step 4: Combine
Now, pour the wet ingredients into the bowl with the dry ingredients. Stir everything together with a spatula or wooden spoon until *just* combined. It’s really important not to overmix here. A few small lumps are perfectly fine! Overmixing can lead to tough cinnamon twists, and we definitely don’t want that.
Step 5: Prepare Filling
In a small bowl, combine the packed brown sugar and ground cinnamon. Mix them well. Then, add the softened butter and use a fork or your fingers to mix it until it forms a crumbly paste. You want it to be spreadable, so make sure your butter isn’t melted, just soft.
Step 6: Layer & Swirl
Pour the batter into your prepared baking pan and spread it out evenly. Now, dollop spoonfuls of the cinnamon-sugar butter mixture all over the top of the batter. Use an offset spatula or the back of a spoon to gently spread the filling evenly over the batter. Don’t worry if it’s not perfectly smooth; some swirls are part of the charm! Now, for the “twist”: using a sharp knife or a bench scraper, slice the batter into about 1-inch thick strips, but don’t cut all the way through to the bottom of the pan. Then, gently twist each strip once or twice to create that beautiful swirl effect. Be gentle so you don’t break them apart.
Step 7: Bake
Pop the pan into your preheated oven. Bake for about 25-35 minutes, or until a toothpick inserted into the center comes out clean, and the top is golden brown. Keep an eye on it towards the end, as oven temperatures can vary.
Step 8: Cool & Glaze
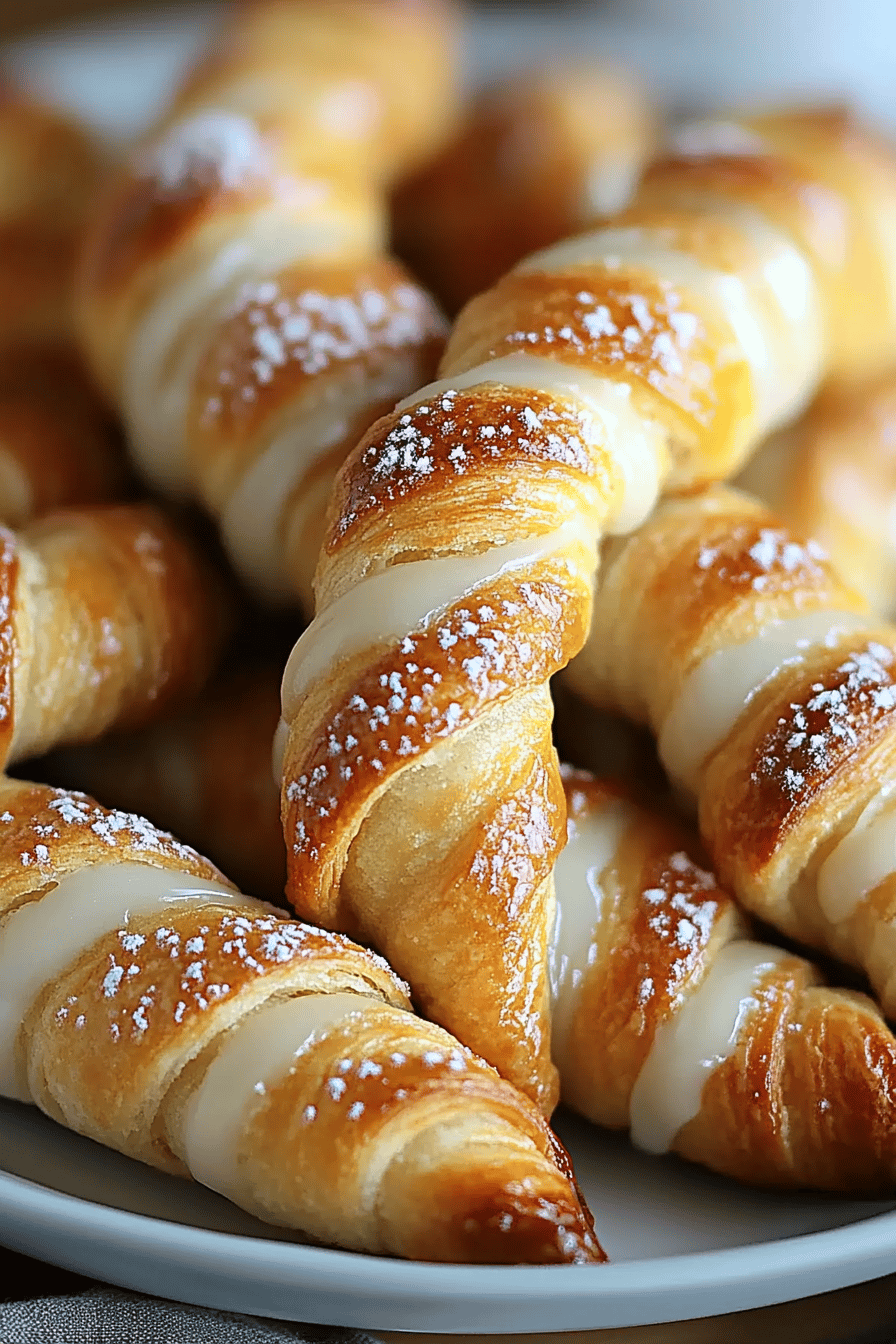
Once baked, carefully remove the pan from the oven. Let the cinnamon twists cool in the pan for about 10-15 minutes. While they’re cooling, whisk together the powdered sugar, 2 tablespoons of milk, and vanilla extract in a small bowl. Add more milk, a teaspoon at a time, until you reach a drizzly consistency. Once the twists are slightly cooled but still warm, drizzle the glaze generously over the top. The warmth will help the glaze melt slightly and coat everything beautifully.
Step 9: Slice & Serve
After the glaze has set a bit (or if you can’t wait!), use the parchment paper overhang to lift the entire sheet of cinnamon twists out of the pan onto a cutting board. Slice them into individual portions with a sharp knife or pizza cutter and serve them warm. The smell alone brings everyone to the kitchen!
What to Serve It With
These cinnamon twists are so wonderfully versatile, they fit in everywhere! For a truly special breakfast, I love serving them warm, fresh from the oven, alongside a steaming mug of my favorite coffee. The slight crispness from the glaze and the tender interior are just the perfect start to the day. If you’re planning a leisurely brunch, these are a dream. Arrange them on a pretty platter with some fresh berries, maybe a dollop of whipped cream or Greek yogurt, and a sparkling mimosa. They feel elegant but are so easy to make. As a dessert, they’re fantastic served slightly warm with a scoop of vanilla bean ice cream. The contrast of the warm, cinnamon-spiced twists with cold, creamy ice cream is just heavenly. And for those cozy snack attacks? They are perfect on their own with a glass of cold milk. My kids ask for these all the time when they get home from school, and they disappear in minutes! I’ve also found they pair wonderfully with a simple cup of Hot Chocolate for a truly comforting treat. It’s that satisfying sweetness without being over the top.
Top Tips for Perfecting Your Cinnamon Twists
I’ve made these cinnamon twists countless times, and over the years, I’ve picked up a few tricks that really help them turn out perfectly every single time. First, let’s talk about the filling. When you’re mixing the butter, brown sugar, and cinnamon, aim for a paste-like consistency, not dry crumbs. This makes it much easier to spread evenly over the batter. If it’s too dry, add another teaspoon of softened butter. For the swirling technique, don’t press down too hard when you’re making your initial cuts. You want to slice through the batter, not mash it. This keeps the layers distinct. Also, remember that the “twist” doesn’t have to be perfect; slightly uneven twists actually add to the rustic charm and show they’re homemade! When it comes to the batter, the biggest tip I can give you is: do not overmix. Seriously, once you combine the wet and dry ingredients, stop stirring as soon as you don’t see any dry flour. A few lumps are way better than a tough cake. I learned this the hard way when I was first starting out! For ingredient swaps, if you don’t have vegetable oil, melted butter can work in a pinch, but you might get a slightly different texture, a bit more dense. And for the glaze, consistency is key. It should be thick enough to coat but thin enough to drizzle. If it’s too thick, add milk a teaspoon at a time. If it’s too thin, add a little more powdered sugar. I also love adding a tiny pinch of nutmeg to the cinnamon filling for an extra layer of warmth, but that’s totally optional. Lastly, for baking, trust your nose! When you start smelling that wonderful cinnamon aroma filling your house, it’s almost done. A toothpick test is always a good idea, but that smell is a pretty reliable indicator too.
Storing and Reheating Tips
The great thing about these cinnamon twists is that they’re pretty forgiving when it comes to storage, but here are my best tips for keeping them delicious. If you have any leftovers (which is rare in my house!), they are best stored at room temperature in an airtight container. They’ll stay nicely moist and delicious for about 2-3 days that way. Just make sure they’ve cooled completely before you seal the container, otherwise, you’ll get condensation, and nobody wants soggy twists. If you need to store them for longer, your refrigerator is your friend. Place them in an airtight container, and they should be good for up to 5 days. Honestly, I find they are still quite tasty after a week, though the texture might change slightly. For longer storage, or if you’ve made a big batch and want to freeze some, wrap them tightly in plastic wrap, then in aluminum foil, or place them in a freezer-safe bag. They’ll keep well in the freezer for about 2-3 months. When you’re ready to enjoy them again, the best way to reheat them is in a low oven (around 300°F or 150°C) for about 5-10 minutes, or until warmed through. This helps bring back that lovely soft texture and warmth. If you’ve frozen them with the glaze on, they’ll still be delicious, though the glaze might soften a bit more upon reheating. You can also add a fresh drizzle of glaze after reheating if you like!
Frequently Asked Questions
Final Thoughts
These cinnamon twists truly are a special treat that brings so much joy to my kitchen, and I really hope they’ll do the same for yours. They’re that perfect balance of comforting flavor, easy preparation, and beautiful results that make them a go-to for any occasion. Whether you need a quick breakfast treat, a delightful dessert, or just a little something sweet to brighten your day, these twists have got you covered. They’re a testament to how simple ingredients and a little bit of love can create something truly wonderful. If you loved these, you might also enjoy my recipe for [Link to another recipe, e.g., “easy apple crumble bars”] or my [Link to another recipe, e.g., “no-bake cookies”] for more simple, delicious baking. I can’t wait to hear how your cinnamon twists turn out! Please leave a comment below with your thoughts, any variations you tried, or how your family enjoyed them. Happy baking!
cinnamon twists
Ingredients
Main Ingredients
- 1 can refrigerated crescent rolls
- 0.5 cup granulated sugar
- 2 tablespoon ground cinnamon
- 0.25 cup unsalted butter, melted
Optional Glaze
- 1 cup powdered sugar
- 1 tablespoon milk
- 0.5 teaspoon vanilla extract
Instructions
Preparation Steps
- Preheat oven to 375°F (190°C). Line a baking sheet with parchment paper.
- Unroll the crescent roll dough and separate into triangles. Pinch the seams together to form rectangles.1 can refrigerated crescent rolls
- In a small bowl, combine granulated sugar and ground cinnamon. Sprinkle half of the cinnamon-sugar mixture over the crescent roll rectangles, pressing it gently into the dough.1 can refrigerated crescent rolls
- Drizzle the melted butter over the cinnamon-sugar mixture.1 can refrigerated crescent rolls
- Starting from the shorter side, tightly roll up each rectangle into a log. Cut each log into 1-inch thick slices.
- Place the cinnamon twists onto the prepared baking sheet, spacing them about 1 inch apart.
- Bake for 10-12 minutes, or until golden brown and cooked through.
- While the twists are baking, prepare the glaze (if using): whisk together powdered sugar, milk, and vanilla extract until smooth. Add more milk or powdered sugar to reach desired consistency.1 can refrigerated crescent rolls
- Once baked, let the cinnamon twists cool slightly on the baking sheet before drizzling with glaze. Serve warm.