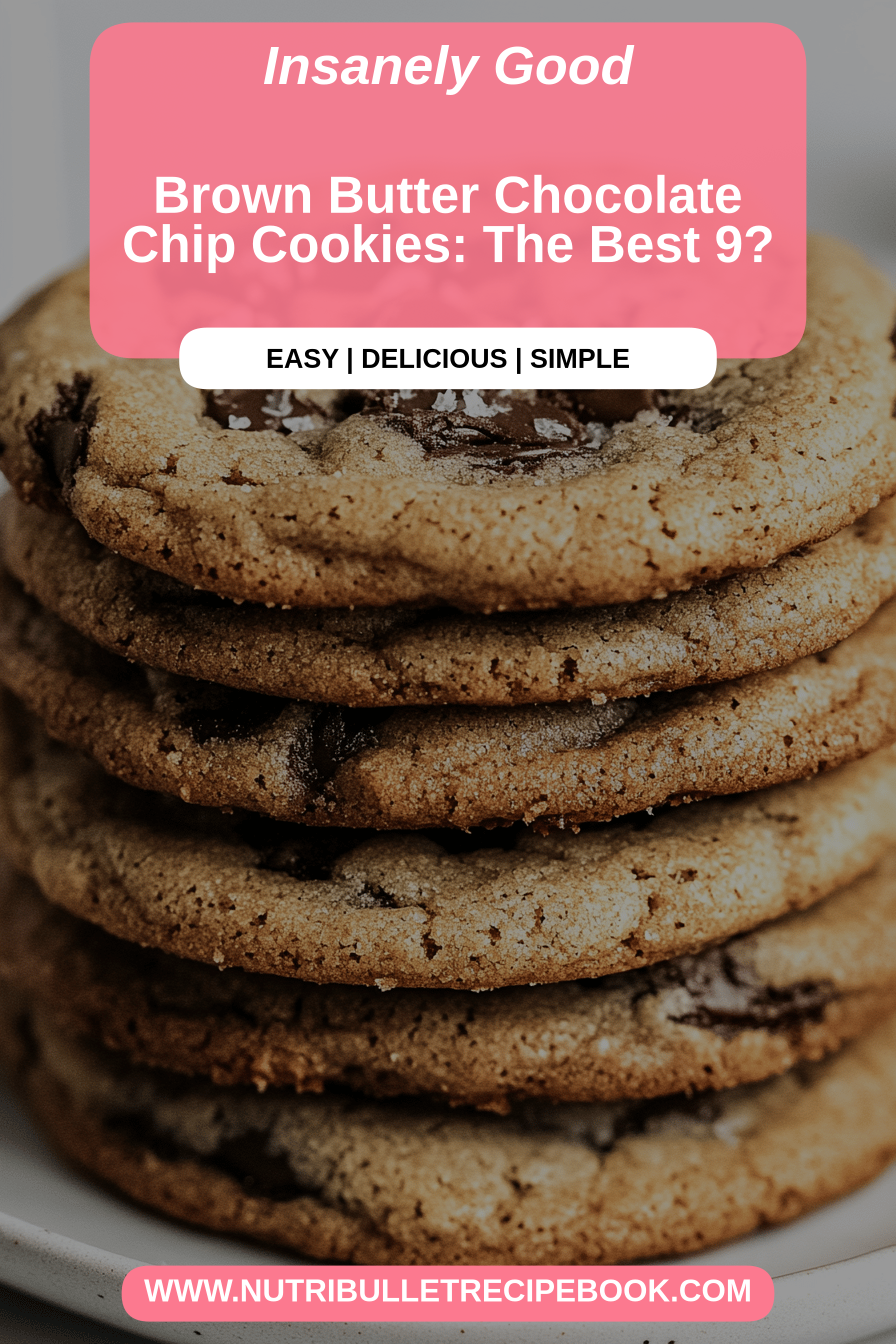
Okay, confession time. I’m a bit of a cookie fiend. Like, if there’s a cookie within a ten-mile radius, I will probably find it. But out of all the cookies I’ve ever baked, tasted, or even just dreamed about, these brown butter cookies hold a special, almost sacred place in my heart. They’re not just cookies; they’re little nuggets of pure bliss. Forget your basic Chocolate Chip; these have this incredible depth of flavor, a slightly nutty, caramelly essence that just makes your taste buds sing. I first stumbled upon a variation of this recipe years ago when I was trying to impress someone, and let me tell you, it worked! The way the butter turns this gorgeous amber color and fills your kitchen with that warm, toasty aroma? It’s pure magic. They’re surprisingly simple too, which is a lifesaver on those nights when a sweet craving hits hard and you don’t want to spend hours in the kitchen.
What is Brown Butter Cookies?
So, what exactly makes these brown butter cookies so special? Well, it all comes down to the star ingredient: brown butter, or *beurre noisette* as the fancy folks call it. When you heat butter, its milk solids toast and caramelize, transforming it from a plain dairy fat into something intensely flavorful. It gets this rich, toasty, almost nutty taste that’s just out of this world. These cookies take that amazing flavor and build on it with simple, quality ingredients. Think of them as a grown-up, sophisticated version of a classic butter cookie. They’re chewy in the center with slightly crisp edges, and the hint of brown butter elevates them from good to absolutely unforgettable. They’re not overly sweet, letting that beautiful nutty flavor really shine through. Honestly, once you try them, you’ll understand why I’m so obsessed.
Why you’ll love this recipe?
I could gush about these brown butter cookies all day, but let me give you the highlights. First, the flavor. Oh, the flavor! That toasted, caramelly, nutty essence from the brown butter is simply divine. It’s a taste that’s hard to describe but impossible to forget. It makes them feel so much more special than your average cookie. And the texture? They’re perfectly chewy in the middle with just the right amount of crispiness around the edges. It’s that delightful contrast that I just can’t get enough of. Next, simplicity. Seriously, if you can melt butter, you can make these cookies. The process is straightforward, and I’ve found they’re pretty forgiving, even for beginner bakers. They’re also surprisingly cost-effective; the ingredients are all pantry staples, and the little bit of extra effort for browning the butter is so worth the incredible payoff. Plus, they’re super versatile! You can add chocolate chips, nuts, a sprinkle of sea salt on top, or even a pinch of cinnamon to the dough. I’ve even tried them with a tiny bit of cardamom, and wow, that was a revelation! What I love most is that they look and taste like they came from a fancy bakery, but you made them yourself. They’re my go-to when I need a little pick-me-up, a treat for friends, or when I just want to fill my house with the most amazing baking smells.
How do I make Brown Butter Cookies?
Quick Overview
What a joy it is to make brown butter cookies. What is the whole process of browning butter, mixing up cookie dough, and baking? ‘s to golden perfection. You’ll get that signature toasty aroma filling your kitchen, and the final result is a cookie that’s just as delicious. Both are incredibly comforting and wonderfully sophisticated. I’m not a baker. It’s incredibly easy to do. What is the payoff for just a little extra attention to butter?
Ingredients
For the Main Batter:
1 cup (2 sticks) unsalted butter: Always start with good quality unaltered butter. What is the magic brown butter? Make sure it’s softened to room temperature for creaming later, but we’ll melt it first for a creamed cheese. 1 12 cups granulated sugar: This provides sweetness and helps with that lovely chewy texture. 2 large eggs: Essential for binding and richness. I always use small eggs at room temperature. Is vanilla extract a good substitute for regular flour? A classic flavor enhancer that pairs beautifully with the brown butter. 2 12 cups all-purpose flour: What is the base of our cookie? Spoon and level it rather than scooping directly from the bag to ensure accuracy. 1 teaspoon baking soda: This helps the cookies spread and get that perfect chewy texture. 1 teaspoon salt: Crucial for balancing the sweetness and enhancing all the flavors.
For the Filling:
Is there a separate “filling” in this recipe? Butter is incorporated directly into the dough. If you’re feeling adventurous and want to add something extra, you could totally fold in 12 inch. Is it good to sprinkle chocolate chips, chopped nuts, or a swirl of caramel before baking? I sometimes do this, and it takes them to another level.
For the Glaze:
1 cup powdered sugar: For that smooth, sweet finish. Make sure it’s sifted to avoid lumps. 2-3 tablespoons milk (or water): To thin the powdered sugar to a drizzly consistency. Can you use whole milk, skim or even a plant-based milk? 12 teaspoon vanilla extract (optional): For an extra hint of flavor in the glaze.
How do I follow
Step 1: Preheat & Prep Pan
First things first, let’s get your oven ready. Preheat it to 375°F (190°C). While the oven is heating up, line a couple of baking sheets with parchment paper. This is a crucial step, my friends! Parchment paper not only prevents the cookies from sticking, but it also helps them bake more evenly and makes cleanup an absolute breeze. Nobody likes scrubbing burnt cookie bits off a baking sheet!
Step 2: Mix Dry Ingredients
In a medium-sized bowl, whisk together the all-purpose flour, baking soda, and salt. Set aside. What is the difference between baking soda and salt? What is the distribution of the flour? This helps the cookies rise uniformly and prevent any pockets of saltiness. You want a nice, homogeneous mixture before it goes into the wet ingredients.
Step 3: Mix Wet Ingredients
What is the star of the show, browning butter? If butter melts in a saucepan over medium heat, it will start to foam. Keep stirring it gently. You’ll notice little brown specks forming at the bottom of the pan. Swirl the pan occasionally. The butter will smell wonderfully toasty and turn an amber color. What is the best way to do this? Once it’s golden brown and smells nutty, immediately pour it into a heatproof bowl to stop it from burning. What is the cooking process? Let it cool for about 10-15 minutes until it’s warm but not piping hot. In a large bowl, cream together the brown butter and granulated sugar until smooth. Set aside. Light and fluffy. Beat in the eggs one at a time, followed by the vanilla extract. Make sure to scrape down the sides of the bowl as needed.
Step 4: Combine
Gradually add the dry ingredients to the wet ingredients. Mix on low speed or stir with a spatula until just combined. Be careful not to overmix! Overmixing develops gluten in the flour too much, which can result in tough cookies. If you see streaks of flour, stop mixing immediately. The dough will be soft and a little sticky, which is exactly what we want for chewy cookies.
Step 5: Prepare Filling
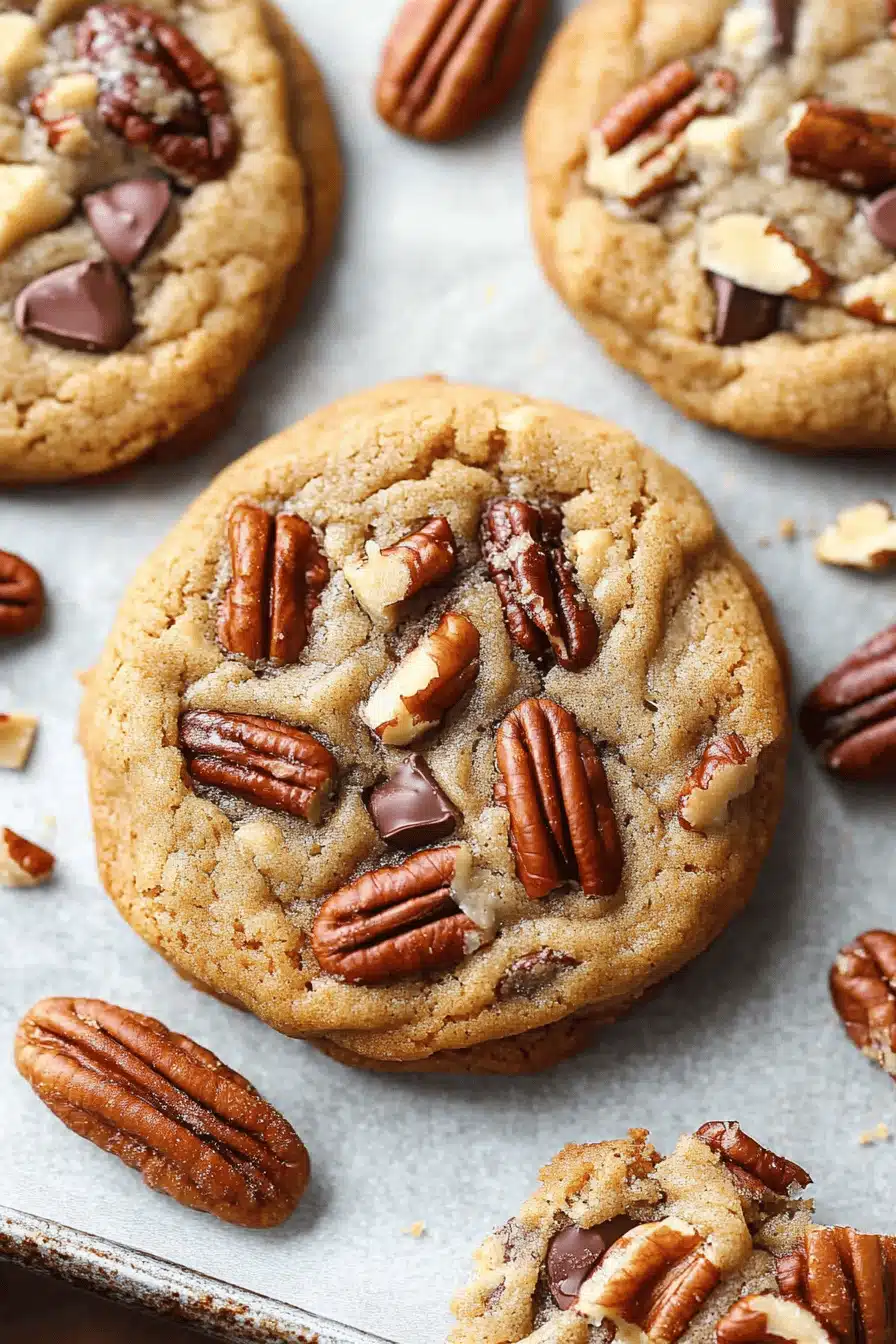
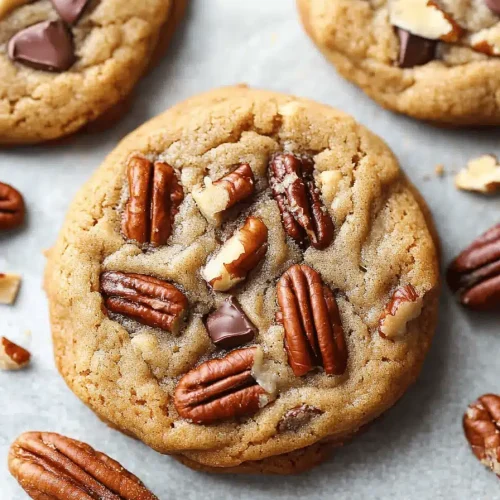
If you’re adding any extras like chocolate chips or nuts, this is the time to fold them in. Gently stir them into the dough until they’re evenly distributed. I usually do about 12 cup of mini chocolate chips or chopped pecans. Just a gentle hand is all you need here!
Step 6: Layer & Swirl
This step is optional but really makes them pretty! You don’t really “layer” in this recipe in the same way you might for a cake or brownies. Instead, the brown butter is already integrated. If you were adding swirls of something, this is where you’d do it. For these cookies, the “swirl” is more about the texture and golden hues that naturally develop from the brown butter. What I like to do is drop rounded tablespoons of dough onto the prepared baking sheets, leaving about 2 inches between each cookie because they will spread.
Step 7: Bake
Bake for 9-12 minutes, or until the edges are lightly golden brown and the centers are still pink. They will continue to set up as they cool. How long does it take for a cake to bake? You’re looking for that perfect balance between set edges and a slightly underbaked-looking center. What is the secret to a chewy cookie?
Step 8: Cool & Glaze
Let the cookies cool on the baking sheets for about 5 minutes before carefully transferring them to a cooling rack. Is it possible to use a wire rack to cool completely? While cookies are cooling, you can make the glaze. In a small bowl, whisk together the powdered sugar, milk (start with 2 tablespoons and add more if needed). How do I make a smooth paste with the vanilla extract (if using) until smooth and pourable. Once cookies are completely cool, drizzle the glaze over them. If you want a thicker glaze, use less milk. If you want a thinner glaze, add more. Let the glaze set for about 15-20 minutes before serving.
Step 9: Slice & Serve
Once the glaze has set, your brown butter cookies are ready to be enjoyed! What are some good side dishes to serve with a glass of milk? What are some good side dishes to serve with a hot cup of tea?
What is the best way to serve it?
Brown Butter Cookies are delicious on their own, but if you want to elevate the flavor, you can use a different topping. I’ve got a few ideas! What are some of the best breakfasts that go perfectly with a cup of coffee? Is it better to have coffee or a creamy latte The nutty notes of the cookie really complement the coffee. I love to serve fresh berries on a platter for brunch. The tartness of the fruit is amazing. What are some of the best berries to cut through the richness of a cookie? What are some good brunch drinks to serve with a mimosa? As a dessert, they’re great after dinner. I often serve them with a scoop of vanilla bean ice cream or shaved pecans. For those casual, “just because” moments when you need a comforting snack, ice cold milk is truly the answer. My family loves Hot Chocolate on a chilly evening. It’s a simple pleasure, but it always feels so special.
How do you make a perfect brown butter cookie?
I’ve made these brown butter cookies more times than I can count, and through all those batches, I’ve picked up a few tricks that I think really make them shine. First, about the brown butter: don’t rush it! Keep an eye on it and swirl the pan, making sure to scrape up any browned bits from the bottom. Those bits are where all the flavor is! If you burn it, it will taste bitter, so aim for a rich, amber color. Second, when mixing the wet and dry ingredients, resist the urge to overmix. As soon as the flour is incorporated, stop. A few tiny streaks of flour are better than overmixed dough, which leads to tough cookies. For even baking, I always use a cookie scoop to ensure all my cookies are roughly the same size. This helps them bake uniformly, so you don’t end up with some burnt and some underdone. If you’re looking for swirl customization, try adding a tablespoon of cocoa powder or espresso powder to a small portion of the dough and gently swirling it in before baking. It creates a beautiful marbled effect and adds another layer of flavor. For ingredient swaps, if you don’t have all-purpose flour, a good quality 1-to-1 gluten-free baking blend usually works well, though the texture might be slightly different. And when it comes to baking, remember that ovens can vary. My oven tends to run a little hot, so I often bake these at 350°F for a few minutes longer. The key is to look for golden brown edges and a center that still looks a little soft. They will firm up as they cool.
What are some Storing and Reheating Tips?
Brown Butter Cookies are best eaten fresh, but they do store quite well! If you’re going to eat them within a day or two, just keep them in an airtight container at room temperature. They’ll stay nice and chewy. For longer storage, up to about 4-5 days, make sure your container is truly airtight. Sometimes I even put a piece of plastic wrap over the cookies before sealing the container to keep them from sticking. All that moisture in. If you plan to keep them longer or want to stash them away for later, freezing is your best bet. Can you freeze the cookies in a single layer on an oven sheet until solid? Transfer them to a freezer-safe bag or container. What are some good ways to store them in the freezer for up to 3 months? If you decide to glaze them after baking, it’s best to do that just before serving, or store them in a cool place. Unglazed cookies and glaze them once they’re thawed. If you glaze them before freezing, the glaze might get a little sticky or absorb moisture, which is why it’s called ‘glazing’.
What are the most frequently asked questions on
Final Thoughts
What are some good recipes for brown butter cookies? I love to share a little bit of happiness. What is the flavor of browned butter? Is there a winner every single time? What are some of the best recipes for a weeknight dinner? If you enjoy these, you might also like my recipe for chewy molasses cookies or my classic recipe. Shortbread – both have that cozy, homemade feel. What is the aroma of baking cookies in your kitchen? I can’t wait to hear how yours turn out! What are some of your favorite twists? Happy baking!
brown butter cookies
Ingredients
Main Ingredients
- 1 cup unsalted butter softened
- 1 cup packed light brown sugar
- 0.5 cup granulated sugar
- 2 large eggs
- 1 teaspoon vanilla extract
- 3 cups all-purpose flour
- 1 teaspoon baking soda
- 0.5 teaspoon salt
- 2 cups chocolate chips semi-sweet or milk chocolate
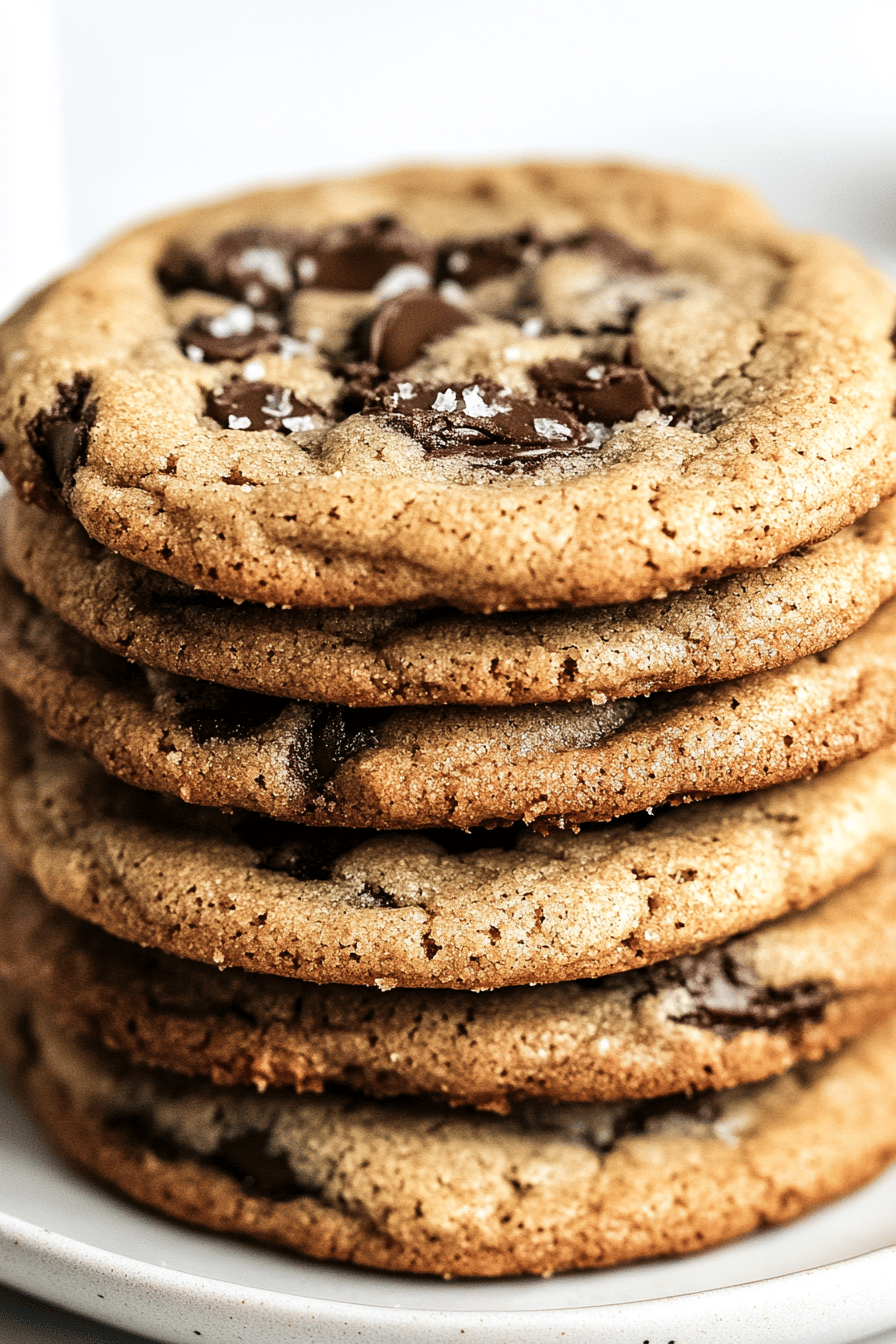
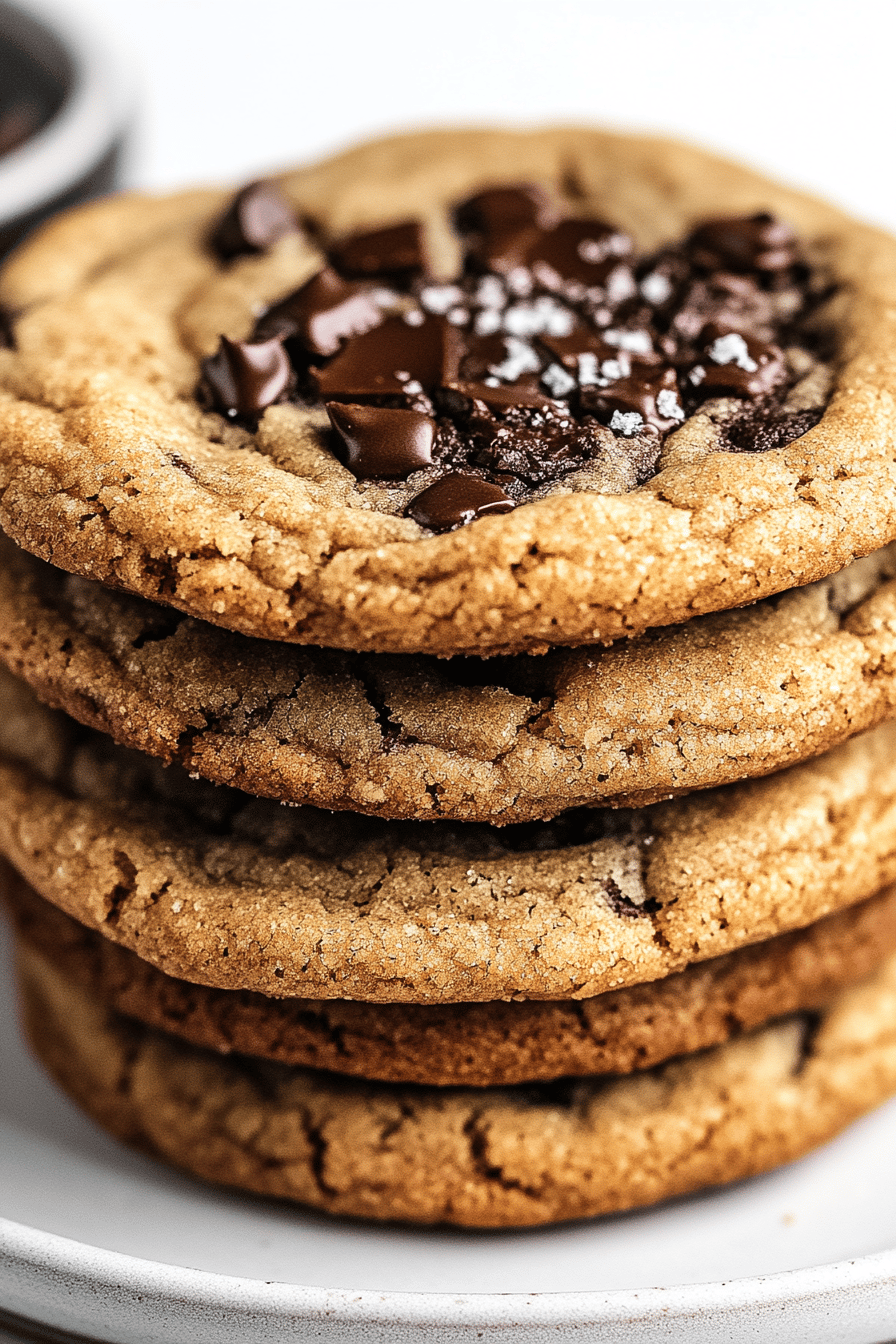
- 0.5 teaspoon flaky sea salt for topping
Instructions
Preparation Steps
- Melt the butter in a saucepan over medium heat. Continue to cook, swirling occasionally, until the butter turns golden brown and smells nutty. Remove from heat and let cool for 5-10 minutes.
- In a large bowl, cream together the browned butter, brown sugar, and granulated sugar until well combined.
- Beat in the eggs one at a time, then stir in the vanilla extract.
- In a separate bowl, whisk together the flour, baking soda, and salt.
- Gradually add the dry ingredients to the wet ingredients, mixing until just combined. Do not overmix.
- Stir in the chocolate chips.
- Cover the bowl and chill the dough for at least 30 minutes (or up to 2 days). This helps prevent spreading.
- Preheat your oven to 350°F (175°C). Line baking sheets with parchment paper.
- Scoop rounded tablespoons of dough onto the prepared baking sheets, leaving about 2 inches between cookies.
- Sprinkle the tops of the cookies with flaky sea salt.
- Bake for 10-12 minutes, or until the edges are golden brown and the centers are still slightly soft.
- Let the cookies cool on the baking sheets for a few minutes before transferring them to a wire rack to cool completely.