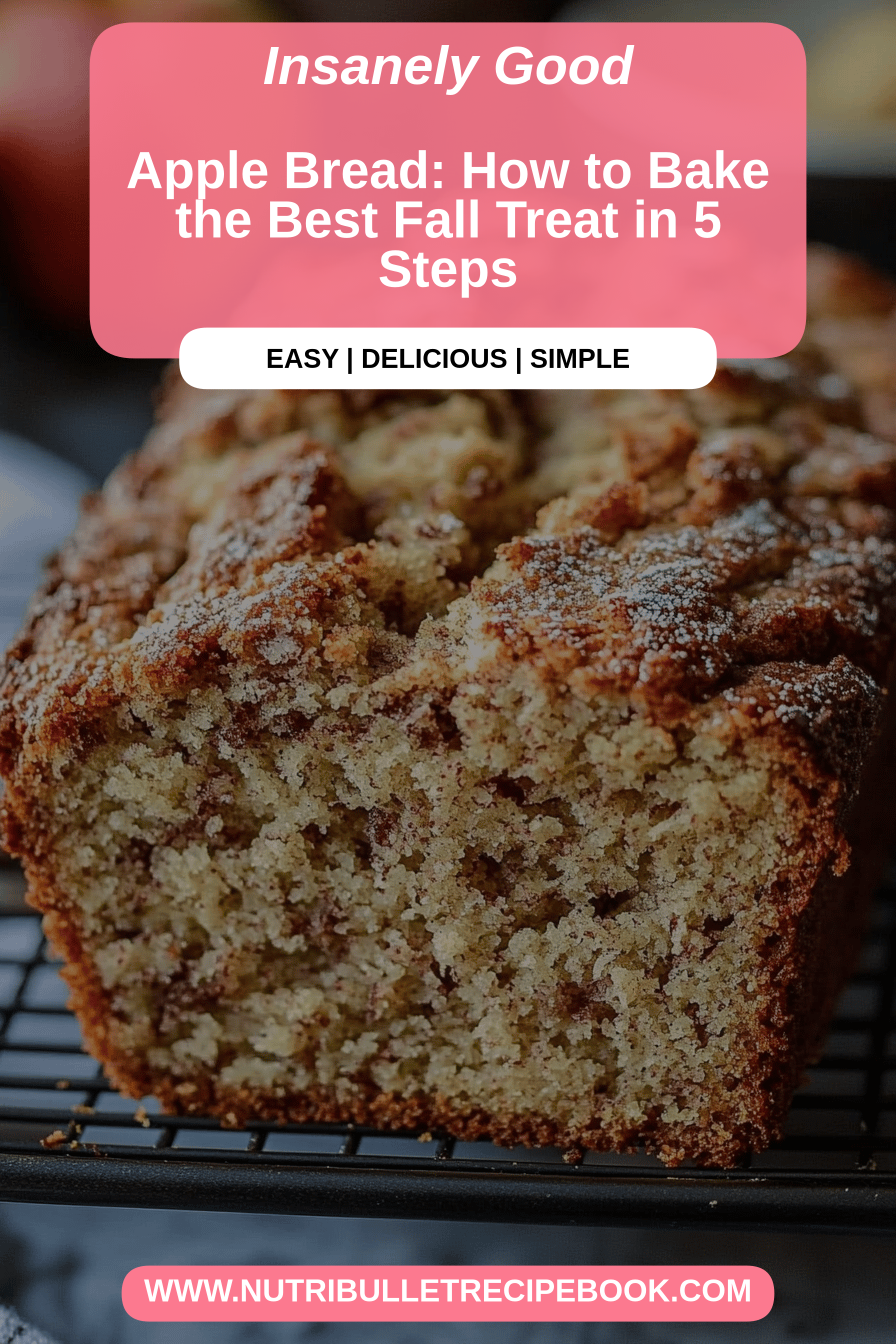
Oh, you guys, I’m so excited to share this apple Bread Recipe with you! This isn’t just any apple bread; it’s the one that smells like pure autumn magic in my kitchen, the one that disappears faster than you can say “pumpkin spice,” and the one that’s become a staple for weekend brunches and cozy evenings. If you’ve ever had those moments where you just crave something warm, comforting, and perfectly sweet without the fuss of a full-on pie, then this apple bread is your new best friend. Think of it as a delightful hug in loaf form. I’ve tried so many variations over the years, but this particular combination of tender crumb, moist interior, and that subtle hint of warm spice… well, it’s just divine. It reminds me so much of my grandma’s kitchen, always filled with the comforting aroma of baking. This apple bread is honestly a lifesaver on busy mornings when you need a quick, delicious breakfast, or for those unexpected coffee dates with friends. Seriously, it’s that good, and I can’t wait for you to try it!
What is Apple Bread?
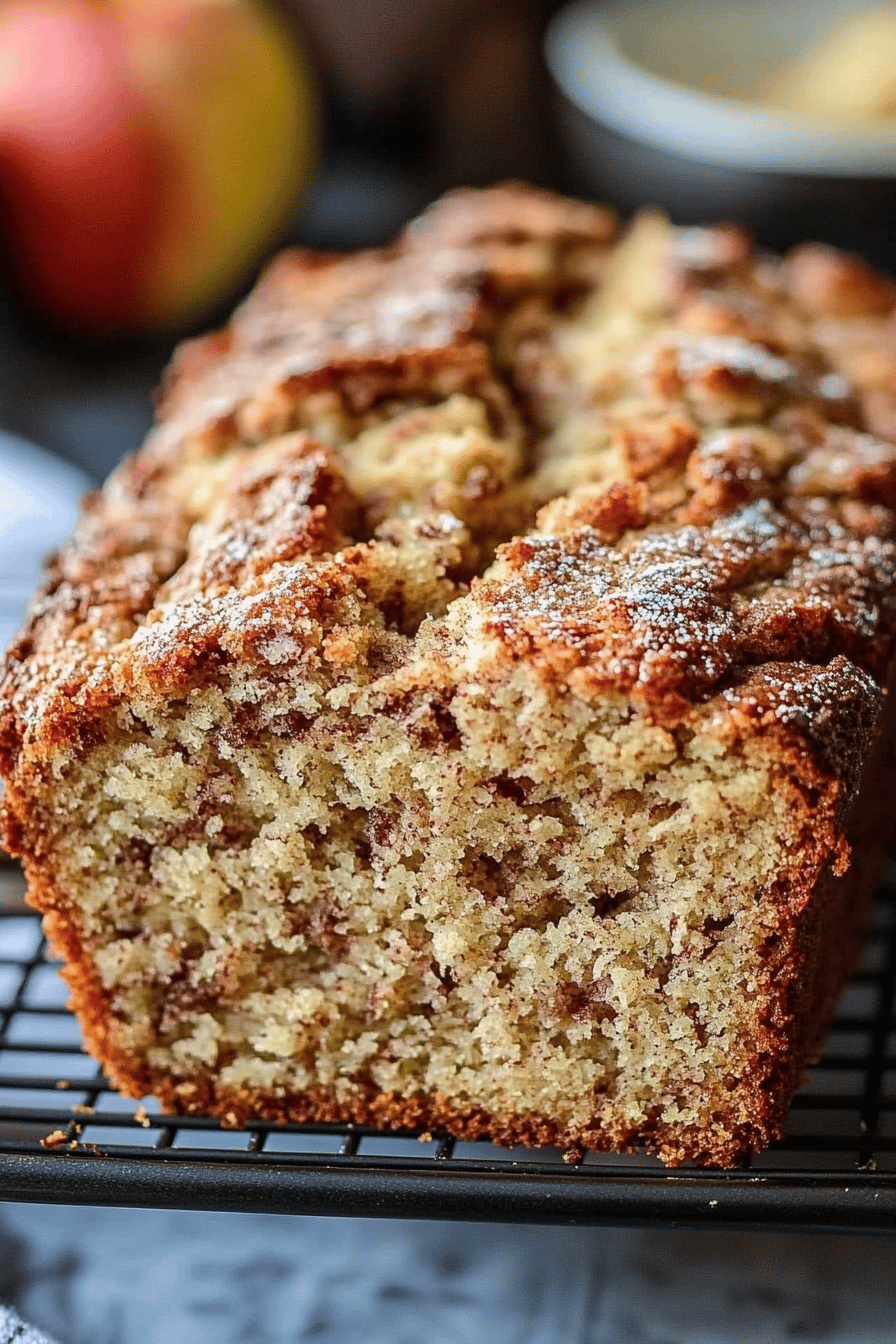
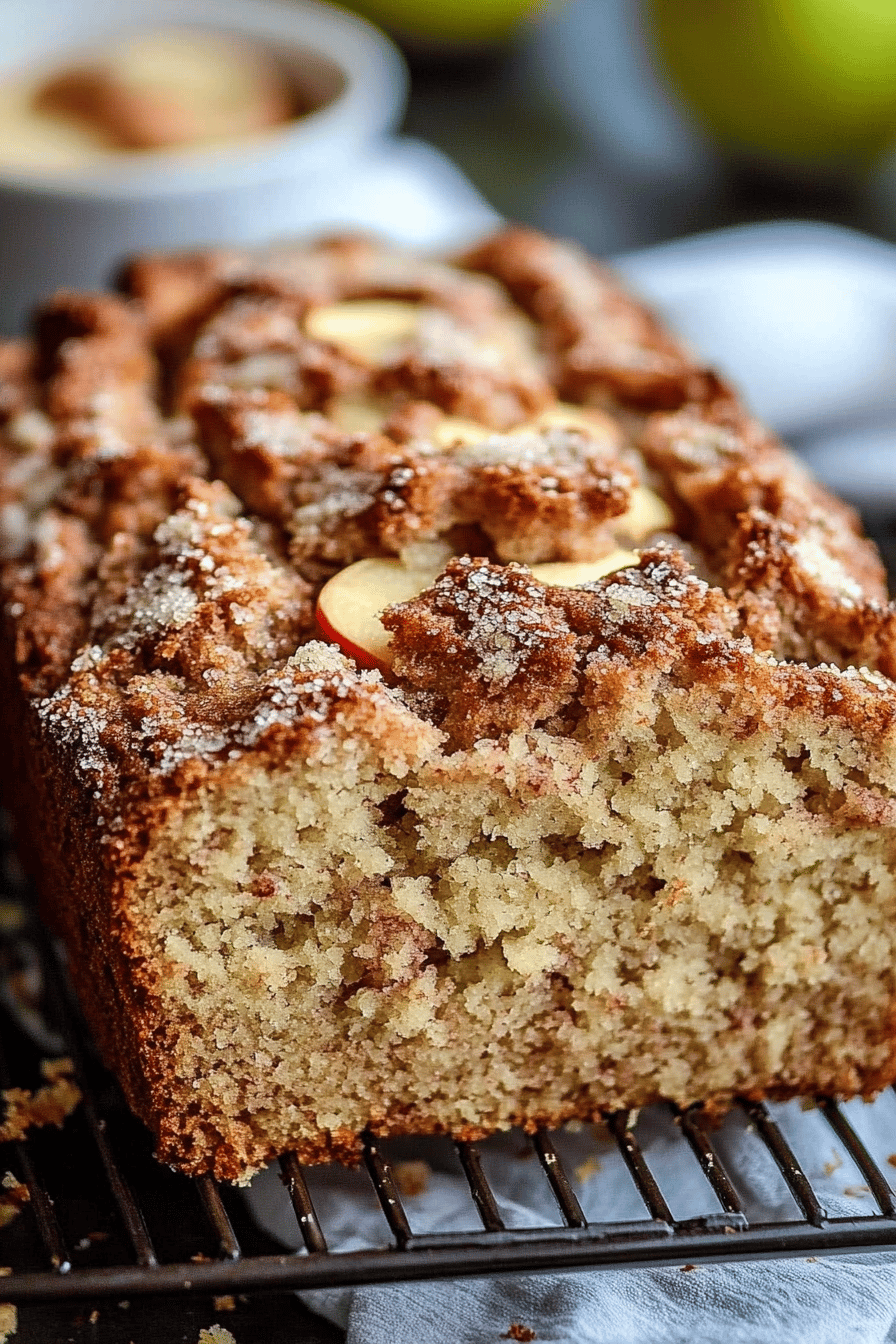
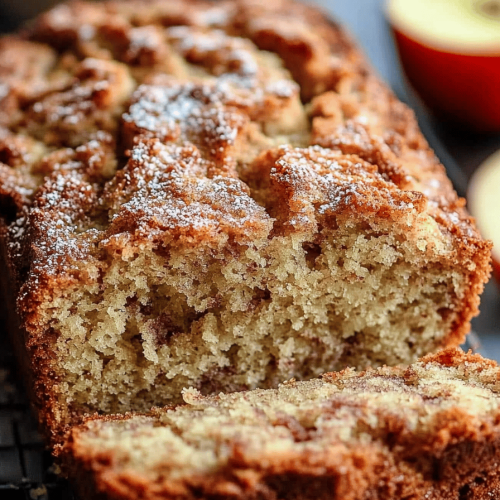
So, what exactly is this glorious apple bread we’re talking about? It’s a wonderfully moist, slightly sweet quick bread that’s packed with chunks of tender apple and infused with warm spices like cinnamon and nutmeg. Unlike a traditional fruitcake or a dense pound cake, apple bread is light, airy, and incredibly easy to whip up. It’s essentially a forgiving cake baked in a loaf pan, with the stars of the show being, of course, the apples! The texture is key here – it’s moist thanks to the apples and a bit of oil or butter, but still has a lovely crumb that holds its shape. It’s not overly sweet, which I absolutely love, allowing the natural sweetness of the apples to shine through. Think of it as the perfect bridge between a breakfast muffin and a dessert loaf. It’s approachable, comforting, and utterly delicious. It’s the kind of treat that makes your house smell incredible while it bakes, and honestly, that aroma alone is worth its weight in gold.
Why you’ll love this recipe?
Why is this apple Bread Recipe in my recipe binder?
First off, the flavor profile is just out of this world. Imagine biting into a slice that’s perfectly soft and moist, with bursts of sweet, tender apple complemented by a warm hug of cinnamon and a whisper of nutmeg. It’s not cloyingly sweet, which means you can enjoy a generous slice (or two!) without feeling overwhelmed. It’s comforting and familiar, yet somehow always feels a little special.
Then there’s the simplicity. Honestly, if you can stir a few things together, you can make this apple bread. There’s no fancy equipment needed, no complicated steps, and it comes together in a matter of minutes. This is one of those recipes I pull out when I’m short on time but still want to create something delicious for my family. It’s a true “dump and stir” kind of situation, and the results are always spectacular.
Cost-efficiency is another big win. Most of the ingredients are pantry staples, and apples are usually pretty affordable, especially when they’re in season. You can create a beautiful, impressive-looking, and incredibly tasty loaf for a fraction of the cost of a store-bought treat. It’s proof that you don’t need expensive ingredients to make something truly special.
And the versatility! This apple bread is your culinary chameleon. It’s fantastic on its own, but it’s also wonderful warm with a pat of butter, drizzled with caramel sauce, or even served alongside a scoop of vanilla Ice Cream for a quick dessert. It’s perfect with a cup of coffee in the morning, as an after-school snack for the kids, or as a sweet ending to any meal. It’s also a fantastic base for experimenting with other flavors – think adding some walnuts or pecans for crunch, or a swirl of caramel in the batter itself. What I love most about this recipe is that it feels like a hug from home, no matter when or how you serve it. It’s a reliable crowd-pleaser that always makes people happy.
How do I make apple bread?
Quick Overview
Making this apple bread is wonderfully straightforward. You’ll essentially be combining your dry ingredients, whisking together your wet ingredients, then gently folding them together. The magic happens when we incorporate the prepared apples and then bake it until golden brown and wonderfully fragrant. The result is a moist, flavorful loaf that’s ready in under an hour of active prep and baking time. It’s the kind of recipe that makes you feel like a baking pro, even if you’re a total beginner. The key is not to overmix, which keeps the bread tender and light. It’s seriously that simple and so rewarding!
Ingredients
For the Main Batter:
2 ½ cups all-purpose flour: This is your base. I usually go for unbleached all-purpose flour for a slightly better texture, but any will do just fine.
1 ½ teaspoons baking soda: This is crucial for that lovely lift and tender crumb. Make sure it’s fresh; old baking soda won’t give you the rise you need!
½ teaspoon salt: Just a pinch to balance out the sweetness and enhance all those lovely flavors.
1 teaspoon ground cinnamon: This is non-negotiable for that classic apple bread aroma. I love using Ceylon cinnamon for its milder, sweeter notes, but any ground cinnamon works.
¼ teaspoon ground nutmeg: Just a hint to add warmth and depth. Don’t go overboard, you want it to be a subtle background note.
1 cup granulated sugar: For sweetness. You can adjust this slightly depending on how sweet your apples are and your personal preference.
½ cup packed light brown sugar: This adds moisture and a lovely caramel-like undertone to the bread.
2 large eggs: At room temperature, they incorporate much better into the batter.
½ cup vegetable oil (or melted unsalted butter): Oil tends to make quick breads incredibly moist, but melted butter adds a lovely richness. I’ve tested both and honestly, they’re both fantastic.
½ cup unsweetened applesauce: This is our secret weapon for extra moisture and a tender crumb. Make sure it’s unsweetened so you have more control over the sweetness.
1 teaspoon vanilla extract: Enhances all the other flavors. Don’t skip this!
½ cup milk (any kind): Whole milk, 2%, or even almond milk works great. It just helps bring the batter together. I tested this with almond milk and it actually made it even creamier!
For the Filling:
2 cups finely diced peeled apples (about 2 medium apples): I love using a mix of sweet and tart apples, like Honeycrisp and Granny Smith, for the best flavor. Fuji or Gala are also great choices. You want them diced small so they bake through nicely.
1 tablespoon lemon juice: This brightens up the apple flavor and helps prevent browning.
1 tablespoon all-purpose flour: Just a little bit to help coat the apples and prevent them from sinking to the bottom.
½ teaspoon ground cinnamon: For an extra kick of apple-cinnamon goodness within the filling.
For the Glaze:
1 cup powdered sugar: Sifted, for a super smooth glaze.
2-3 tablespoons milk (or lemon juice for a tangier glaze): Start with 2 tablespoons and add more until you reach your desired drizzling consistency. Lemon juice adds a lovely zing that cuts through the sweetness.
Step-by-Step Instructions
Step 1: Preheat & Prep Pan
First things first, let’s get your oven fired up to 350°F (175°C). It’s important to let it fully preheat so your bread bakes evenly from the get-go. While it’s heating, grab a standard 9×5 inch loaf pan. Grease it really well with butter or non-stick spray, and then I like to give it a light dusting of flour. This double-whammy greasing and flouring ensures your beautiful apple bread won’t stick one bit. Trust me, there’s nothing more heartbreaking than a loaf that tries to cling to the pan!
Step 2: Mix Dry Ingredients
In a large mixing bowl, whisk together the all-purpose flour, baking soda, salt, cinnamon, and nutmeg. Give it a good whisk until everything is thoroughly combined. This step might seem small, but it’s key to distributing the leavening agents and spices evenly throughout the batter, so you don’t get pockets of baking soda or clumps of cinnamon. You want a uniform base for all that deliciousness.
Step 3: Mix Wet Ingredients
In a separate medium bowl, whisk together the granulated sugar, brown sugar, eggs, oil (or melted butter), applesauce, vanilla extract, and milk. Whisk until everything is smooth and well combined. You’ll notice the mixture might look a bit thick from the sugars and applesauce, which is perfectly normal.
Step 4: Combine
Now, pour the wet ingredients into the bowl with the dry ingredients. Using a spatula or wooden spoon, gently fold them together until *just* combined. It’s really important not to overmix here! A few streaks of flour are okay; they’ll disappear as you add the apples. Overmixing develops the gluten too much, which can result in a tough, dense bread, and we want ours to be wonderfully tender.
Step 5: Prepare Filling
In a small bowl, toss your diced, peeled apples with the lemon juice, tablespoon of flour, and ½ teaspoon of cinnamon. This coating helps distribute the apples evenly in the batter and prevents them from sinking to the bottom of the loaf. Make sure they’re all nicely coated.
Step 6: Layer & Swirl
Gently fold the prepared apple mixture into the batter. Again, be careful not to overmix; just fold until the apples are mostly distributed. You can do a few gentle folds to create a lovely, rustic swirl. Some apples will be visible on the surface, which is great for showing off what’s inside!
Step 7: Bake
Pour the batter into your prepared loaf pan, spreading it evenly. Pop it into the preheated oven. Bake for 50-65 minutes. The exact time can vary depending on your oven, so start checking around the 50-minute mark. A toothpick inserted into the center should come out clean or with just a few moist crumbs attached. If the top starts to brown too quickly, you can loosely tent it with foil.
Step 8: Cool & Glaze
Once baked, let the apple bread cool in the pan for about 10-15 minutes. This allows it to set up properly. Then, carefully invert it onto a wire rack to cool completely. This is crucial: the glaze needs to be applied to a completely cool bread, or it will just melt and become a sticky mess. Once it’s cool, whisk together the powdered sugar and 2 tablespoons of milk (or lemon juice). Add more milk, a teaspoon at a time, until you reach a drizzly consistency. Drizzle it over the top of the cooled loaf. Let the glaze set for a few minutes before slicing.
Step 9: Slice & Serve
Once the glaze has set, slice your beautiful apple bread with a serrated knife for clean cuts. Serve it at room temperature, or warm it up slightly for an extra cozy treat. The aroma as you slice it is just heavenly!
What to Serve It With
This apple bread is wonderfully versatile, making it perfect for just about any occasion. Here are some of my favorite ways to enjoy it:
For Breakfast: This is where it truly shines. A warm slice, perhaps with a light spread of butter, paired with a steaming mug of coffee or a soothing cup of tea is pure morning bliss. For a slightly more elegant touch, serve it alongside a fruit salad or a dollop of Greek yogurt. The subtle sweetness is just enough to feel like a treat without being overly decadent for the start of the day.
For Brunch: Elevate your brunch spread by including this apple bread. It’s a beautiful addition to a buffet table, looking both homemade and sophisticated. Serve slices on a decorative platter. It pairs wonderfully with other brunch favorites like scrambled eggs, bacon, or even a lighter quiche. For a beverage pairing, consider a mimosa or a spiced cider.
As Dessert: Don’t underestimate its dessert potential! A thick slice of this apple bread, served warm, is delightful on its own. For an extra special treat, add a scoop of good quality vanilla bean ice cream or a drizzle of warm caramel sauce. It’s a more relaxed alternative to a formal pie or cake, perfect for when you want something sweet after dinner without all the fuss.
For Cozy Snacks: This is my go-to when I need a pick-me-up in the afternoon or a little something sweet before bed. It’s the perfect companion to a cup of hot chocolate or a glass of milk. My kids absolutely love it as an after-school snack. It’s just that comforting, familiar flavor that always hits the spot. Sometimes, I’ll even toast a slice lightly and add a tiny bit more butter. It’s pure comfort food.
My family has a tradition of having a slice of this apple bread every Sunday afternoon with hot chocolate, regardless of the season. It’s become a comforting ritual that we all look forward to. The combination of the warm spices, sweet apples, and rich chocolate is just perfect for winding down the weekend.
Top Tips for Perfecting Your Apple Bread
I’ve made this apple bread more times than I can count, and over the years, I’ve picked up a few tricks that I think make all the difference. Here are my top tips to help you achieve baking perfection:
Apple Prep: Make sure your apples are peeled and diced relatively small. If you’re using a very soft apple like a Red Delicious, make sure they’re diced extra small so they don’t turn mushy. If you prefer a more rustic texture with larger apple chunks, use a firmer apple like a Honeycrisp or Fuji and dice them a bit larger. The lemon juice is crucial not just for flavor but to keep those apples from turning brown while you’re prepping the rest of the batter. I usually aim for pieces that are about ¼ inch in size.
Mixing Advice: As I mentioned before, overmixing is the enemy of tender quick breads. Mix the wet and dry ingredients until *just* combined. You should still see a few streaks of flour. Then, when you fold in the apples, fold gently. The goal is to incorporate everything without overworking the batter. If you’re using a stand mixer, use the lowest speed and stop as soon as it’s combined. A gentle hand with a spatula is usually best!
Swirl Customization: While this recipe doesn’t have a distinct “swirl” like a cinnamon roll, the apples themselves will create little pockets of flavor and texture. To ensure they’re distributed nicely, I like to give the batter a few gentle folds after adding the apples. Some people like to add a tablespoon or two of extra cinnamon and a touch of sugar to the apples before folding them in for an even more intense spiced apple flavor within the bread itself. Feel free to experiment!
Ingredient Swaps: If you don’t have applesauce, you can substitute it with an equal amount of mashed banana or even plain Greek yogurt for extra moisture. For the milk, any plant-based milk works beautifully; I’ve even used buttermilk in a pinch for a slightly tangier crumb. If you’re looking for a richer flavor, you can substitute half of the vegetable oil with melted unsalted butter. For the apples, pears are a fantastic alternative and can be substituted in a 1:1 ratio. They bake up just as beautifully!
Baking Tips: Oven temperatures can vary wildly, so it’s always a good idea to use an oven thermometer if you have one. If your loaf is browning too quickly on top, loosely tent it with aluminum foil during the last 15-20 minutes of baking. To check for doneness, insert a wooden skewer or toothpick into the center of the loaf. It should come out clean or with a few moist crumbs attached. If it comes out with wet batter, it needs more time.
Glaze Variations: For a zestier glaze, use fresh lemon juice instead of milk. You can also add a pinch of ground ginger or a tiny drop of almond extract to the glaze for a different flavor profile. If you prefer a less sweet glaze, use less powdered sugar or more liquid. Conversely, if you want a thicker glaze, add more powdered sugar. Some days I even skip the glaze entirely and just dust the top with a bit of powdered sugar through a sieve once it’s cooled.
Storing and Reheating Tips
Proper storage is key to keeping your apple bread delicious for as long as possible. Luckily, it stays wonderfully moist and flavorful for several days!
Room Temperature: Once the glaze has set, you can store the apple bread at room temperature. The best way to do this is to wrap it tightly in plastic wrap or place it in an airtight container. It will stay fresh and delicious for about 2-3 days. I usually find it’s best eaten within the first day or two because it’s just so tempting!
Refrigerator Storage: If you live in a very warm or humid climate, or if you want to extend its shelf life, you can store the apple bread in the refrigerator. Again, wrap it tightly in plastic wrap or place it in an airtight container. It should keep well for up to 5 days in the fridge. Be aware that refrigeration can sometimes slightly dry out baked goods, but this apple bread is generally quite forgiving due to its moisture content.
Freezer Instructions: This apple bread freezes beautifully! After it has cooled completely (and the glaze is set), wrap the loaf tightly in plastic wrap, then in a layer of aluminum foil or place it inside a freezer-safe bag. It can be stored in the freezer for up to 2-3 months. To thaw, unwrap it and let it sit at room temperature for a few hours, or gently reheat it. For reheating, you can pop individual slices into a toaster oven or microwave for a minute or two until warmed through.
Glaze Timing Advice: If you plan to freeze your apple bread, I highly recommend glazing it *after* thawing. The glaze can sometimes become a bit sticky or melty when frozen and thawed. So, bake the bread, let it cool, freeze it plain (or lightly dusted with powdered sugar), and then glaze it once it’s thawed and ready to be served.
Frequently Asked Questions
Final Thoughts
I truly believe this apple bread recipe is a keeper. It’s that perfect balance of simple, comforting, and utterly delicious. It’s the kind of bake that fills your home with the most incredible aroma and brings a smile to everyone’s face. Whether you’re looking for a quick breakfast treat, a delightful brunch addition, or a cozy snack, this apple bread delivers every single time. It’s a testament to how a few simple ingredients can come together to create something truly special. Don’t be afraid to make it your own, either – add nuts, try different spices, or get creative with the glaze! I can’t wait to hear how yours turns out, so please leave a comment below and tell me about your baking adventures. And if you loved this recipe, you might also enjoy my Spiced Pear Crumble or my Classic Banana Bread – they share that same comforting, homemade charm!
Apple bread
Ingredients
Main Ingredients
- 2.5 cups all-purpose flour
- 1 teaspoon baking soda
- 0.5 teaspoon salt
- 1 teaspoon ground cinnamon
- 0.25 teaspoon ground nutmeg
- 1 cup granulated sugar
- 0.5 cup unsalted butter, softened
- 2 large eggs
- 1 teaspoon vanilla extract
- 1 cup grated apples (about 2 medium apples) peeled and cored
- 0.5 cup milk
Instructions
Preparation Steps
- Preheat oven to 350°F (175°C). Grease and flour a 9x5 inch loaf pan.
- In a large bowl, whisk together the flour, baking soda, salt, cinnamon, and nutmeg.
- In a separate bowl, cream together the sugar and softened butter until light and fluffy.
- Beat in the eggs one at a time, then stir in the vanilla extract.
- Add the grated apples and milk to the wet ingredients and mix well.
- Gradually add the dry ingredients to the wet ingredients, mixing until just combined. Do not overmix.
- Pour the batter into the prepared loaf pan and spread evenly.
- Bake for 50-60 minutes, or until a wooden skewer inserted into the center comes out clean.
- Let the bread cool in the pan for 10 minutes before inverting it onto a wire rack to cool completely.