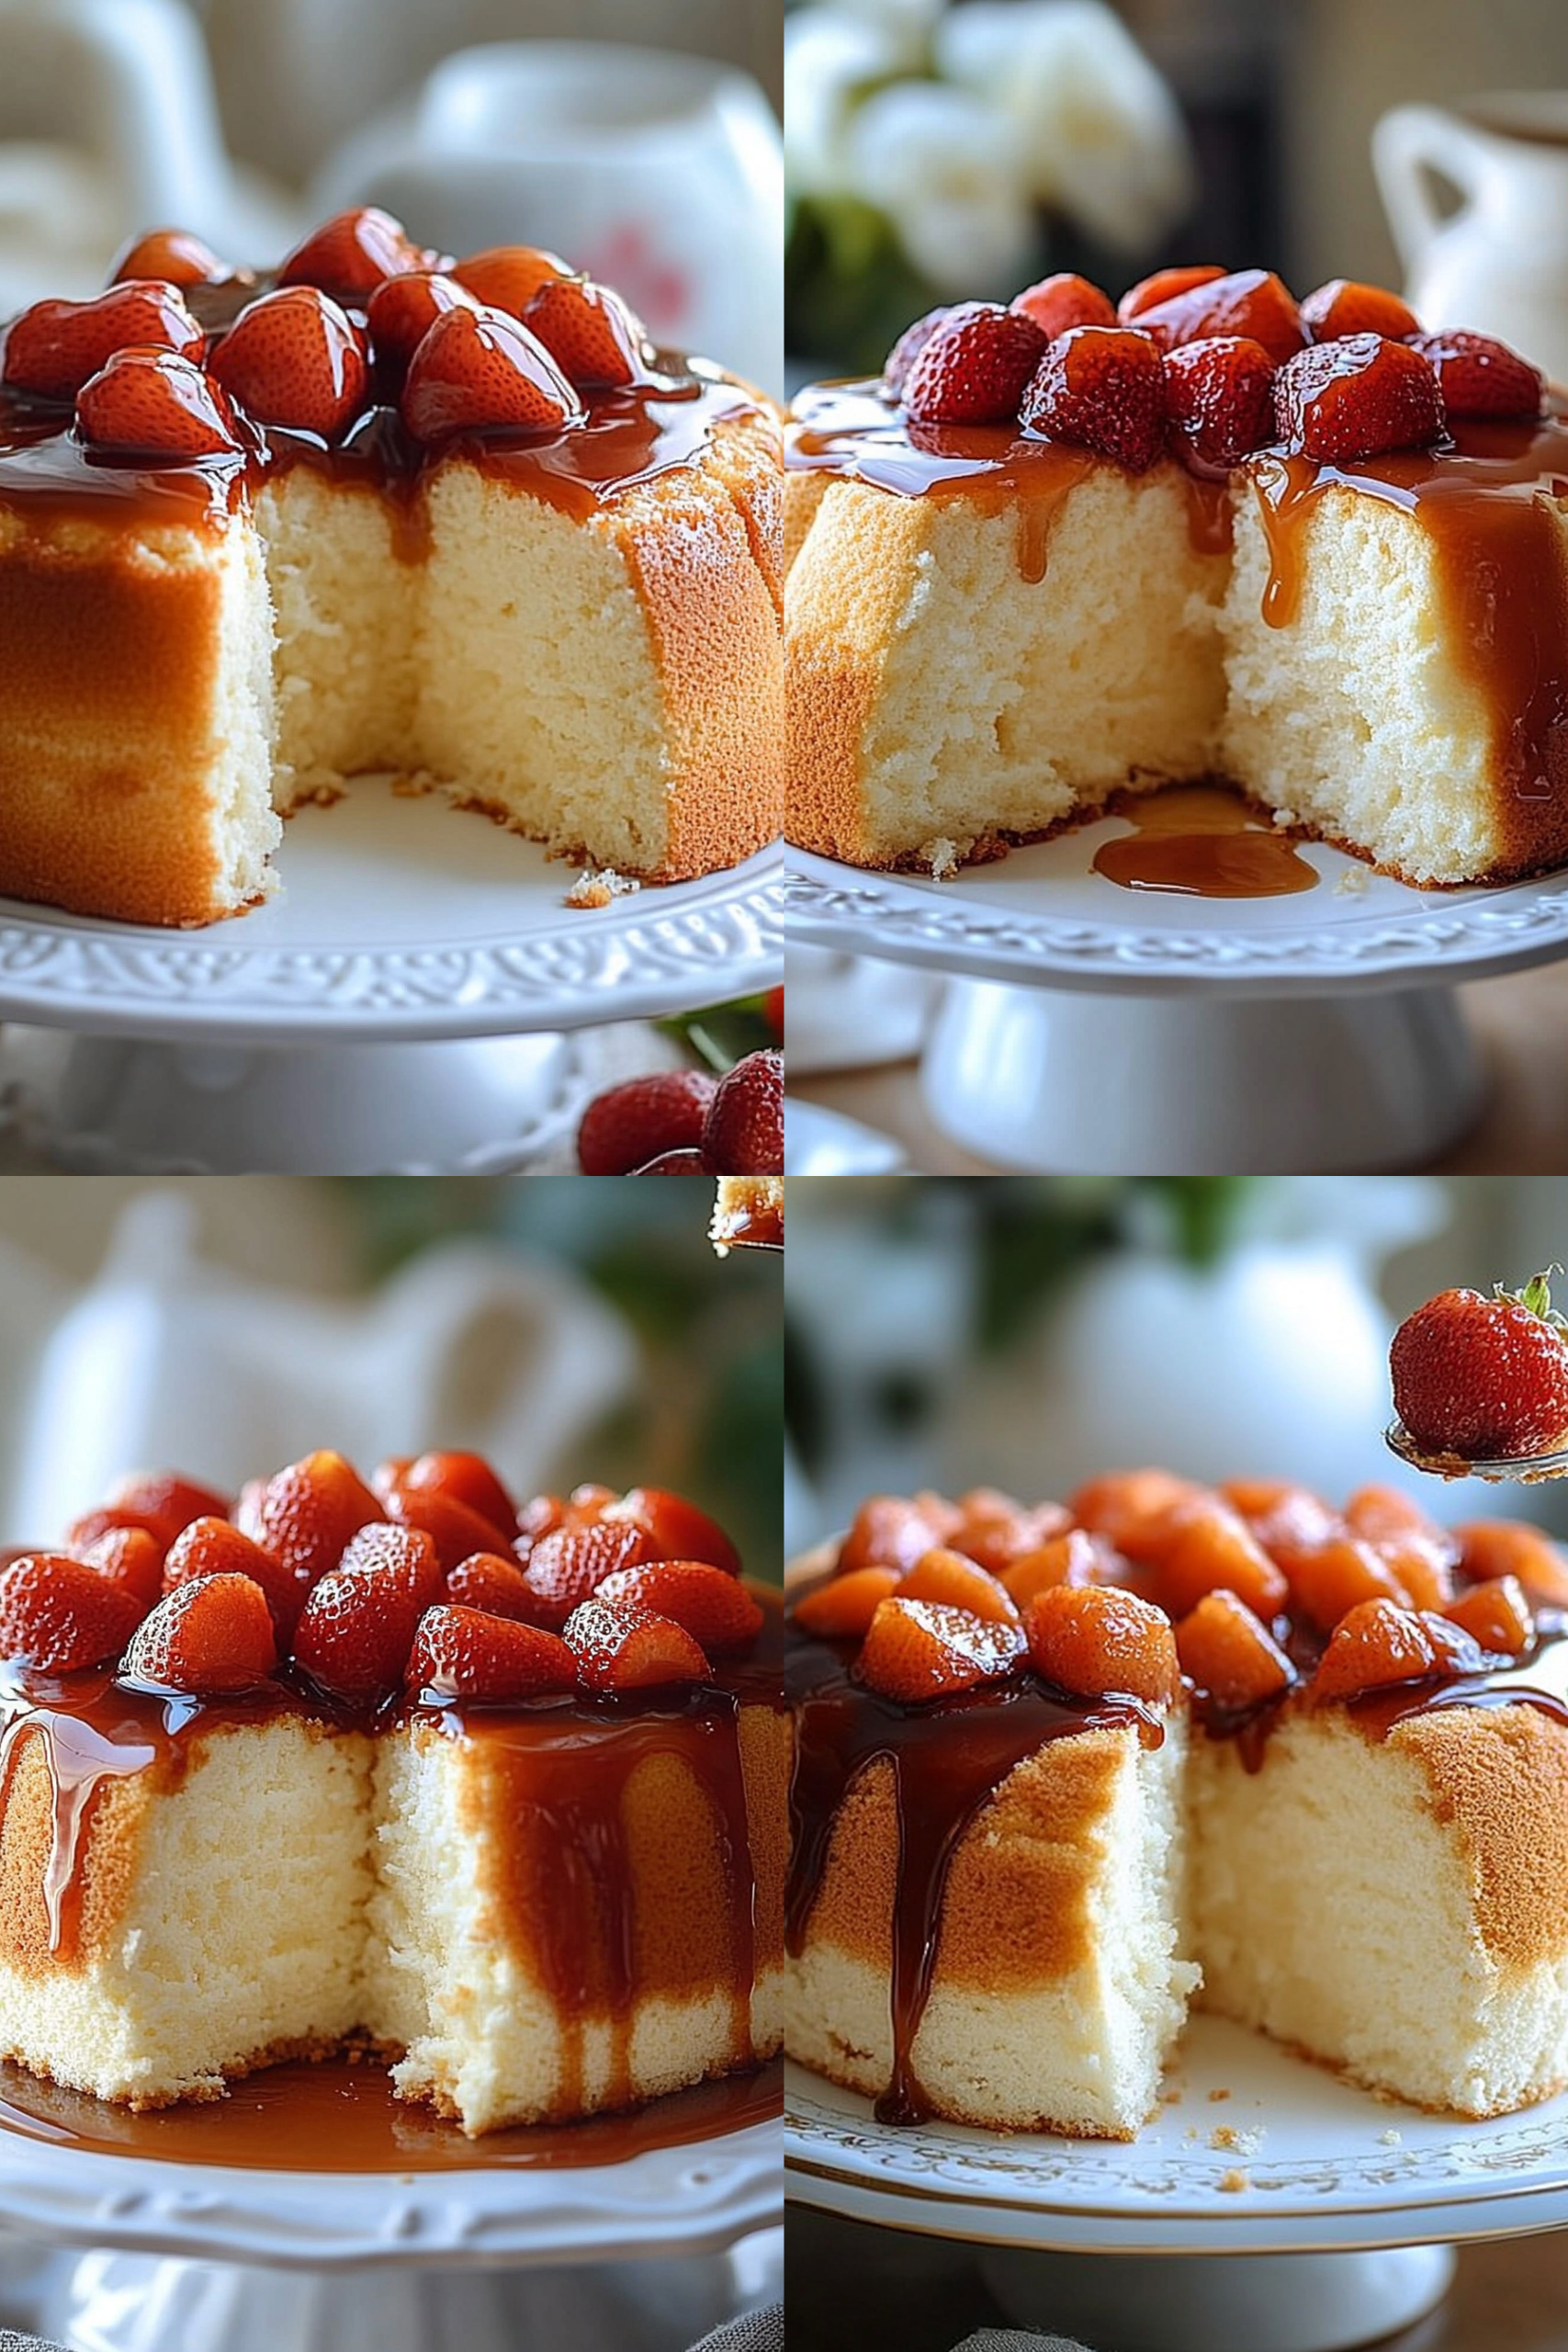
There’s something about a sunlit kitchen, a pitcher of coffee cooling on the counter, and a cake that somehow tastes like a soft cloud. My grandma’s house always smelled like vanilla and airy sweetness when she baked Angel Food Cake, and I swear the scent could coax a smile from the grumpiest neighbor. This version is a tribute to those afternoons: light, whisper-soft, and almost always a hit with both kids and grown-ups. Angel Food Cake isn’t just dessert; it’s a little celebration you can pull together when you want something special but don’t have time for a full-on bake-fest. I’m sharing it with you like I’d share a cup of coffee and a kitchen-laughter-filled memory: simple ingredients, big joy, and that perfect, delicate crumb that disappears before anyone can blink. This cake has earned its spot in our weekly rotation because it’s forgiving, charming, and surprisingly versatile—a cake that invites toppings rather than overpowering them. Angel Food Cake is the kind of recipe that makes you feel like you’re cooking with a touch of magic, and I always do this when I’m craving something sweet but not heavy.
What is angel food cake?
Think of Angel Food Cake as the ultimate airy sponge. It’s essentially a foam cake built on a sturdy backbone of whipped egg whites, sugar, and cake flour, with a touch of cream of tartar and a splash of vanilla to wake up the flavor. The name is thought to come from its light, ethereal texture—white as a cloud and fluffy enough to float off the plate, hence the “angel” moniker. Unlike its cousins that rely on butter or oil, this cake is fat-free, which makes the crumb exceptionally delicate and tender. It’s a cake that shines on its own but also welcomes a gentle glaze, fresh berries, or a creamy filling tucked inside. If you’ve never attempted a foam cake before, this is the perfect entry point: you’re not fighting brawling batter; you’re coaxing air into a silky, glossy meringue and folding it with care. It’s refreshing, not heavy, and the clean sweetness makes it feel almost celebratory for a Tuesday afternoon.
Why you’ll love this recipe?
What I love most about this Angel Food Cake is its texture: the crumb is feather-light, almost like biting into a cloud that holds its shape yet dissolves on the palate. The flavor is clean and vanilla-forward with a whisper of almond if you choose to add it, which means it pairs beautifully with seasonal berries, bright citrus glazes, or a simple dollop of whipped cream. It’s ridiculously simple to make once you get the hang of folding and cooling, and the ingredients are friendly on the wallet. This cake is a lifesaver for last-minute gatherings or when you want something impressive-looking yet quick to pull together. My kids actually ask for this all the time because the slice-to-crumble ratio feels almost magical—the crisp exterior with that pillowy interior is irresistible. If you’re watching portions or trying to cut fat, this is a rare dessert that still feels indulgent. And the best part: you can customize the glaze or filling to suit your mood, season, or pantry. For me, it always tastes like a warm, breezy afternoon with friends.
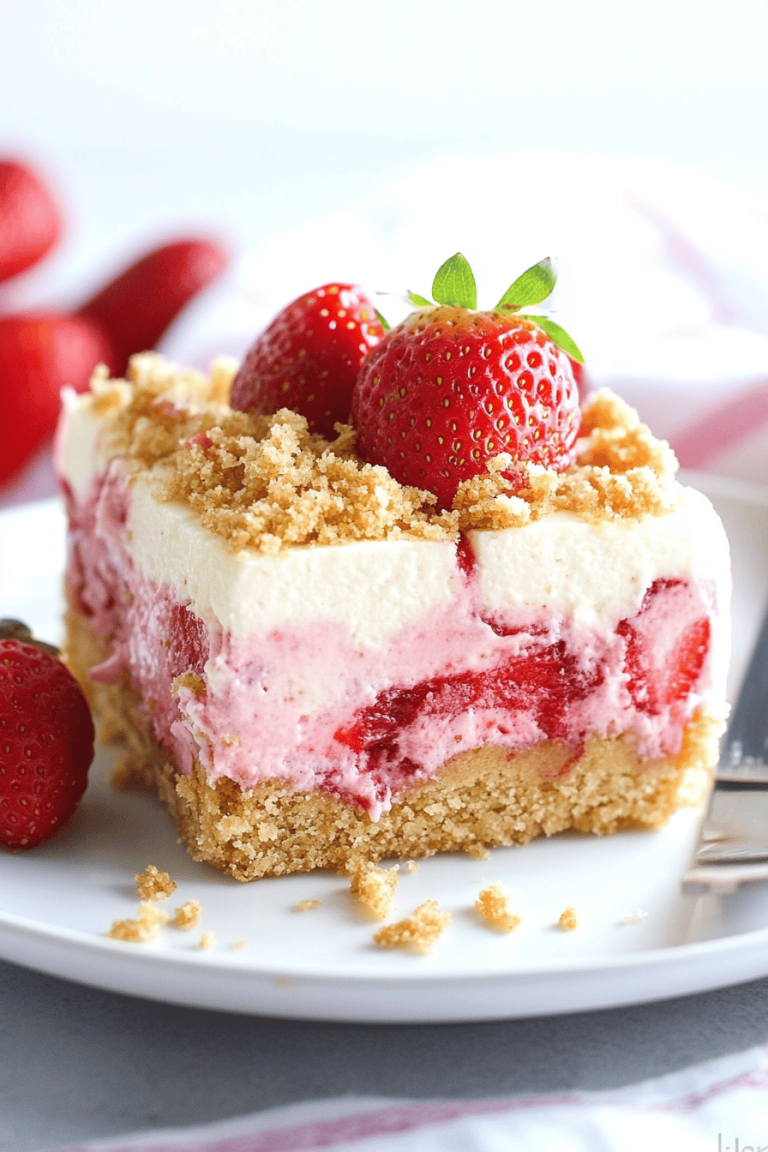
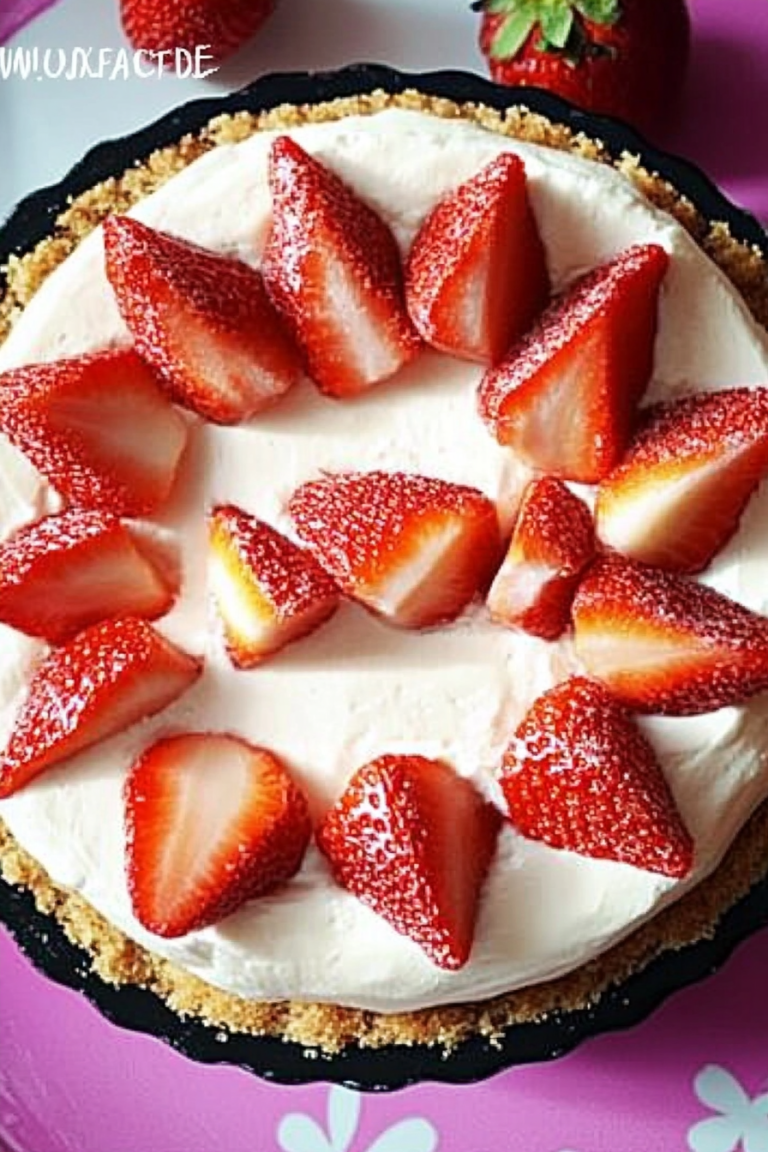
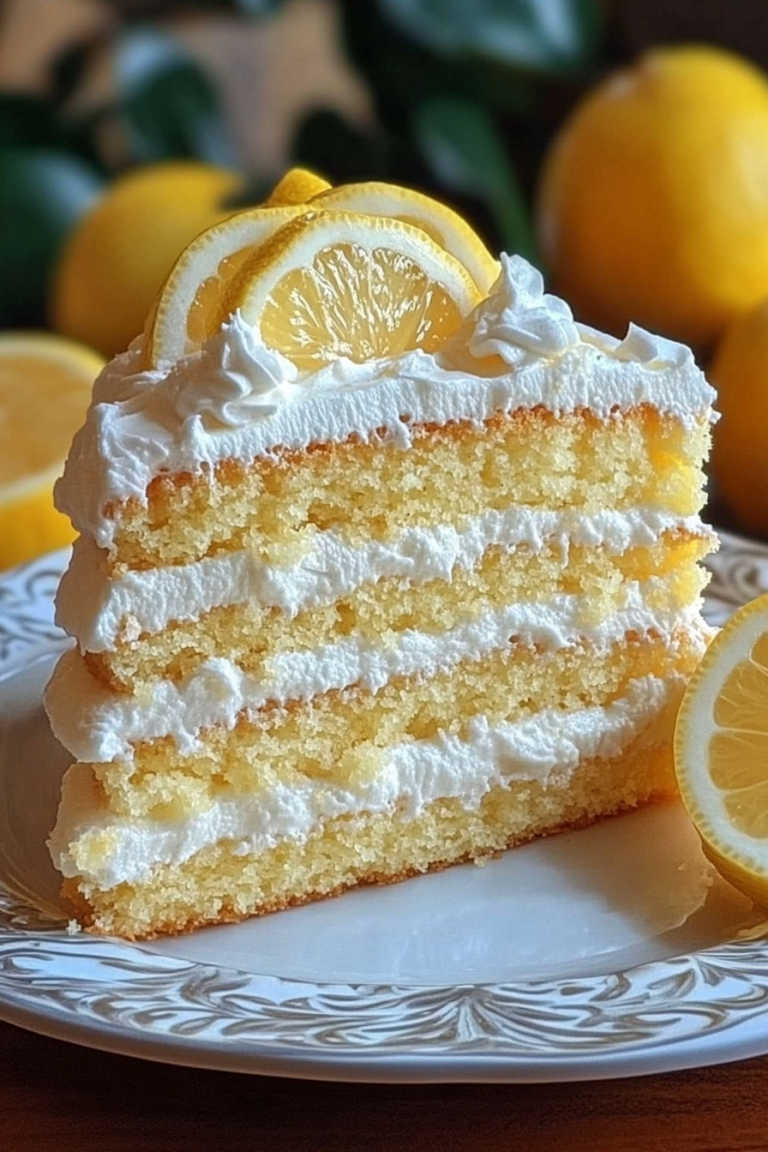
For a quick reference, this cake holds its own with a handful of berries and a spritz of lemon glaze, but it also becomes a showstopper when you swap in a tangy orange glaze or a creamy vanilla filling. If you’re craving a lighter finish after a rich dinner, this is what you reach for. And yes, I’ve linked to a few related favorites in my kitchen rotation—the humble vanilla sponge and a lemon curd treat—because they’re the cousins of this cake’s bright, airy personality. Vanilla sponge cake. Vanilla sponge cake. and Angel food cake with berries. are perfect companions when you’re planning a dessert spread.
How to Make Angel Food Cake
Quick Overview
Here’s the short version: whip up a glossy meringue from the egg whites with sugar and a pinch of salt and cream of tartar, sifted cake flour folded in gently, then bake in an ungreased tube pan so the batter can cling to the sides and rise high. No butter, no oil, no heavy mixing—just patient, careful folding. Once it comes out puffed and pale, you invert the pan to cool so it retains its height and texture. The result is a cake that slices like a dream and looks pristine on a dessert plate. If you want to turn it into a little celebration, fill or glaze it—just don’t rush the cooling. The texture needs gravity to do its job.
Ingredients
For the Main Batter:
- 12 large egg whites, at room temperature
- 1 1/2 cups granulated sugar (superfine if you have it)
- 1/4 teaspoon salt
- 1/2 teaspoon cream of tartar
- 1 teaspoon vanilla extract (or 1/2 teaspoon almond extract for a nutty note)
- 1 cup cake flour, sifted
For the Filling:
- 1 cup heavy whipping cream, chilled
- 2 tablespoons powdered sugar
- 1/2 teaspoon vanilla extract
- 1 cup fresh berries (strawberries, blueberries, raspberries) sliced or whole
For the Glaze:
- 1 cup powdered sugar
- 2–3 tablespoons fresh lemon juice (or orange juice for a sweeter finish)
- 1 teaspoon lemon zest (optional)
Step-by-Step Instructions
Step 1: Preheat & Prep Pan
Preheat your oven to 350°F (175°C). Don’t grease the pan—angel food cake needs to climb the sides of a clean, dry pan to rise properly. If your pan has a fancy wand or center post, give it a quick wipe to remove any stray oil. Have a cool rack ready for cooling, and a clean towel handy for the next move: that inverted rest is non-negotiable for the perfect texture.
Step 2: Mix Dry Ingredients
Sift the cake flour with a small portion of the sugar (about a quarter of the 1 1/2 cups). This lightens the flour and helps the batter stay airy. Sifting more than once is perfectly fine here—air is your friend, and it doesn’t hurt to distribute the flour evenly. Set this aside so you can fold it in gently later.
Step 3: Mix Wet Ingredients
In a clean, grease-free mixer bowl, start with the egg whites. Beat on medium speed until they become foamy, then add the salt and cream of tartar. Increase the speed to high and continue beating until you reach stiff, glossy peaks. A little peak that stands tall is what you’re aiming for—think Marshmallow Fluff, not a loose soufflé.
Step 4: Combine
Gradually sifted dry ingredients go in next, but you fold in small batches with a gentle spatula. Use a light “fold and lift” motion, turning the bowl as you go to keep the air in. If you overmix, you’ll deflate the batter and lose the cake’s signature height. The batter should look pale, shiny, and airy, like a well-beaten cloud that holds its shape.
Step 5: Prepare Filling
If you’re filling the cake, whip the cream with the powdered sugar and vanilla until soft peaks form. Fold in the berries gently. You can also layer in a lemon curd for extra zing, or keep it simple with fresh fruit. Have the filling ready so you can do a quick, elegant assembly when the cake is cooled.
Step 6: Layer & Swirl
Angel Food Cake doesn’t need heavy layering, but if you’re feeling fancy, you can slice the cooled cake horizontally and spread a light layer of filling between the layers before rejoining. For a marble-like finish, you can spoon a small amount of berry puree or lemon glaze on the batter before the final fold, then swirl with a skewer for a gentle pattern. The key is to stay airy and avoid heavy pockets that sink the structure.
Step 7: Bake
Pour the batter into the ungreased pan and bake for about 35–40 minutes, until the top is pale golden and a toothpick comes out clean. The cake should spring back when gently pressed. Avoid opening the oven door early—air needs to stay inside to keep that delicate crumb intact. If your oven runs hot or cold, you may need to adjust by 5–10 minutes, but start watching around minute 30.
Step 8: Cool & Glaze
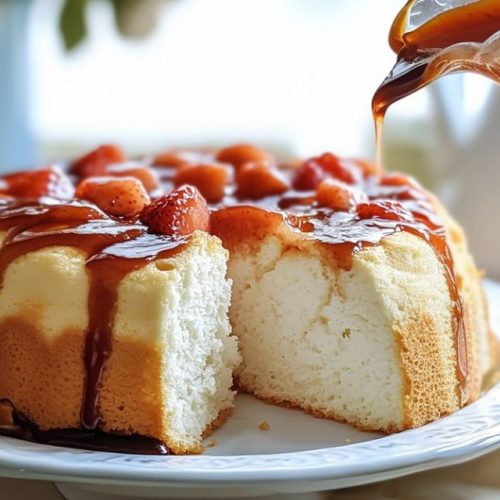
When the cake is done, invert the pan over a bottle neck, a funnel, or a cooling rack support so it can cool completely in that inverted position. This keeps the cake tall and prevents it from collapsing. Once completely cooled, run a thin knife around the edges to release. If you’re glazing, whisk the powdered sugar with lemon juice until smooth and drizzle over the top, letting it run and pool in a few elegant streaks. The glaze should be thick enough to coat but thin enough to flow with a gentle wave.
Step 9: Slice & Serve
To slice, use a serrated knife and a gentle sawing motion. A steady, patient hand yields the cleanest edges. Serve with fresh berries, a sprinkle of zest, or a dollop of whipped cream. If you filled it, slice carefully to reveal a pretty interior. This cake is special enough to stand solo, yet forgiving enough to pair with almost any topping you crave.
What to Serve It With
This Angel Food Cake shines on its own, but a few thoughtful pairings make it feel like a proper dessert spread. I keep it flexible so you can tailor it to the moment:
For Breakfast: A light slice with a dollop of yogurt and a drizzle of fruit compote makes a graceful, not-too-sweet start to the day. A cup of strong coffee or a small glass of orange juice complements the vanilla notes nicely.
For Brunch: Turn it into a showpiece by topping with berries, citrus zest, and a light honey drizzle. The airy crumb holds up well to toppings, so you can build a fresh, bright plate without overdoing it.
As Dessert: Serve slices with a lemon glaze, a berry coulis, or vanilla whipped cream. For a more indulgent finish, a spoonful of Chocolate Mousse on the side is surprisingly harmonious with the cake’s delicate sweetness.
For Cozy Snacks: A simple slice with a mug of tea, a few raspberries, and a dusting of powdered sugar makes a comforting, modest treat that still feels special.
In our house, this cake has a tradition of showing up at birthdays and summer suppers alike—always a crowd-pleaser and a reminder that simplicity can be absolutely exquisite. The gentle, clean flavor profile means you can let the toppings do the talking, or enjoy it naked and pure with a cold splash of milk. It’s a family favorite that travels well to potlucks, too—everyone loves the way it looks, and no one leaves hungry.
Top Tips for Perfecting Your Angel Food Cake
These little refinements come from years of playing with the batter and watching friends and family grin at the first bite.
Egg White Prep: Let the eggs sit at room temperature for 30–45 minutes before separating. Any yolk in the whites can ruin the foam. I crack eggs one by one over a separate bowl to avoid surprises, then transfer to the mixer bowl. Make sure your bowl is impeccably clean and dry; even a speck of fat can weigh the foam down.
Whipping Advice: Start slow, then ramp up to high speed. The goal is glossy, stiff peaks that hold their shape. If the peaks look dry or crumbly, you may have added too much sugar too quickly or the whites aren’t clean. Add sugar in 3–4 additions, waiting a few seconds between each so the foam stays stable.
Folding Technique: Use a gentle, patient folding motion—a light turn and lift, rotating the bowl as you go. Don’t overwork the batter; you’re trying to preserve air. A few fluffy streaks are okay; you’re not aiming for perfectly even, dense batter.
Flavor Swaps: Vanilla is classic, but you can elevate the profile with a touch of almond extract, lemon zest, or citrus juice in the glaze. If you want a coconut note, swap in a teaspoon of coconut extract and a pinch of toasted coconut on top for texture. These tweaks keep the cake light while adding personality.
Swirl Customization: For a pretty swirl, drop a small spoonful of blueberry or raspberry puree into the batter just before folding and swirl gently with a skewer. You’ll get a delicate marbled effect without compromising the cake’s rise.
Ingredient Swaps: You can use gluten-free cake flour blends if needed; just ensure they’re designed for baking to preserve the texture. For a dairy-free version, you can try a whipped Coconut Cream filling and a dairy-free glaze, though the texture will differ slightly.
Baking Tips: Make sure your pan is completely clean and dry—grease will prevent the cake from climbing. Position the rack in the middle of the oven for even heat, and avoid opening the door during the bake. If your oven is a bit temperamental, start checking at 30 minutes and go by the cake’s color and spring rather than the clock alone.
Glaze Variations: A lemon glaze is bright and classic, but you can switch to a vanilla glaze or a chocolate drizzle for a different finish. If you want a thinner glaze, whisk in a teaspoon more of citrus juice; for a thicker coat, add a touch more powdered sugar. Always let the glaze sit a moment to set before slicing for a clean, polished look.
This section is where you can really make this cake your own. I’ve tested a dozen little adjustments, and the best part is the confidence you gain—once you master the folding, you can improvise with toppings and fillings without worry. The cake’s lightness forgives a lot, so trust your taste and have fun with the color and texture.
Storing and Reheating Tips
Angel Food Cake stays moist and light for a surprisingly long time if you handle it with care. Here’s how I keep it at its best:
Room Temperature: The cake can stay fresh for 1–2 days at room temperature if kept in a breathable container or loosely covered with a clean cloth. It’s best enjoyed fresh, but a day’s rest won’t hurt its texture, and the glaze or filling can help carry flavors forward.
Refrigerator Storage: If you’ve already filled the cake or have leftovers, store covered in the fridge for up to 3–4 days. The cool temperature keeps the filling stable, and the cake holds its shape well, though it can feel a touch firmer when cold.
Freezer Instructions: You can freeze angel food cake for up to 2 months. Wrap slices or the whole cake tightly in plastic wrap, then a foil wrap to protect from freezer burn. Thaw in the fridge or at room temperature, still wrapped, to minimize condensation. If you glazed it, reapply a fresh glaze after thawing for a crisp finish.
Glaze Timing Advice: If you’re freezing, skip the glaze until you’re ready to serve. Glaze can become a bit tricky after freezing and thawing, so I usually glaze just before serving for the best visual and taste impact.
Quality indicators: the cake should be tall, with a light, uniform crumb and subtle sweetness. If the surface sinks or becomes gummy, you might have deflated the foam, or the oven temperature may have been too high. Don’t worry—practice helps, and you’ll find your sweet spot quickly.
Frequently Asked Questions
Final Thoughts
If you’re hunting for a dessert that feels special without demanding every ounce of your patience, this Angel Food Cake is it. It’s a gentle, comforting cake that respects your time while delivering that classic, cloud-soft bite. The beauty lies in its simplicity—and in how easily you can dress it up or keep it simple, depending on what your pantry looks like. I love how a few berries or a bright glaze can transform the whole experience, making it appropriate for casual weeknights or a celebratory weekend lunch. This is a cake you’ll reach for again and again, especially when you want something light, elegant, and nostalgic all at once. I’d love to hear how you customize yours—do you prefer lemon glaze, vanilla whipped cream, or a berry swirl? Leave a note in the comments with your favorite topping or a little tweak you tried. Happy baking!
Share your thoughts, rate the recipe, and if you’ve got a personal twist that makes it uniquely yours, I’m all ears. The kitchen is better with stories, and I can’t wait to read yours. Enjoy every delicate bite of this Angel Food Cake, and may it bring a little sunshine to your table today.
Angel Food Cake
Ingredients
Main Ingredients
- 1 cup cake flour
- 1 cup granulated sugar
- 12 count egg whites room temperature
- 0.25 teaspoon cream of tartar
- 0.25 teaspoon salt
- 1 teaspoon vanilla extract
- 0.25 teaspoon almond extract optional
Instructions
Preparation Steps
- Preheat the oven to 350 degrees Fahrenheit (175 degrees Celsius).
- In a large bowl, whisk egg whites with cream of tartar and salt until foamy.
- Gradually beat in the sugar until stiff, glossy peaks form.
- Sift the cake flour over the meringue in 2-3 additions, then fold in vanilla and almond extracts until just combined.
- Gently spoon the batter into a tube pan without greasing and bake for 35 to 40 minutes, until a toothpick comes out clean.
- Invert the pan to cool completely before removing the cake.

