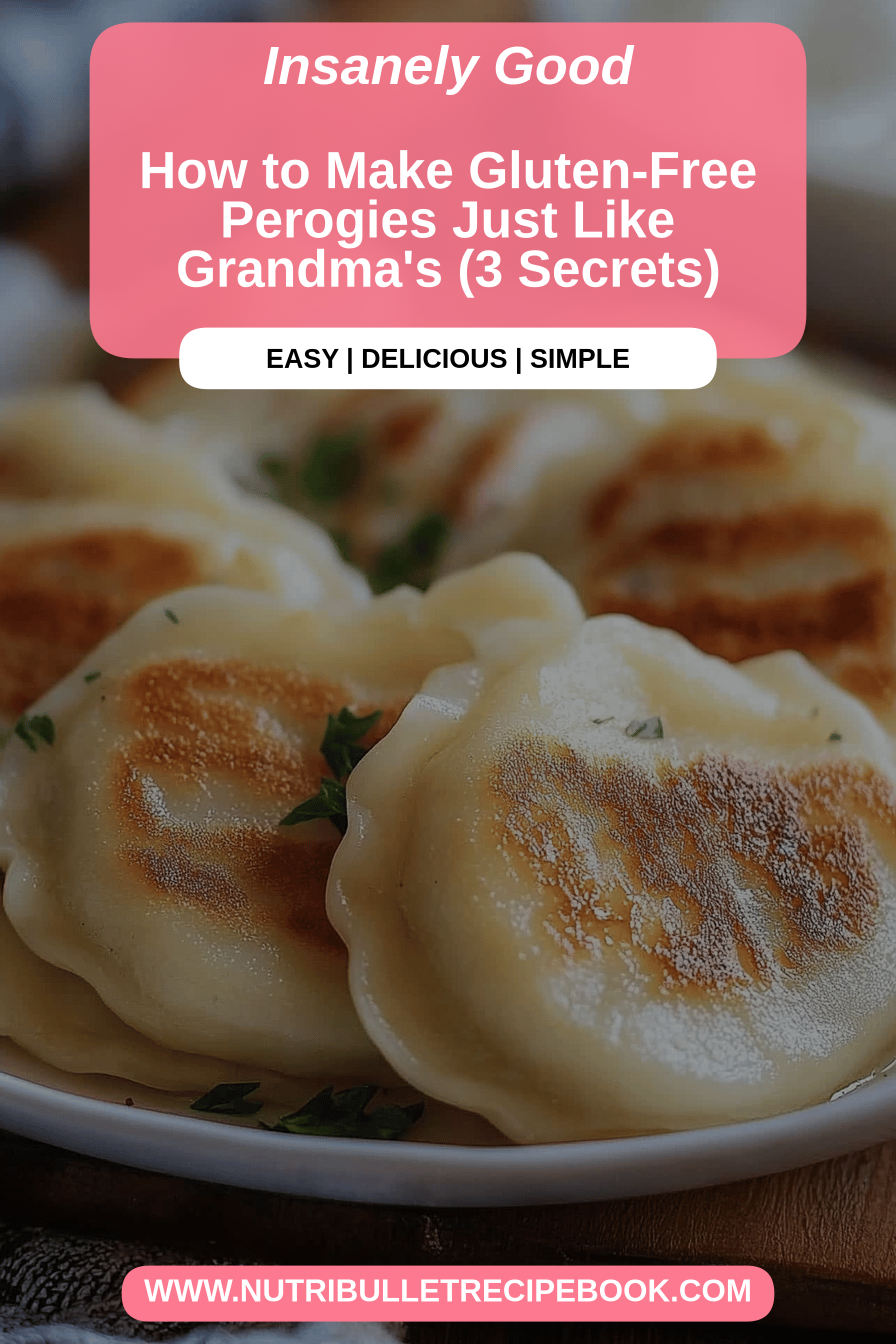
Oh, where do I even begin with these? If there’s one recipe that consistently makes my kitchen smell like pure comfort and gets my whole family buzzing with excitement, it’s these gluten-free perogies. I remember the first time I attempted making them gluten-free. My kids, bless their hearts, are huge fans of the traditional kind, and I was so worried I wouldn’t be able to replicate that familiar, pillowy goodness. But let me tell you, after a few tries and some tweaking, I landed on *this* version, and honestly? They’re so good, I sometimes forget they’re gluten-free! It’s like a warm, savory hug that you can eat. Think of them as the ultimate comfort food, elevated. They’re surprisingly simple, incredibly forgiving, and always, *always* a massive hit.
What are gluten-free perogies?
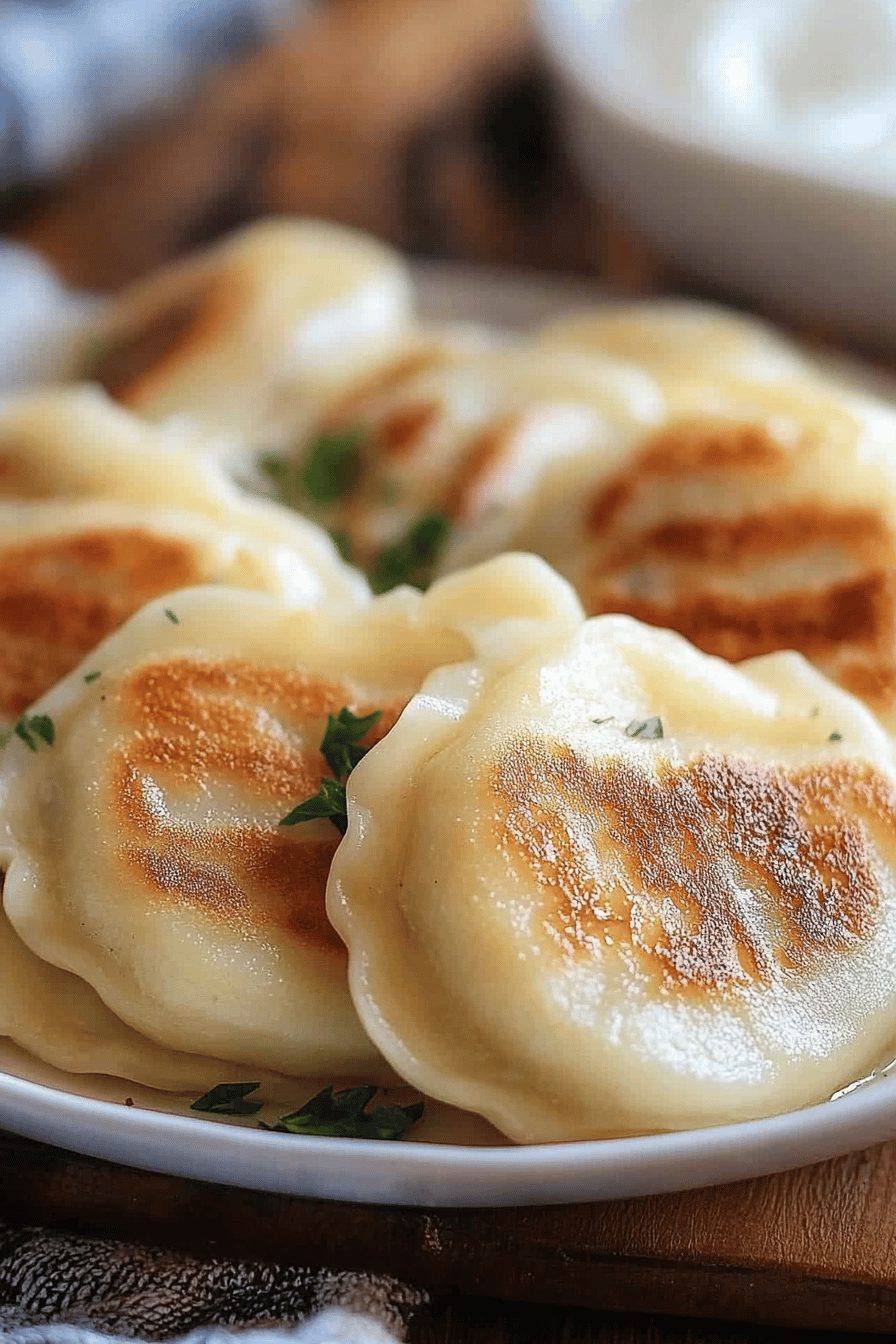
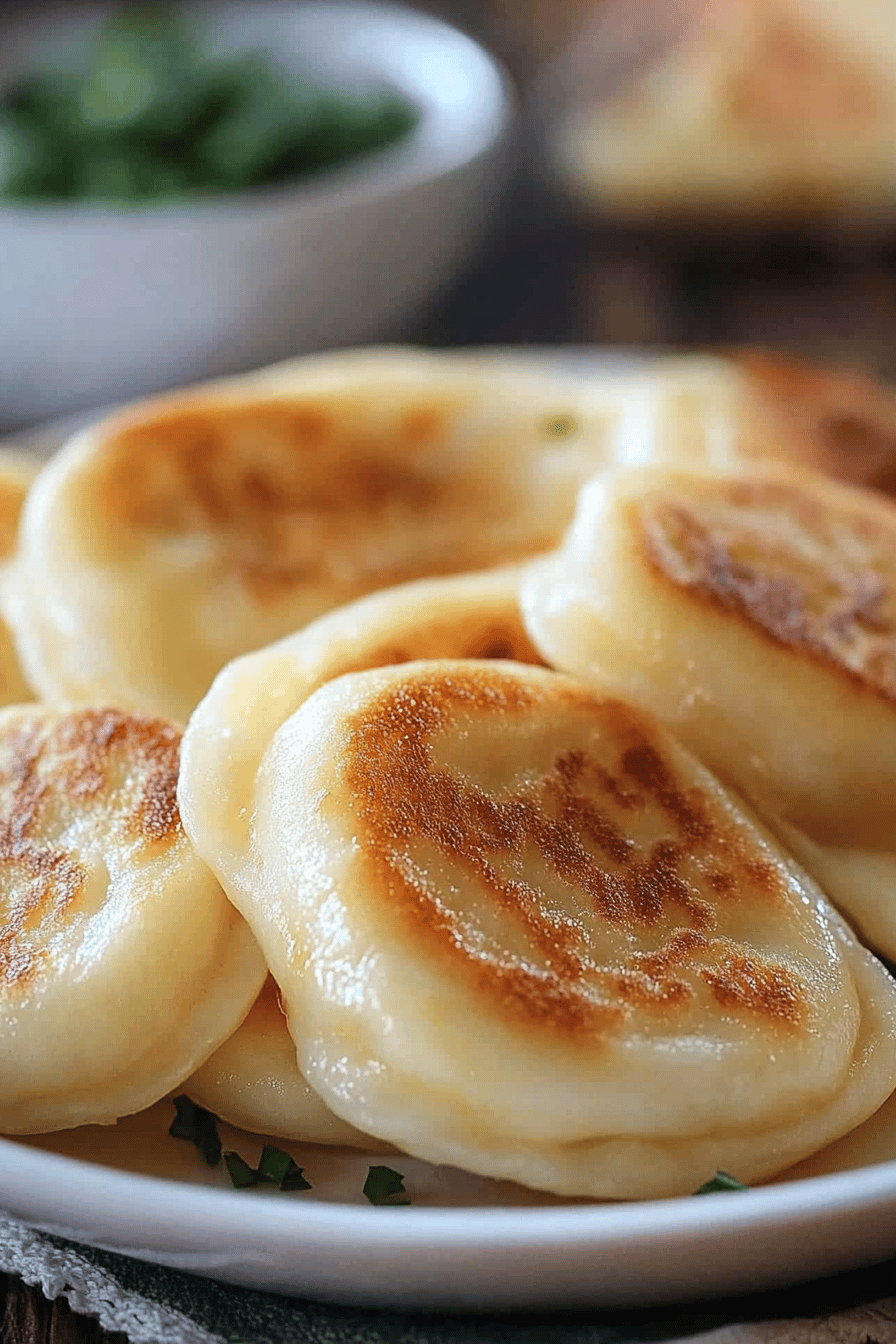
So, what exactly are we talking about when I say “gluten-free perogies”? At their heart, perogies are these delightful little dumplings, often semi-circular, that are boiled and then pan-fried to golden perfection. Traditionally, they’re made with a wheat-based dough, but my version swaps out that gluten for a carefully selected blend of gluten-free flours. This gives us all that wonderful chewiness and tenderness without any of the gluten. The magic really happens when they’re filled with something creamy and savory, then pan-fried in butter until they’re crispy on the outside and soft on the inside. It’s a bit like a ravioli meets a pierogi, but with a texture that’s uniquely satisfying, especially when you’re aiming for that gluten-free goodness. They’re a true labor of love, but in the best possible way!
Why you’ll love this recipe?
What are some of the reasons why I love this gluten-free perogies recipe?flavor is out of this world. The dough itself is tender and slightly rich, and when it’s paired with a creamy, savory filling and then pan-fried until golden, it’s just… perfection. The aroma that fills your kitchen while they’re cooking is enough to make your stomach rumble! Secondly, the simplicity. Now, I know “dumplings” can sound intimidating, but I promise you, this method is surprisingly straightforward. I’ve really honed in on a technique that makes the dough easy to handle, even if you’re new to gluten-free baking. And the filling? It’s usually just a handful of common ingredients that come together in a flash. What I also adore about this recipe is how cost-effectiveWhat are some of the best ingredients that you can use in a recipe?versatility! You can adapt the filling, the toppings, and even how you serve them. They’re amazing for breakfast, a hearty lunch, or even a comforting dinner. I’ve even experimented with sweet fillings for dessert perogies, which is a fun twist! Honestly, compared to other gluten-free dumplings I’ve tried, these truly stand out for their texture and how they hold up, making them a lifesaver when you’re craving that classic perogy taste without the gluten.
How to Make Gluten-Free Perogies
Quick Overview
Making these beauties is a three-part journey: crafting a tender gluten-free dough, preparing a luscious, comforting filling, and then bringing it all together for a quick boil and a glorious pan-fry. Don’t let the steps scare you; each one is quite simple and flows logically into the next. The dough comes together easily, the filling is quick to mix, and the boiling and frying are where the real fun begins. You’ll end up with plump, golden-brown perogies that are just begging to be devoured. It’s all about building those layers of flavor and texture, and this method ensures you get it just right, every time.
Ingredients
For the Main Dough:
You’ll need a good gluten-free all-purpose flour blend – I usually look for one that contains a mix of rice flour, tapioca starch, and potato starch, as this gives the best texture. About 2 cups should do it. We’ll also need a teaspoon of xanthan gum if your blend doesn’t already have it; this is crucial for binding and elasticity in gluten-free baking. A pinch of salt for flavor, and then for the wet ingredients, we’ll use about 1/2 cup of warm water, a tablespoon of melted butter (or olive oil for a dairy-free option), and one large egg. The warmth of the water helps activate everything, and the egg adds richness and helps bind it all together beautifully. Make sure your butter isn’t too hot when you add it, you don’t want to cook the egg!
For the Filling:
This is where you can really play! My classic go-to is a creamy mashed potato and cheese filling. So, you’ll need about 1.5 cups of cooked and mashed potatoes (russets are great for this, nice and fluffy), about 1/2 cup of shredded cheddar cheese (or a mix of cheddar and Monterey Jack for extra creaminess), a tablespoon of finely chopped chives or green onions for a bit of zing, and a generous pinch of salt and black pepper. You can also add a little dollop of sour cream or Cream Cheese for even more richness. For a potato-only version, just skip the cheese! Other popular fillings include savory farmer’s cheese, sautéed mushrooms and onions, or even sweet cheese for a dessert twist.
For the Glaze (or Toppings):
Once they’re pan-fried, the traditionalists love them with sautéed onions and butter. So, grab a medium onion, thinly sliced, and about 2-3 tablespoons of butter. You could also do a drizzle of sour cream, a dollop of plain Greek yogurt, or even some crispy fried bacon bits! For a slightly sweeter touch, some people love a sprinkle of toasted breadcrumbs (use gluten-free ones, of course!) and a little bit of melted butter. The key is to enhance that delicious perogy, not overpower it.
Step-by-Step Instructions
Step 1: Preheat & Prep Pan
Before you even think about making dough, preheat your oven to 375°F (190°C). Grab a large, oven-safe skillet or a baking sheet. If you’re planning to finish these in the oven after pan-frying (which I sometimes do for extra crispiness!), you’ll want that pan ready. If you’re just pan-frying on the stovetop, make sure you have a good non-stick pan or a well-seasoned cast iron skillet ready to go. Lightly grease it with a bit of butter or oil.
Step 2: Mix Dry Ingredients
In a medium-sized bowl, whisk together your gluten-free flour blend, xanthan gum (if using), and salt. Give it a good mix to ensure everything is evenly distributed. This is important because it helps create a consistent texture in your dough. If your flour blend already has xanthan gum, you can skip that part. Just a simple whisking action is all it takes here.
Step 3: Mix Wet Ingredients
In a separate small bowl or jug, combine the warm water, melted butter (or oil), and the egg. Whisk them together until they’re well combined. The water should be warm to the touch, but not hot – think baby bath water. This temperature is perfect for activating the gluten-free flours and helps create a pliable dough.
Step 4: Combine
Now, pour the wet ingredients into the bowl with the dry ingredients. Using a fork or a spatula, start mixing until a shaggy dough forms. Then, turn the dough out onto a lightly floured surface (use your gluten-free flour here!) and knead it gently for a minute or two. You’re not looking for a super elastic dough like traditional wheat dough; you just want it to come together into a cohesive ball. It should be soft and slightly sticky, but manageable. If it’s too dry, add a tiny bit more water; if it’s too wet, a little more flour. Don’t overwork it, as this can make gluten-free baked goods tough.
Step 5: Prepare Filling
While the dough rests for a few minutes, let’s get the filling ready. If you haven’t already, mash your cooked potatoes until smooth. Stir in the shredded cheese, chopped chives, salt, and pepper. Mix everything until it’s well combined and creamy. Taste it! This is your chance to adjust the seasoning. If you’re using a cheese blend, this is where you’ll really taste the deliciousness come through. It should be flavorful and slightly fluffy.
Step 6: Layer & Swirl (Okay, not really swirl, but form!)
Now for the fun part! Roll out your dough on your lightly floured surface to about 1/8-inch thickness. You can use a round cookie cutter (about 3 inches in diameter) or even the rim of a glass to cut out circles. Place a small spoonful (about a teaspoon) of your filling in the center of each dough circle. Don’t overfill, or they’ll be tricky to seal! Moisten the edges of the dough circle with a little water using your finger, then fold the dough over the filling to create a semi-circle. Pinch the edges firmly to seal them shut. You can crimp the edges with a fork for an extra decorative touch and a more secure seal. Make sure they’re completely sealed so the filling doesn’t escape during cooking!
Step 7: Bake (or Boil First!)
You have a couple of options here. The traditional way is to boil them first until they float, then pan-fry. To do this, bring a large pot of salted water to a boil. Gently drop your perogies in, being careful not to overcrowd the pot. Cook them for about 3-5 minutes after they float to the surface. They should be tender. Then, you can transfer them directly to your preheated skillet with butter and sautéed onions. Alternatively, for a softer perogy, you can bake them directly. Place the formed perogies on your prepared baking sheet and bake for about 20-25 minutes, or until they’re lightly golden and puffed up. I often do a quick boil followed by a pan-fry for the best of both worlds – tender inside, crispy outside!
Step 8: Cool & Glaze
Once your perogies are cooked, whether boiled and then pan-fried, or baked, let them cool for just a minute or two. If you’re pan-frying, now is the time to add those sliced onions to the skillet with some more butter and sauté them until they’re soft and golden. You want that beautiful caramelization. Then, add your cooked perogies to the pan and fry them until they’re golden brown and crispy on both sides. This usually takes about 3-5 minutes per side. You can then drizzle with melted butter or top with your chosen garnishes.
Step 9: Slice & Serve
These are best served warm, right off the pan! They don’t need much fuss. A sprinkle of fresh chives or parsley looks lovely. If you’ve gone with the sautéed onion and butter topping, that’s practically a meal in itself. Cut into one and admire that beautiful dough and delicious filling. The aroma alone will have everyone gathering around. I usually serve them as a main dish, but they make a fantastic side too!
What to Serve It With
Oh, the possibilities are endless! These gluten-free perogies are such a comforting dish, they pair beautifully with so many things. For a delicious start to the day, I love serving them with a side of scrambled eggs and a few slices of crispy bacon – it’s like a delightful, savory breakfast dumpling. For a more elegant brunch, I’ll plate them up with a dollop of sour cream, some smoked salmon, and a sprinkle of fresh dill. They really feel fancy! As a delightful dessert, you can experiment with sweet fillings (like sweetened farmer’s cheese or apple butter) and serve them with a dusting of powdered sugar or a light fruit compote. And for those cozy snack times when you just need something warm and satisfying? They are absolute perfection on their own, perhaps with a side of your favorite dipping sauce or just a simple drizzle of melted butter. My family also loves them alongside a hearty green salad, which balances out the richness beautifully. My kids always beg for them with a side of ketchup, which is a funny but true anecdote!
Top Tips for Perfecting Your Gluten-Free Perogies
Over the years, I’ve picked up a few tricks that I think really elevate these gluten-free perogies from good to absolutely amazing. For the Zucchini Prep, if you decide to use it in your filling (which is a fantastic way to add moisture and nutrients!), make sure you squeeze out as much liquid as possible. Grate the zucchini, put it in a cheesecloth or a clean kitchen towel, and twist to wring out every last drop. This prevents a soggy filling. When it comes to Mixing Advice, remember that gluten-free dough can be a little different. Don’t overmix it once you add the wet and dry ingredients. Just combine until it forms a dough, then knead gently. Overworking can lead to a tough texture. For Swirl Customization, while we’re not really swirling perogies, when you’re forming them, ensure those edges are sealed *really* well. A fork crimp is great for both security and looks! For Ingredient Swaps in the dough, if you can’t find a specific gluten-free blend, a mix of brown rice flour, tapioca starch, and potato starch is a good starting point. You might need to adjust the liquid slightly. I’ve also tested using a dairy-free milk alternative instead of water in a pinch, and it worked out fine, giving them a slightly richer base. For Baking Tips, if you’re baking them on a Sheet Pan, consider lining it with parchment paper for easy cleanup. Rotate the pan halfway through baking to ensure even browning. When it comes to Glaze Variations, don’t be afraid to get creative! A simple pan-fry in garlic butter is divine, or try a chili-garlic oil for a little kick. These tips are things I’ve learned from making this recipe dozens of times, and they’ve truly made a difference!
Storing and Reheating Tips
One of the best things about these gluten-free perogies is how well they store! If you have any leftovers (which is rare in my house, but it happens!), let them cool completely before storing. At Room Temperature, I wouldn’t leave them out for more than a couple of hours, just to be safe. For Refrigerator Storage, pop them into an airtight container or a resealable bag. They’ll keep nicely for about 3-4 days. The texture might soften a bit after refrigeration, but they’re still delicious. If you want to keep them longer, Freezer Instructions are your best friend. You can freeze them in a single layer on a baking sheet until firm, then transfer them to a freezer-safe bag or container. They’ll last in the freezer for up to 2-3 months. When it comes to reheating, if they’re refrigerated, you can either gently reheat them in a skillet with a little butter until warmed through and crispy again, or pop them in a moderate oven for about 10 minutes. If reheating from frozen, you can often go straight from the freezer to a skillet or oven – just add a few extra minutes to the cooking time. It’s generally best to add the glaze or topping *after* reheating to keep everything fresh and appealing.
Frequently Asked Questions
Final Thoughts
So there you have it – my absolute favorite gluten-free perogies recipe! I really hope you give these a try. They’re more than just a recipe to me; they’re a reminder that delicious, comforting food can absolutely be enjoyed by everyone, regardless of dietary needs. The joy on my family’s faces when I serve these up is truly something special. They’re proof that with a little patience and the right technique, you can create magic in your own kitchen. If you love this recipe, you might also enjoy my other comforting gluten-free favorites like my [Link to another recipe, e.g., fluffy gluten-free pancakes] or my simple [Link to another recipe, e.g., hearty gluten-free soup]. I can’t wait to hear how yours turn out! Please leave a comment below and let me know what you think, or share your own amazing filling ideas. Happy cooking!
Gluten-Free Perogies
Ingredients
Dough
- 2 cups gluten-free all-purpose flour blend
- 0.5 teaspoon salt
- 1 large egg
- 0.5 cup sour cream or plain Greek yogurt
- 0.25 cup water approximately, more if needed
Filling
- 2 cups mashed potatoes cooled
- 0.5 cup cheddar cheese shredded, optional
- 0.25 cup caramelized onions finely chopped, optional
- 0.25 teaspoon salt to taste
- 0.125 teaspoon black pepper to taste
For Boiling and Serving
- 8 cups water for boiling
- 1 tablespoon salt for boiling water
- 0.25 cup butter for serving
- 0.25 cup sour cream for serving, optional
- 2 tablespoons fresh chives chopped, for serving, optional
Instructions
Preparation Steps
- In a large bowl, whisk together the gluten-free flour blend and salt.
- In a separate small bowl, whisk together the egg and sour cream.
- Add the wet ingredients to the dry ingredients and mix until a shaggy dough forms. Gradually add the water, a tablespoon at a time, until the dough comes together. It should be soft but not sticky.
- Turn the dough out onto a lightly floured surface and knead for a minute or two until smooth. Cover with a damp cloth and let rest for 10 minutes.
- While the dough rests, prepare the filling. In a bowl, combine the mashed potatoes, cheddar cheese (if using), caramelized onions (if using), salt, and pepper. Mix well.
- Divide the dough into two equal portions. On a lightly floured surface, roll out one portion of dough into a circle about 10-12 inches in diameter and 1/8 inch thick.
- Using a round cutter (about 3 inches in diameter), cut out circles from the dough. Re-roll scraps as needed.
- Place about 1-2 teaspoons of filling in the center of each dough circle. Fold the dough over the filling to create a half-moon shape, pressing the edges firmly to seal. Crimp with a fork for extra security.
- Repeat with the remaining dough and filling.
- Bring a large pot of generously salted water to a rolling boil. Carefully drop the perogies into the boiling water, a few at a time, without overcrowding the pot.
- Boil for 3-5 minutes, or until the perogies float to the surface and the dough is cooked through. Remove with a slotted spoon.
- In a large skillet, melt the butter over medium heat. Add the boiled perogies and cook for 2-3 minutes per side until golden brown and slightly crispy.
- Serve hot, topped with additional butter, sour cream, and chives if desired.