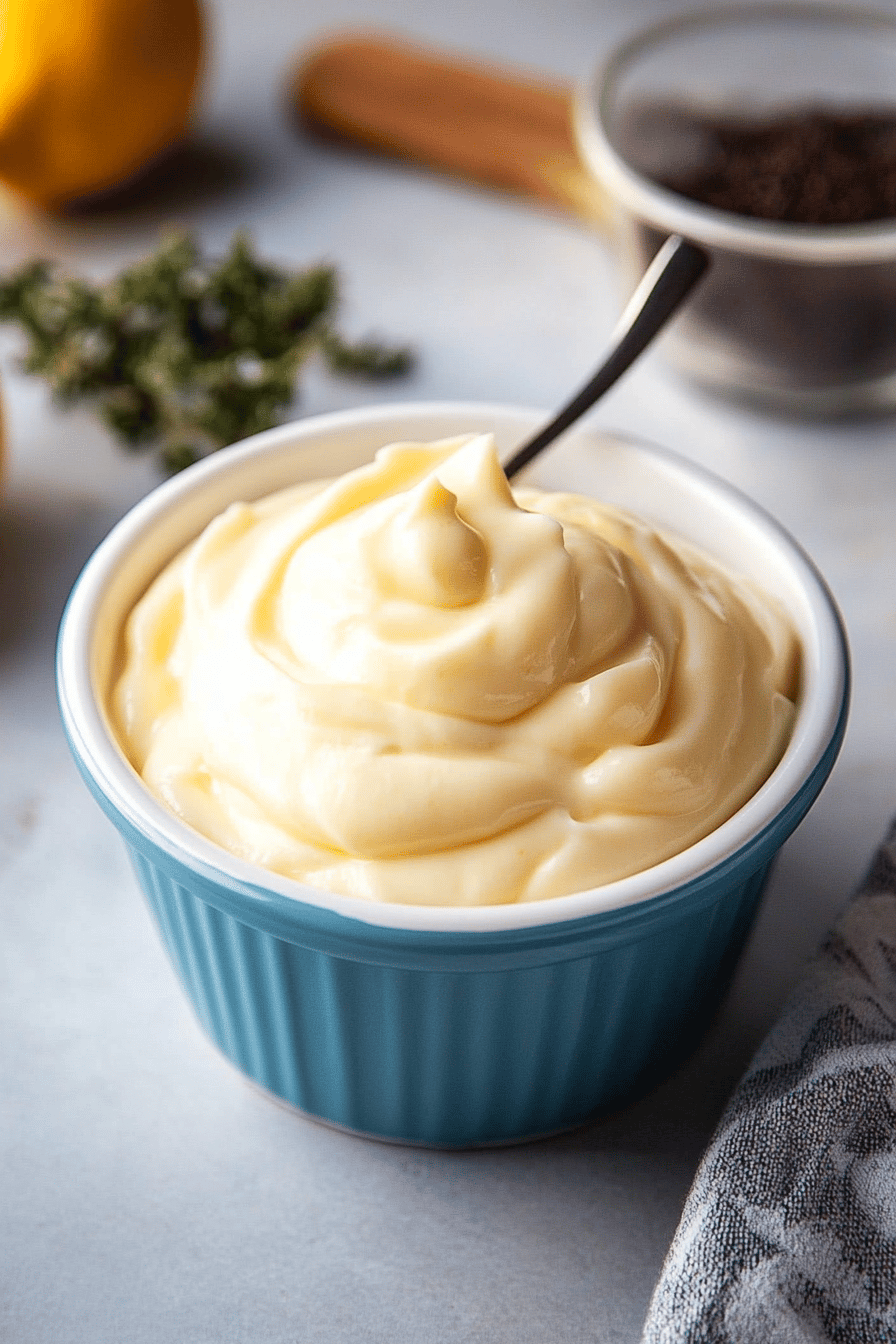
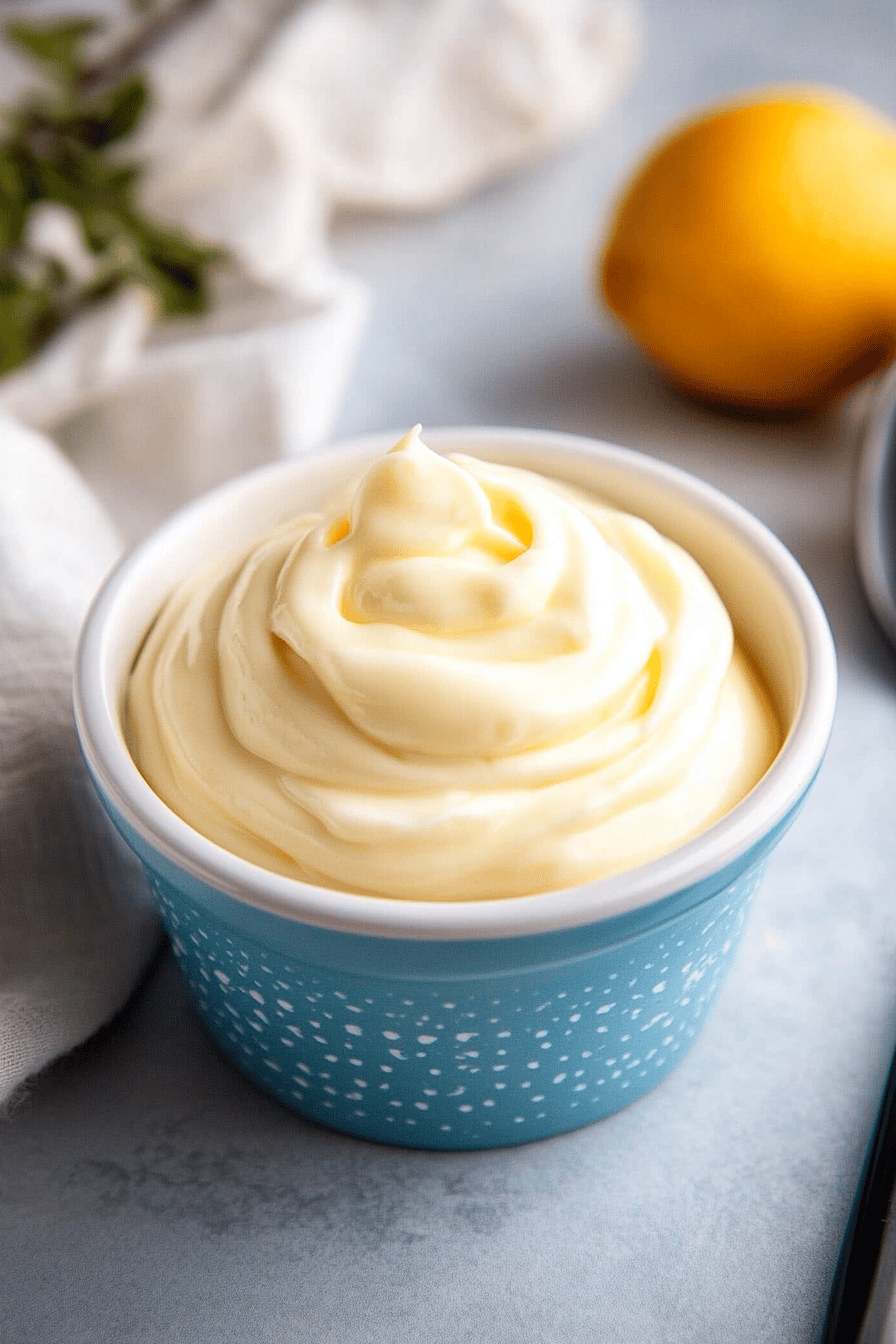
There are some things in life that just feel like a hug in food form, right? For me, that’s a perfectly made batch of homemade mayonnaise. Forget those jars from the grocery store that taste… well, like something manufactured. This recipe is different. It’s the kind of mayonnaise that makes you close your eyes and sigh with pure satisfaction. I remember the first time I tried making it myself, a little intimidated by the idea of “emulsifying” things, but it turned out to be ridiculously simple. Now, it’s my go-to for everything from deviled eggs to the most incredible tuna salad. Honestly, once you try this homemade mayonnaise, you’ll wonder how you ever lived without it. It’s a game-changer, and I can’t wait to share it with you!
What is a home made mayonnaise?
So, what exactly is this magic we’re whipping up? At its heart, homemade mayonnaise is a simple emulsion – that’s just a fancy word for blending two things that don’t usually mix, like oil and water (or in this case, oil and egg yolk). Think of it as a super-rich, incredibly fresh condiment that tastes leagues better than anything store-bought. It’s essentially a delicate dance between good quality oil, egg yolks, a touch of acid (like lemon juice or vinegar), and maybe some Dijon mustard for that extra zing. This recipe uses a super common and approachable method, making it totally doable for even beginner cooks. It’s that versatile, creamy base that elevates so many dishes. It’s not just a sauce; it’s a foundation for so many incredible flavors!
Why you’ll love this recipe?
Honestly, there are so many reasons this homemade mayonnaise has become a staple in my kitchen, and I’m pretty sure it’ll become one in yours too. First off, the FLAVOR. Oh my goodness, the flavor! It’s so much richer, creamier, and cleaner tasting than anything from a jar. You can actually taste the quality of the ingredients. Then there’s the SIMPLICITY. I know “homemade mayonnaise” can sound a little daunting, but I promise, with this method, it’s incredibly easy. You probably have most of the ingredients in your pantry right now! It truly takes just a few minutes to whip up a batch. And let’s talk COST-EFFICIENCY. When you break down the cost of buying good quality mayonnaise regularly, making it yourself is significantly cheaper, especially if you use oils you already have on hand. But my favorite part? The VERSATILITY. This isn’t just for sandwiches! I use this mayonnaise as a base for salad dressings, a binder for crab cakes, a creamy addition to dips, and of course, for the best Potato Salad you’ve ever had. It’s so adaptable. It’s honestly one of those “aha!” recipes that makes you feel like a culinary wizard, but without any of the fuss. It’s like the foundational building block of so many delicious meals, and I can’t get enough of it!
How do I make homemade mayonnaise?
Quick Overview
Making this homemade mayonnaise is a breeze! You’ll essentially be whisking or blending your egg yolk with some flavorings, and then very slowly drizzling in your oil until everything emulsifies into a thick, creamy sauce. It’s a process that requires a little patience with the oil addition, but the payoff is absolutely worth it. The result is a fresh, vibrant mayonnaise that you’ll want to put on *everything*. Seriously, it’s that good, and it takes less time than you might think!
Ingredients
For the Main Batter:
1 large egg yolk: Make sure it’s fresh! Room temperature is best for emulsification, so try to remember to take it out of the fridge about 30 minutes before you start. If you forget, no worries, just pop it in a small bowl of warm water for a few minutes. This is the glue that holds everything together.
1 tablespoon Dijon mustard: This isn’t just for flavor, though it adds a lovely tang. Dijon mustard also acts as an emulsifier, helping to keep your mayo from breaking. Don’t skimp on this!
1 tablespoon fresh lemon juice or white wine vinegar: This is where you get that signature bright, slightly acidic flavor. Lemon juice gives it a fresher, zippier taste, while vinegar is a bit more traditional and sharper. I often use a mix of both!
1/2 teaspoon salt: Start with this amount, you can always add more to taste at the end. It really brings out all the other flavors.
1 cup neutral-flavored oil: This is the backbone of your mayonnaise. Think canola oil, grapeseed oil, or even a light olive oil (but not extra virgin, as its flavor can be too strong). Avocado oil is also a great choice. The key is neutral, so the other flavors can shine. I love using a blend of half canola and half avocado oil for a super smooth texture.
For Optional Flavor Boosts:
Pinch of cayenne pepper or white pepper: Just a tiny bit adds a subtle warmth and complexity.
1 clove garlic, minced very finely (or 1/4 tsp garlic powder): For a garlic aioli vibe!
Step-by-Step Instructions
Step 1: Prepare Your Workspace
Grab a medium-sized bowl. If you’re using a whisk, make sure it’s a sturdy one. If you’re using an immersion blender, have your tall, narrow cup ready. Having everything measured out and within easy reach is key to success here, trust me!
Step 2: Combine the Base Ingredients
In your bowl (or immersion blender cup), add the egg yolk, Dijon mustard, lemon juice (or vinegar), and salt. Whisk or blend them together for about 30 seconds until they’re well combined and slightly pale. This is the flavor foundation!
Step 3: Slowly Introduce the Oil
This is the most important step! Start by adding the oil *very* slowly. Like, literally, drop by drop at first. If you’re whisking, drizzle it in while whisking constantly. If you’re using an immersion blender, keep the blender at the bottom of the cup and start blending while you drizzle in the oil. You’ll start to see the mixture thicken and emulsify. Continue to drizzle the oil in a very thin, steady stream, whisking or blending continuously. Don’t rush this part! If you add the oil too quickly, your mayonnaise can break (which means it’ll separate into oil and eggy liquid, and that’s not what we want!).
Step 4: Continue Emulsifying
As the mixture thickens and you’ve added about half of the oil, you can start to be a *little* less cautious, but still keep it to a steady, thin stream. Keep whisking or blending until all the oil is incorporated and you have a thick, creamy mayonnaise. It should hold its shape on a spoon.
Step 5: Taste and Adjust
Now for the fun part: tasting! Give your homemade mayonnaise a try. Does it need more salt? A little more tang from lemon juice or vinegar? Maybe a tiny pinch of sugar if you prefer it slightly sweeter (though I usually don’t add sugar)? Add any of your optional flavor boosts now too, like garlic or pepper. Whisk or blend them in thoroughly. This is where you make it your own!
Step 6: Chill (Optional but Recommended)
While you can technically use it right away, I find that letting the mayonnaise chill in the refrigerator for at least 30 minutes allows the flavors to meld and the texture to firm up even more. It makes it even more delightful!
Step 7: Store
Transfer your finished mayonnaise to an airtight container. It’s best stored in the refrigerator.
Step 8: Serve!
Use your glorious homemade mayonnaise as you would any other! Spread it on sandwiches, use it as a dip, or in your favorite recipes. Enjoy the incredible difference!
What to Serve It With
Oh, where do I even begin with what to serve this glorious homemade mayonnaise with? It truly elevates *everything*. For a simple Breakfast, slather it on a toasted sourdough with a perfectly fried egg on top, or use it to bind together some crumbled bacon and scrambled eggs for a breakfast sandwich that’s out of this world. It’s also fantastic mixed into avocado toast! When it comes to Brunch, this is your secret weapon. Think of the most incredible deviled eggs you’ve ever had – that’s this mayo at play. It’s also the star of any potato salad or coleslaw worth its salt. For a decadent Dessert, it might sound odd, but a tiny dollop can actually add a surprising richness to chocolate cakes or even as a base for a tart filling. For those Cozy Snacks, it’s a lifesaver. Need to whip up a quick dip for some veggie sticks or pita chips? Mix it with some herbs or spices. Tuna salad? Chicken salad? Egg Salad? All transformed. My kids actually request it on their grilled cheese sandwiches now, which is saying something! It just has this homemade goodness that store-bought just can’t replicate. It’s truly a culinary chameleon!
Top Tips for Perfecting Your Homemade Mayonnaise
I’ve been making this homemade mayonnaise for years, and I’ve definitely learned a few things along the way. So, here are my top tips to help you achieve mayo perfection every single time. First off, **Ingredient Temperature Matters**. I know I mentioned it, but I can’t stress enough how much room temperature egg yolks help with emulsification. If your yolk is too cold, it’s just harder for the oil to incorporate smoothly. If you’re in a pinch, like I often am, remember that quick warm water bath trick for the yolk – it works wonders! Secondly, when it comes to **Adding the Oil, Patience is Key**. I’ve rushed it before, and let me tell you, the result is not pretty – a greasy, separated mess. Start with just a few drops, then a thin, steady stream. If you’re whisking, make sure you’re whisking vigorously and consistently. For the **Immersion Blender Method**, use a tall, narrow container. This really helps the blender blades catch all the ingredients and create that smooth emulsion quickly and efficiently. It’s my preferred method these days because it’s just so darn fast and foolproof. **Don’t Be Afraid to Adjust**. Once your mayonnaise is made, taste it! Does it need more salt? A bit more tang? That’s your chance to customize it. I often add a tiny pinch of sugar if I’m using it for something a little sweeter, or a bit more lemon juice for an extra bright kick. For **Flavor Variations**, the possibilities are endless! Stir in finely chopped fresh herbs like chives or parsley, a dash of sriracha for a spicy kick, or even some minced roasted red pepper for a unique twist. For an extra creamy texture, some people swear by using a combination of oils, like half canola and half avocado oil. I’ve experimented with using light olive oil, but I find the extra virgin can sometimes overpower the delicate flavor. So, stick to neutral oils for the best all-around taste. Lastly, **If Your Mayo Breaks, Don’t Panic!** It happens to the best of us. The fix is surprisingly simple: in a clean bowl, whisk another egg yolk, then very slowly, drop by drop, start adding your broken mixture to the new yolk, whisking constantly. It should come back together beautifully. It’s a lifesaver!
Storing and Reheating Tips
Proper storage is crucial for keeping your homemade mayonnaise fresh and delicious. Since it’s made with fresh ingredients and no preservatives, it won’t last as long as the store-bought stuff, but with the right care, you can enjoy it for quite a while. For **Room Temperature Storage**, I generally don’t recommend leaving it out for more than an hour or two, especially if your kitchen is warm. It’s best to transfer it to an airtight container and pop it straight into the fridge after you’ve finished making it or serving it. **Refrigerator Storage** is where your homemade mayonnaise will live. An airtight glass jar or container is ideal. It will stay fresh and delicious for about 1 to 2 weeks. Give it a stir before each use, as natural separation can sometimes occur, but it’s usually easily whisked back together. For **Freezer Instructions**, I’m going to be honest, mayonnaise doesn’t freeze and thaw particularly well. The emulsion tends to break when frozen and thawed, leaving you with a greasy, separated mess that’s very hard to fix. So, I would strongly advise against freezing it. It’s so quick to make a fresh batch anyway! If you find yourself with too much, consider making a big batch of potato salad or coleslaw, as those will hold up better in the freezer than the mayonnaise itself. The **Glaze Timing Advice** doesn’t really apply here, as mayonnaise itself doesn’t typically involve a glaze in its preparation, but it’s good to remember that freshness is key. Always use your senses – if it smells off or looks unusual, it’s probably time to make a new batch.
Frequently Asked Questions
Final Thoughts
There you have it – the simplest, most delicious homemade mayonnaise you’ll ever whip up. I truly believe this recipe is a game-changer for anyone who loves good food. It’s amazing how a few humble ingredients can come together to create something so incredibly satisfying. It’s the kind of recipe that makes you feel accomplished and well-fed all at once. And remember, it’s not just about the mayo itself, but how it elevates everything you put it on! If you enjoy this, you might also love my recipe for homemade aioli, which uses this mayo as a base, or my recipe for the best chicken salad sandwich. Give this homemade mayonnaise a try, and I promise, you won’t look back. I can’t wait to hear how yours turns out and what you decide to pair it with! Don’t forget to leave a comment below and let me know your favorite way to enjoy it, or if you have any fun flavor variations you’ve discovered!
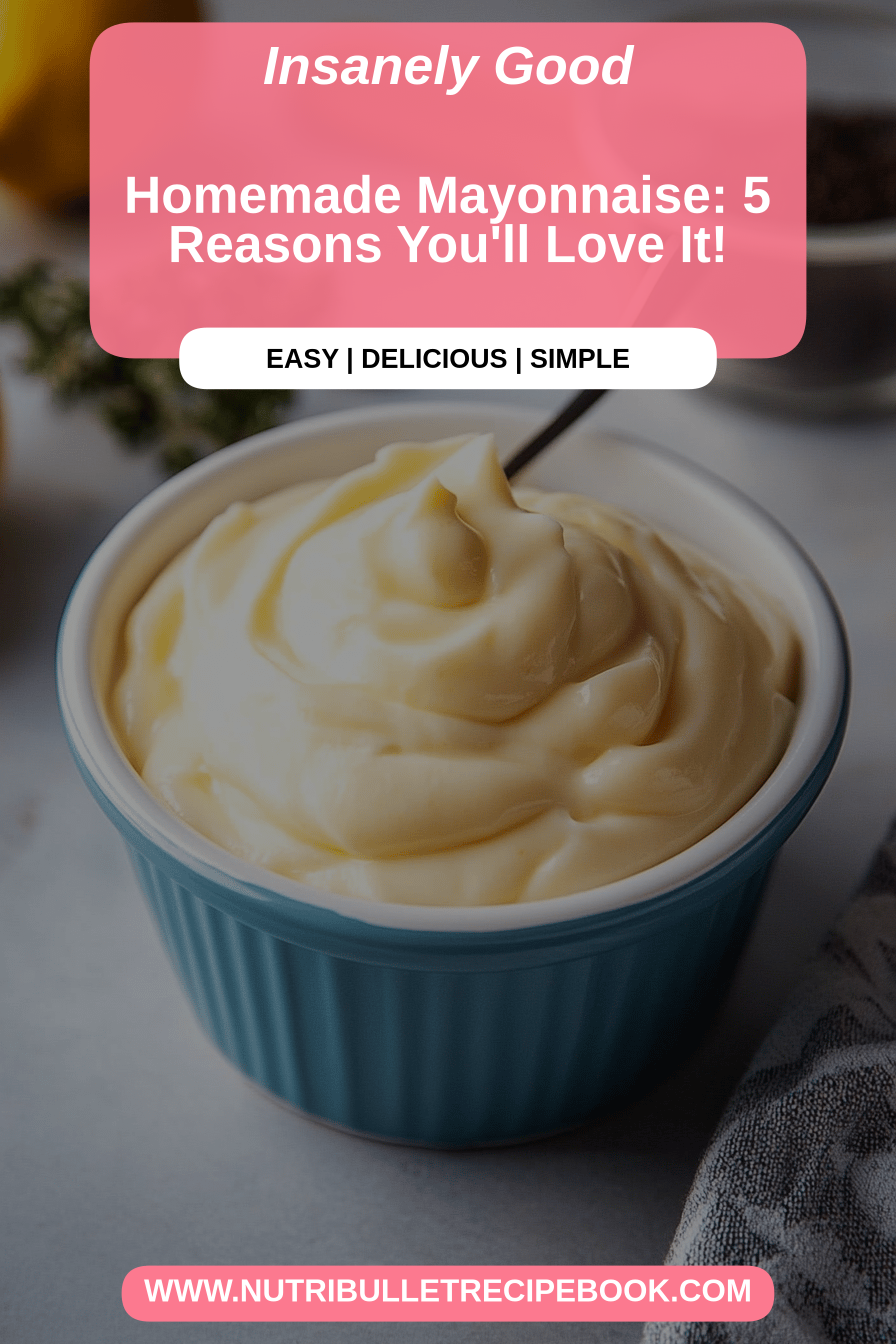
Homemade Mayonnaise
Ingredients
Main Ingredients
- 1 large egg yolk at room temperature
- 1 teaspoon Dijon mustard
- 1 tablespoon lemon juice freshly squeezed
- 0.5 teaspoon salt
- 0.25 teaspoon white pepper
- 1 cup neutral oil such as canola, grapeseed, or avocado oil
Instructions
Preparation Steps
- In a blender or food processor, combine the egg yolk, Dijon mustard, lemon juice, salt, and white pepper. Blend until smooth.
- With the blender or food processor running on low speed, slowly drizzle in the neutral oil in a very thin, steady stream. Continue blending until the mayonnaise is thick and emulsified.
- Taste and adjust seasoning if needed. If the mayonnaise is too thick, you can whisk in a teaspoon of water or lemon juice until the desired consistency is reached.
- Transfer the mayonnaise to an airtight container and refrigerate for at least 30 minutes before serving to allow the flavors to meld.