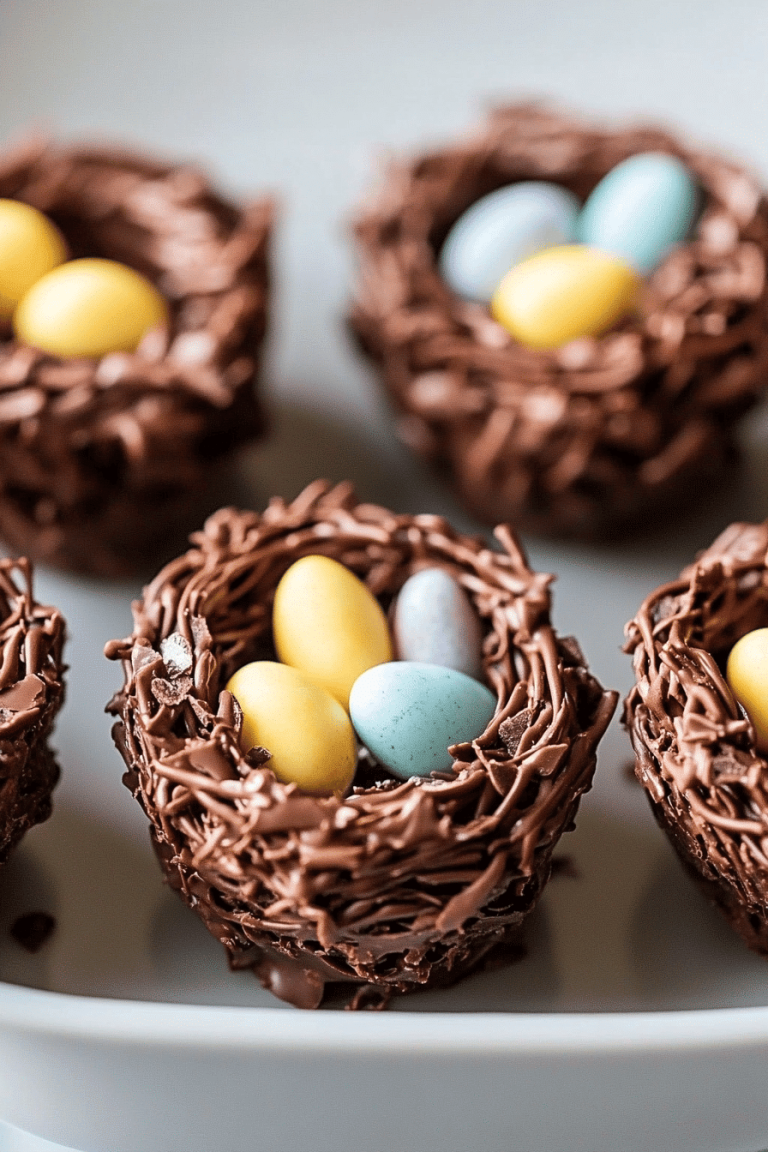
Oh, you guys, I’m so incredibly excited to share this recipe with you! It’s a little something that has become an absolute staple in my home, especially around the time of Chinese New Year. There’s just something magical about the flavors and the traditions tied to this time of year, and this Red Bean Mochi Cake perfectly captures that feeling for me. Honestly, it’s like sunshine and happiness all rolled into one chewy, sweet bite. It reminds me so much of my grandmother’s kitchen – the smell of something sweet baking, the gentle chatter, the warmth. This cake isn’t just a dessert; it’s a memory maker. It’s the kind of treat that disappears from the plate faster than you can say “Gong Xi Fa Cai!” It’s got that delightful chewiness that’s so characteristic of mochi, but with the added richness of red bean paste and a wonderfully tender cake-like crumb. It’s truly the best of both worlds, and if you’ve ever enjoyed a good mochi or a soft, buttery cake, you’re going to fall head over heels for this. It’s a fantastic alternative to some of the more labor-intensive traditional Chinese New Year sweets, offering incredible flavor without a fuss.

What is Red Bean Mochi Cake?
So, what exactly is this delightful creation I can’t stop raving about? Think of it as a delightful fusion – a perfect marriage between the soft, pillowy texture of mochi and the comforting familiarity of a baked cake. It’s essentially a sweet, baked dessert that uses glutinous rice flour (that’s the secret to the chewy mochi texture!) along with other pantry staples. The star of the show, aside from that incredible chewiness, is the sweet red bean paste that’s swirled throughout or layered within the batter. Red bean paste, or ‘adzuki’ paste, is a classic sweet filling in many East Asian desserts, and its subtly sweet, earthy flavor is just divine. It’s not overly sweet like some Western pastries can be; it has a beautiful depth that balances perfectly with the rice flour. It’s a treat that feels both celebratory and comforting, making it perfect for family gatherings, especially during important holidays like Chinese New Year, when symbolic foods are a must.
Why you’ll love this recipe?
Why do I love this Red Bean Mochi Cake?flavor is just out of this world. That sweet, slightly earthy red bean paste combined with the subtle sweetness of the cake batter and the unique chewy texture is an experience in itself. It’s not too rich, not too sweet, just… perfect. Then there’s the simplicity. I know “mochi” might sound intimidating, but this recipe is surprisingly straightforward. You don’t need any fancy equipment or advanced techniques. It’s a one-bowl situation for the batter, and the red bean paste is usually store-bought, making life so much easier! I’ve tested this recipe dozens of times, and it’s always a lifesaver on busy days when I want to make something special without spending hours in the kitchen. Plus, it’s incredibly cost-efficient. The ingredients are mostly pantry staples, and even the red bean paste is quite affordable, making it a budget-friendly way to create a show-stopping dessert. What I love most about this recipe, though, is its versatility. While I adore it as is, you can totally play around with it. Want to add some toasted sesame seeds for extra crunch? Go for it! A hint of pandan extract for an extra layer of fragrance? Absolutely! It’s also wonderful served slightly warm or at room temperature, making it suitable for breakfast, brunch, dessert, or even a satisfying afternoon snack. It’s a recipe that always gets rave reviews from my family, and the kids practically beg for it, which is always the ultimate endorsement, right?
How do I make a Red Bean Mochi Cake?
Quick Overview
Making this Red Bean Mochi Cake is really a breeze. You’ll whisk together your wet and dry ingredients to form a smooth batter, then gently layer it with sweet red bean paste, swirl it a bit for that pretty marbling, and bake it until it’s golden and delightfully chewy. The best part? It’s largely hands-off once it’s in the oven, leaving you free to prep other dishes or just relax. It’s a foolproof method that consistently delivers that irresistible mochi texture without all the fuss of traditional mochi making.
Ingredients
For the Main Batter:
You’ll need about 1 and a half cups of glutinous rice flour. This is crucial for that signature chewy texture, so don’t substitute it! Make sure you’re using glutinous rice flour, not regular rice flour, as they behave very differently. I usually find mine in the international aisle of my grocery store or at an Asian market. Then, we’ll add about half a cup of granulated sugar – you can adjust this slightly depending on how sweet you like things. A pinch of salt is essential to balance the sweetness and enhance all the flavors. For the wet ingredients, you’ll need about 1 cup of milk. I usually use whole milk for richness, but I’ve also tested this with almond milk, and it actually made it even creamier! You can also use oat milk or soy milk if you prefer. Then, about a third of a cup of melted unsalted butter or neutral oil like vegetable or canola oil. Melted butter adds a lovely richness, but oil makes it a bit lighter and chewier. Finally, one large egg, lightly beaten, to help bind everything together. Make sure your egg is at room temperature; it incorporates much better.
For the Filling:
This is where the magic happens! You’ll need about 1 cup of sweet red bean paste. You can find this in most Asian grocery stores or often in the international section of larger supermarkets. It usually comes in a tub or a pouch. If you buy it in a block, you might need to break it up a bit. For an extra layer of flavor and texture, I sometimes add a tablespoon or two of toasted sesame seeds to the red bean paste, but this is totally optional! You can even make your own red bean paste from scratch if you’re feeling ambitious, but honestly, the store-bought stuff is fantastic and saves so much time.
For the Glaze (Optional but Recommended!):
This is totally optional, but I love adding a simple glaze for extra shine and sweetness. You’ll need about 2 tablespoons of powdered sugar and 1-2 teaspoons of milk or water. Just whisk them together until you get a drizzly consistency. You can also add a tiny drop of vanilla extract or even a touch of rosewater for a more traditional flavor. This glaze is so simple, but it really elevates the final presentation and taste.

Step-by-Step Instructions
Step 1: Preheat & Prep Pan
First things first, preheat your oven to 350°F (175°C). This is a pretty standard baking temperature, so your oven should be spot on. Next, you’ll need an 8×8 inch baking pan. Grease it really well with butter or cooking spray, or you can line it with parchment paper, leaving some overhang on the sides to help you lift the cake out later. This step is super important because mochi can be a little sticky, and you don’t want any of your precious cake getting stuck to the pan!
Step 2: Mix Dry Ingredients
Grab a large mixing bowl. Add your glutinous rice flour, granulated sugar, and salt. Give them a good whisk together. This ensures that the sugar and salt are evenly distributed throughout the flour, which leads to a more consistent texture and flavor in your final cake. You’re looking for a nice, homogenous blend of the dry ingredients.
Step 3: Mix Wet Ingredients
In a separate bowl or a large measuring cup, whisk together the milk, melted butter (or oil), and the lightly beaten egg. Make sure the melted butter isn’t piping hot, or it might scramble the egg. Just whisk until everything is well combined and smooth. It should look like a pale yellow liquid.
Step 4: Combine
Now, pour the wet ingredients into the bowl with the dry ingredients. Whisk everything together until you have a smooth, pourable batter. Be careful not to overmix! Overmixing can sometimes make the cake tough, even with glutinous rice flour. You just want to mix until there are no dry streaks of flour remaining. The batter should be quite liquidy, almost like pancake batter but a little thicker.
Step 5: Prepare Filling
If your red bean paste is very stiff, you might want to give it a quick stir to loosen it up. If you’re adding sesame seeds, stir them in now. This is also when you can taste a tiny bit of the paste (be brave, it’s just beans and sugar!) and adjust sweetness if needed, though usually, it’s perfect right out of the package.
Step 6: Layer & Swirl
Pour about half of the mochi batter into your prepared baking pan. Then, dollop spoonfuls of the red bean paste evenly over the batter. Don’t worry about it being perfect. Now, pour the remaining batter over the red bean paste. For that beautiful swirled effect, you can use a toothpick or a skewer to gently swirl the red bean paste into the batter. Just drag it through a few times in random patterns. Don’t overdo it, or the colors will just blend into one.
Step 7: Bake
Place the pan in your preheated oven. Bake for about 30-40 minutes. The cake is done when it’s golden brown around the edges and a toothpick inserted into the center comes out mostly clean. It will be slightly firm to the touch, and the texture will be wonderfully chewy and a little bit gooey in the center, which is exactly what we want!
Step 8: Cool & Glaze
Once baked, carefully remove the pan from the oven. Let it cool in the pan for about 10-15 minutes. This helps it set up properly. While it’s still a little warm, you can prepare your glaze. Whisk the powdered sugar and milk together until you get a smooth, drizzly consistency. Drizzle this over the slightly cooled cake. It adds a lovely touch of sweetness and shine. Let the cake cool completely in the pan before slicing.
Step 9: Slice & Serve
Once completely cooled, use the parchment paper overhang to lift the cake out of the pan onto a cutting board. Use a sharp knife (you might want to lightly grease it with oil or butter to prevent sticking) to slice the cake into squares or rectangles. Serve and enjoy! It’s best enjoyed at room temperature where the chewiness really shines, but a slightly warm slice is pure bliss too.
What to Serve It With
This Red Bean Mochi Cake is so wonderfully versatile, it can really fit into any part of your day! For breakfast, I love a small square alongside a steaming cup of oolong tea or a light, unsweetened soy milk. The subtle sweetness of the cake is a gentle way to start the day. For brunch, it’s a fantastic addition to a spread of more savory items. Imagine it next to some fresh fruit, perhaps some congee or even some steamed dumplings. It adds that perfect sweet counterpoint. When served as dessert, it’s lovely on its own, but you could also pair it with a scoop of vanilla or green tea ice cream for an extra decadent treat. A small cup of green tea or a delicate jasmine tea would also complement it beautifully. And for those cozy snacks – which is my personal favorite time to indulge! – a slice with a hot mug of coffee or Hot Chocolate is pure comfort. My family also has a tradition during Chinese New Year of making a big batch of this cake and having it available throughout the day for whoever wants a sweet bite. It’s become our go-to treat that everyone looks forward to.
Top Tips for Perfecting Your Red Bean Mochi Cake
I’ve made this Red Bean Mochi Cake more times than I can count, and over the years, I’ve picked up a few little tricks that I think make all the difference. First, about Zucchini Prep – wait, no, wrong recipe! Ha! Just kidding, but I do have some key tips for this cake. Regarding the Mixing Advice, the most important thing is not to overmix the batter once you combine the wet and dry ingredients. You want it smooth, but stop as soon as it’s combined. Overmixing can lead to a tougher texture, and while it’s still good, it won’t have that signature soft chewiness. Watch for a batter that’s pourable but not watery. For Swirl Customization, remember that the goal is a beautiful marbling, not a uniform blend. Just a few gentle swirls with a skewer or toothpick are enough. You want to see distinct ribbons of red bean paste. If you want more intense color or a different flavor, you could even mix a tiny bit of food coloring into a portion of the red bean paste before swirling. When it comes to Ingredient Swaps, the glutinous rice flour is non-negotiable for the texture, so stick with that. However, for the milk, I’ve successfully used dairy-free alternatives like almond, soy, or oat milk, and the results are still wonderfully chewy and delicious. You might need to adjust the amount slightly depending on the thickness of your milk. For Baking Tips, keep an eye on your oven towards the end of the baking time. Ovens can vary, so your 30-40 minute range might be slightly different. A toothpick test is your best friend here – if it comes out with a few moist crumbs, it’s perfect. If it’s completely clean, it might be slightly overbaked and a tad dry, but still edible! If it’s wet, it needs more time. And for Glaze Variations, don’t be afraid to experiment! A simple dusting of powdered sugar is lovely, or you could try a matcha glaze by whisking matcha powder with powdered sugar and a little milk. A drizzle of honey or condensed milk also works beautifully. The key is to let the cake cool down a bit before adding any liquid glaze so it doesn’t all soak in too quickly.
Storing and Reheating Tips
This Red Bean Mochi Cake is fantastic at room temperature, but knowing how to store it properly is key to keeping that wonderful chewy texture. If you’re planning to eat it within a day or two, keeping it at Room Temperature is best. Just store it in an airtight container. I usually keep it in the pan if it’s not too big, or transfer it to a container lined with parchment paper to prevent sticking. It stays fresh and delightfully chewy for about 2-3 days this way. If you need to store it for longer, the Refrigerator Storage is your best bet. Place it in an airtight container, and it should last for up to a week. However, refrigeration can sometimes make mochi-like textures a bit firmer or harder. To revive it, you can gently warm individual slices. For Freezer Instructions, this cake freezes surprisingly well! Once completely cooled, cut it into individual portions, wrap each piece tightly in plastic wrap, and then place them in a freezer-safe bag or container. It can stay frozen for up to 2-3 months. When you’re ready to enjoy a slice, thaw it at room temperature for a few hours, or gently warm it in the microwave for about 15-30 seconds. Regarding Glaze Timing Advice, I always recommend applying the glaze *after* the cake has cooled down significantly, and ideally, just before serving or when it’s at room temperature. If you glaze a warm cake, the glaze can melt and become uneven. If you’re freezing it, it’s best to glaze it *after* thawing and reheating, as the glaze might crack or become sticky if frozen.
Frequently Asked Questions
Final Thoughts
So there you have it – my absolute favorite Red Bean Mochi Cake! It’s more than just a recipe; it’s a little box of joy that brings smiles and warmth to my table, especially during the festive season of Chinese New Year. The combination of that irresistible chewy texture, the comforting sweetness of red bean paste, and its beautiful presentation just makes it a winner every single time. It’s the perfect example of how simple ingredients can come together to create something truly magical. I really hope you give this a try. It’s become such a cherished part of my family traditions, and I can’t wait for it to become a part of yours too! If you try it out, please, please let me know how it turns out in the comments below! I’d love to hear about your experience, any variations you tried, or just how much you enjoyed it. And if you loved this recipe, you might also enjoy my recipe for [link to another relevant recipe, e.g., Pineapple Tarts] for more festive baking inspiration. Happy baking, and may your Chinese New Year be filled with delicious treats and wonderful moments!


Chinese New Year Sweet and Sour Pork
Ingredients
Pork Marinade
- 0.5 kg Pork shoulder cut into 1-inch cubes
- 2 tablespoons Soy sauce
- 1 tablespoon Shaoxing wine
- 1 teaspoon Sesame oil
- 1 tablespoon Cornstarch
Sweet and Sour Sauce
- 0.125 cup Rice vinegar
- 0.125 cup Ketchup
- 3 tablespoons Brown sugar
- 2 tablespoons Soy sauce
- 1 tablespoon Cornstarch
- 0.25 cup Water
Stir-fry Vegetables
- 1 tablespoon Vegetable oil
- 1 medium Onion cut into chunks
- 1 medium Bell pepper any color, cut into chunks
- 0.5 cup Pineapple chunks canned or fresh
For Frying
- 2 cups Vegetable oil for shallow frying
Instructions
Preparation Steps
- In a bowl, combine pork with soy sauce, Shaoxing wine, sesame oil, and cornstarch. Mix well and let marinate for at least 15 minutes.
- In a separate bowl, whisk together all ingredients for the sweet and sour sauce: rice vinegar, ketchup, brown sugar, soy sauce, cornstarch, and water. Set aside.
- Heat 2 cups of vegetable oil in a wok or large skillet over medium-high heat. Once hot, add the marinated pork in batches, ensuring not to overcrowd the pan. Fry until golden brown and cooked through, about 3-4 minutes per batch. Remove with a slotted spoon and drain on paper towels.
- Discard most of the frying oil, leaving about 1 tablespoon in the wok. Add the chopped onion and bell pepper and stir-fry for 2-3 minutes until slightly tender.
- Add the pineapple chunks to the wok and stir-fry for another minute.
- Pour the prepared sweet and sour sauce into the wok. Stir constantly until the sauce thickens, about 1-2 minutes.
- Return the fried pork to the wok and toss to coat evenly with the sauce. Serve immediately with steamed rice.